This post may contain affiliate links. If you make a purchase through these links, we may earn a commission at no additional cost to you.
Christmas is a magical time, filled with joy, family, and delicious food. Yet, for many, the days leading up to the big feast can feel more like a frantic race than a festive celebration. The kitchen often becomes a whirlwind of chopping, stirring, and baking, leaving hosts exhausted before guests even arrive. But what if there was a way to reclaim that precious holiday time, reduce stress, and still deliver an unforgettable Christmas dinner? There is, and it’s called the Christmas make ahead strategy.
This comprehensive guide will show you how to master the art of preparing dishes in advance, transforming your holiday experience from chaotic to calm. We’ll explore the benefits of holiday meal prep, delve into strategic planning, and reveal the best make ahead Christmas dinner recipes, ensuring your festive season is filled with cheer, not kitchen stress.
The Philosophy of Make-Ahead: Reclaiming Your Holiday Joy
Imagine waking up on Christmas morning, not to a mountain of cooking tasks, but to the aroma of pre-prepared dishes gently warming, leaving you free to enjoy carol singing, gift opening, or simply a leisurely cup of coffee. This isn’t a fantasy; it’s the reality make-ahead cooking offers.
The core idea behind prep ahead Christmas recipes is simple: tackle as many cooking components as possible before the actual holiday. This proactive approach offers a multitude of benefits that extend far beyond just saving time.
Stress Reduction: The most significant advantage is a dramatic reduction in holiday stress. Instead of juggling multiple recipes, oven timings, and last-minute crises on Christmas Day, you’ll have a clear, manageable list of finishing touches. This allows you to be present with your family and friends, truly savoring the festive atmosphere. You won’t feel overwhelmed.
Enhanced Enjoyment: When you’re not chained to the stove, you can participate fully in the celebrations. You’ll have time for games, conversations, and creating lasting memories. This shift from “chef” to “host” makes the holiday more enjoyable for everyone, especially you. It’s about being present.
Improved Food Quality: Many dishes actually taste better when prepared in advance. Flavors have time to meld and deepen, resulting in a richer, more complex taste profile. Think of a hearty stew or a robust gravy; they often improve overnight. This is a culinary secret.
Better Organization: A make-ahead strategy forces you to plan meticulously. This structured approach helps you identify potential bottlenecks, manage your grocery shopping more efficiently, and utilize your kitchen space effectively. It brings order to the holiday chaos.
Cost Efficiency: Planning ahead often means you can take advantage of sales on ingredients, reducing your overall grocery bill. You’re less likely to make impulse purchases or resort to expensive last-minute solutions. This smart planning saves money.
By embracing the make ahead Christmas philosophy, you’re not just cooking smarter; you’re investing in a more relaxed, joyful, and delicious holiday season.
Strategic Planning: Your Make-Ahead Blueprint
Successful holiday meal prep for Christmas doesn’t happen by accident; it’s the result of careful planning. Think of it as creating a blueprint for your festive feast. A well-thought-out plan ensures efficiency, minimizes waste, and maximizes your holiday enjoyment.
Menu Selection: Choosing Make-Ahead Friendly Dishes
The first step is to select your menu. Not all dishes are equally suited for advance preparation. Focus on recipes that either improve with time, can be fully cooked and reheated, or allow for significant component preparation.
Consider these categories:
- Dishes that meld flavors: Soups, stews, casseroles, braised meats, and sauces often taste better the next day.
- Components that can be prepped: Vegetables can be chopped, herbs minced, and dressings made.
- Bake-and-reheat items: Many desserts, breakfast casseroles, and some side dishes can be baked, cooled, and reheated.
- Freezer-friendly options: Identify dishes that freeze well without compromising texture or flavor.
Avoid dishes that require last-minute assembly or are highly sensitive to texture changes upon reheating, such as delicate soufflés or certain fried items.
Guest List & Dietary Needs: Planning for Everyone
Knowing who you’re feeding and their dietary requirements is crucial. This impacts your menu choices and the quantities you need to prepare.
- Headcount: Get a firm guest count. This dictates portion sizes and ensures you have enough food.
- Allergies and dietary restrictions: Ask about any allergies (e.g., nuts, gluten, dairy) or dietary preferences (e.g., vegetarian, vegan, kosher). Plan alternative dishes or modifications to ensure everyone can enjoy the meal safely. Label dishes clearly.
Kitchen Inventory & Equipment Check: Avoiding Last-Minute Scrambles
Before you start cooking, take stock of your kitchen.
- Pantry and Fridge Audit: Check what ingredients you already have. This prevents duplicate purchases and helps create an accurate shopping list.
- Equipment Assessment: Do you have enough serving dishes, baking pans, slow cookers, and storage containers? Are your knives sharp? Is your oven clean and calibrated? Ensure you have adequate freezer and refrigerator space for all your make ahead Christmas food. This foresight saves you from frantic last-minute trips to the store.
The Master Timeline: A Week-by-Week Breakdown
A detailed timeline is your most powerful tool for stress-free Christmas cooking. Break down tasks into manageable chunks, assigning them to specific days or weeks leading up to Christmas.
3-4 Weeks Before Christmas:
- Finalize Your Menu: Lock in all your recipes.
- Create a Master Shopping List: List every ingredient needed for every dish.
- Order Specialty Items: If you need a specific cut of meat from a butcher or unique ingredients, order them now.
- Initial Grocery Haul: Stock up on non-perishable items like spices, flour, sugar, canned goods, and frozen vegetables.
- Bake & Freeze: This is the perfect time for make ahead Christmas desserts like certain cookies, fruitcakes, or even pie crusts. Many can be frozen for weeks.
- Technical Detail: Freezing Baked Goods: For optimal quality, rapidly freeze baked goods on a baking sheet until solid, then transfer to airtight, freezer-safe containers or heavy-duty freezer bags. This “flash freezing” prevents items from sticking together and helps maintain their structure. The low temperatures (typically 0∘F or −18∘C) slow down enzymatic activity and microbial growth, preserving freshness.
1-2 Weeks Before Christmas:
- Prepare Freezer-Friendly Mains & Sides: Dishes like lasagna, certain stews, and some casseroles can be fully cooked or assembled and frozen.
- Example: Lasagna: Assemble the entire lasagna, cover tightly with foil, and freeze. On Christmas Day, thaw in the refrigerator overnight and bake. This saves hours of assembly time.
- Make Sauces & Stocks: Prepare your make ahead gravy base or rich stocks. These can be frozen or refrigerated.
- Cranberry Sauce: Homemade cranberry sauce can be made now and stored in the refrigerator.
- Portion & Label: Crucially, portion your make-ahead items into appropriate serving sizes and label them clearly with the dish name, date, and reheating instructions. This avoids confusion later.
3-5 Days Before Christmas:
- Thaw Frozen Meats: If you’re roasting a large turkey or ham, begin thawing it in the refrigerator. Allow approximately 24 hours per 4-5 pounds of meat.
- Technical Detail: Safe Thawing: Thawing in the refrigerator is the safest method because it keeps the meat at a consistently cold temperature (40∘F or 4∘C or below), preventing bacteria from multiplying rapidly. Never thaw at room temperature.
- Chop Vegetables: Prepare non-starchy vegetables like onions, carrots, celery, and peppers. Store them in airtight containers in the refrigerator.
- Make Dressings & Dips: Many make ahead Christmas appetizers dips and salad dressings can be prepared and refrigerated.
- Bake Rolls or Bread: If making homemade rolls, you can often prepare the dough and refrigerate it, or par-bake the rolls and freeze them.
1-2 Days Before Christmas:
- Prepare Potatoes: For make ahead mashed potatoes, cook and mash them, then cool completely and refrigerate. They can be reheated with a little milk or cream.
- Assemble Casseroles: Green bean casserole or sweet potato casserole can be assembled and refrigerated, ready to bake.
- Prep Stuffing: Prepare your stuffing mixture, but don’t bake it yet. Store it in the refrigerator.
- Set the Table: This non-food task can be done well in advance, freeing up valuable time on Christmas Day.
- Chill Beverages: Ensure all drinks are properly chilled.
Christmas Eve:
- Final Ingredient Prep: Chop any remaining fresh herbs or delicate vegetables.
- Brine or Season Main Meats: If brining or dry-rubbing your turkey or ham, do it now.
- Prepare Breakfast: If you’re having a make ahead breakfast casserole, assemble it tonight for baking in the morning.
- Relax: Take a moment to enjoy the quiet before the festive storm!
Mastering Make-Ahead Techniques
Understanding the science behind food preservation is key to successful holiday meal prep. It’s not just about cooking early; it’s about doing it safely and effectively to maintain quality.
Batch Cooking & Freezing: Your Deep-Freeze Allies
Batch cooking involves preparing large quantities of a dish or component at once. Freezing is the ultimate tool for extending the shelf life of these pre-prepared items.
Principles of Effective Freezing:
- Cool Completely: Always cool food completely before freezing. Placing hot food directly into a freezer can raise the freezer’s temperature, potentially thawing other items and creating ice crystals on the food being frozen.
- Technical Detail: Rapid Cooling: To cool food quickly, divide large quantities into smaller, shallow containers. You can also place the container in an ice bath. The goal is to get the food from 140∘F (60∘C) down to 40∘F (4∘C) within two hours, and then below 0∘F (−18∘C) within four hours. This minimizes the time food spends in the “danger zone” where bacteria multiply rapidly.
- Airtight Packaging: Air is the enemy of frozen food. It leads to freezer burn, which causes dehydration and flavor loss. Use heavy-duty freezer bags (squeezing out all air), vacuum-seal bags, or rigid freezer-safe containers with tight-fitting lids.
- Portion Control: Freeze food in portions that make sense for your family or guest size. This allows you to thaw only what you need, reducing waste.
- Labeling: Label every item clearly with the dish name and date of freezing. This prevents mystery meals and ensures you use older items first.
- Freezer Burn Prevention: Freezer burn occurs when food is exposed to air, causing ice crystals to form and dehydrating the food. Proper packaging is the best defense. Wrapping food tightly in plastic wrap before placing it in a freezer bag or container adds an extra layer of protection.
- Thawing Safely: Always thaw frozen food in the refrigerator, under cold running water, or in the microwave. Never thaw at room temperature. Once thawed, food should be cooked immediately if thawed by cold water or microwave, or within 1-2 days if thawed in the refrigerator.
Refrigeration & Storage: Keeping Things Fresh
For items you’ll use within a few days, refrigeration is sufficient.
- Temperature Matters: Your refrigerator should be set at or below 40∘F (4∘C).
- Airtight Containers: Store all cooked and prepped food in airtight containers to prevent cross-contamination and maintain freshness. Glass containers are excellent as they don’t absorb odors and are microwave-safe for reheating.
- Separate Raw from Cooked: Always store raw meats on the bottom shelf of the refrigerator to prevent their juices from dripping onto and contaminating cooked foods.
Partial Preparation vs. Full Cooking: Strategic Choices
Decide whether a dish needs to be fully cooked or just partially prepared.
- Partial Prep: This involves tasks like chopping vegetables, making sauces, or assembling casseroles without baking them. This is ideal for dishes that taste best freshly baked or finished on the day. For example, assembling a green bean casserole the day before and baking it on Christmas Day.
- Full Cooking: Some dishes, like braised meats, soups, or even some roasted vegetables, can be fully cooked, cooled, and then reheated. This is a huge time-saver. For instance, making your make ahead gravy entirely and just warming it up.
Ingredient Prep: The Foundation of Efficiency
Even simple ingredient preparation can save significant time on the big day.
- Mise en Place: Adopt the professional chef’s practice of “mise en place” (everything in its place). Chop all your vegetables, measure out spices, and portion ingredients into small bowls or containers. This makes cooking flow smoothly.
- Pre-Washing Greens: Wash and dry salad greens and store them in a salad spinner or paper towel-lined bag in the refrigerator.
- Blanching Vegetables: For some vegetables like green beans or Brussels sprouts, you can blanch them (briefly boil, then plunge into ice water) a day or two ahead. This partially cooks them and sets their vibrant color, making final cooking quicker.
Make-Ahead Stars: Dishes That Shine
Certain Christmas dishes are perfectly suited for advance preparation, becoming your holiday heroes. Here’s a breakdown of the best make ahead Christmas dishes across all courses.
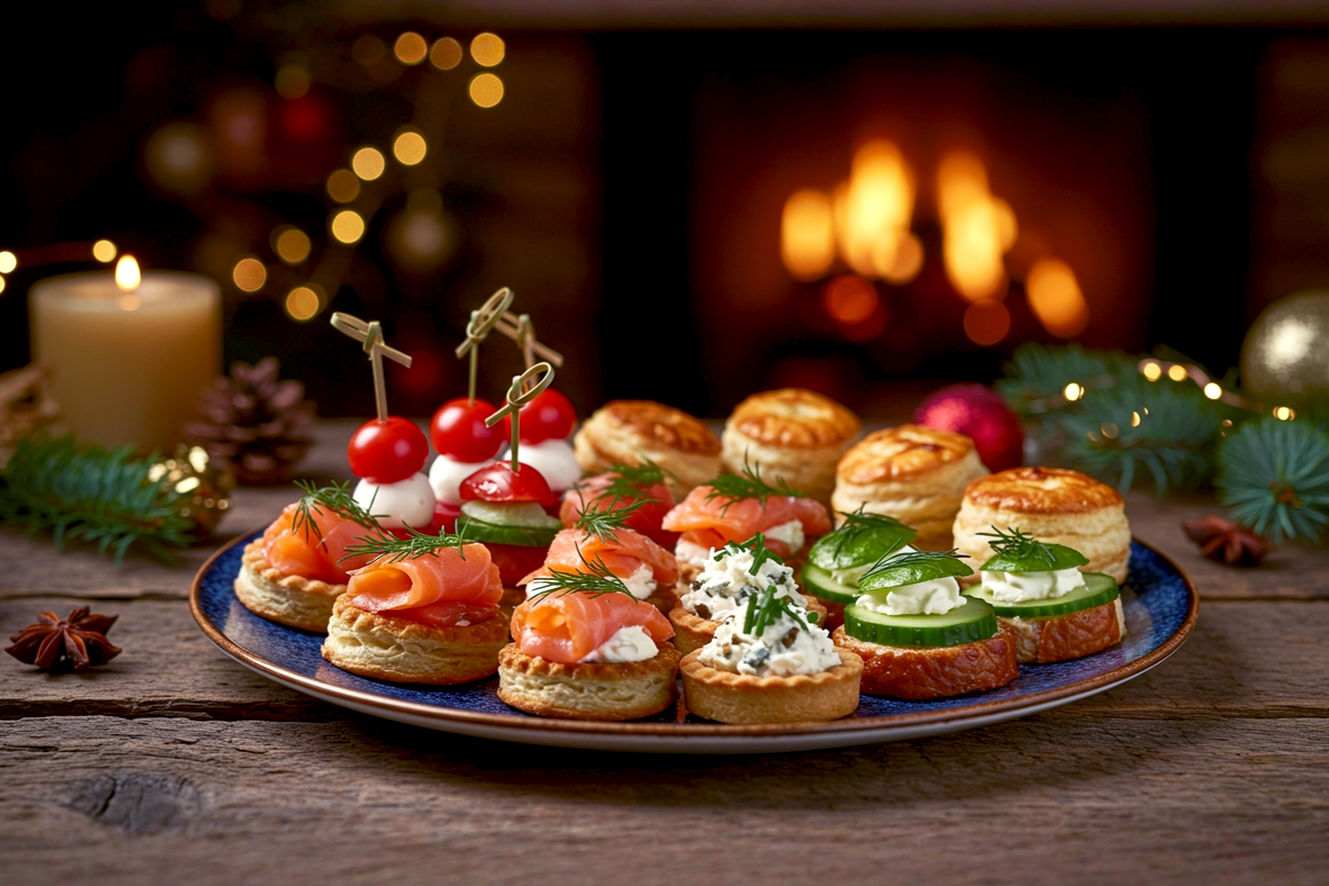
Appetizers: Setting the Festive Tone
Start the party off right without last-minute fuss.
- Dips: Creamy dips like spinach artichoke dip or a flavorful French onion dip can be made 2-3 days ahead and refrigerated. Just give them a good stir before serving.
- Cheese Straws/Puffs: These savory pastries can be baked and frozen, then reheated quickly in the oven for a crispy texture.
- Stuffed Mushrooms: Prepare the filling and stuff the mushroom caps a day in advance. Bake them just before serving.
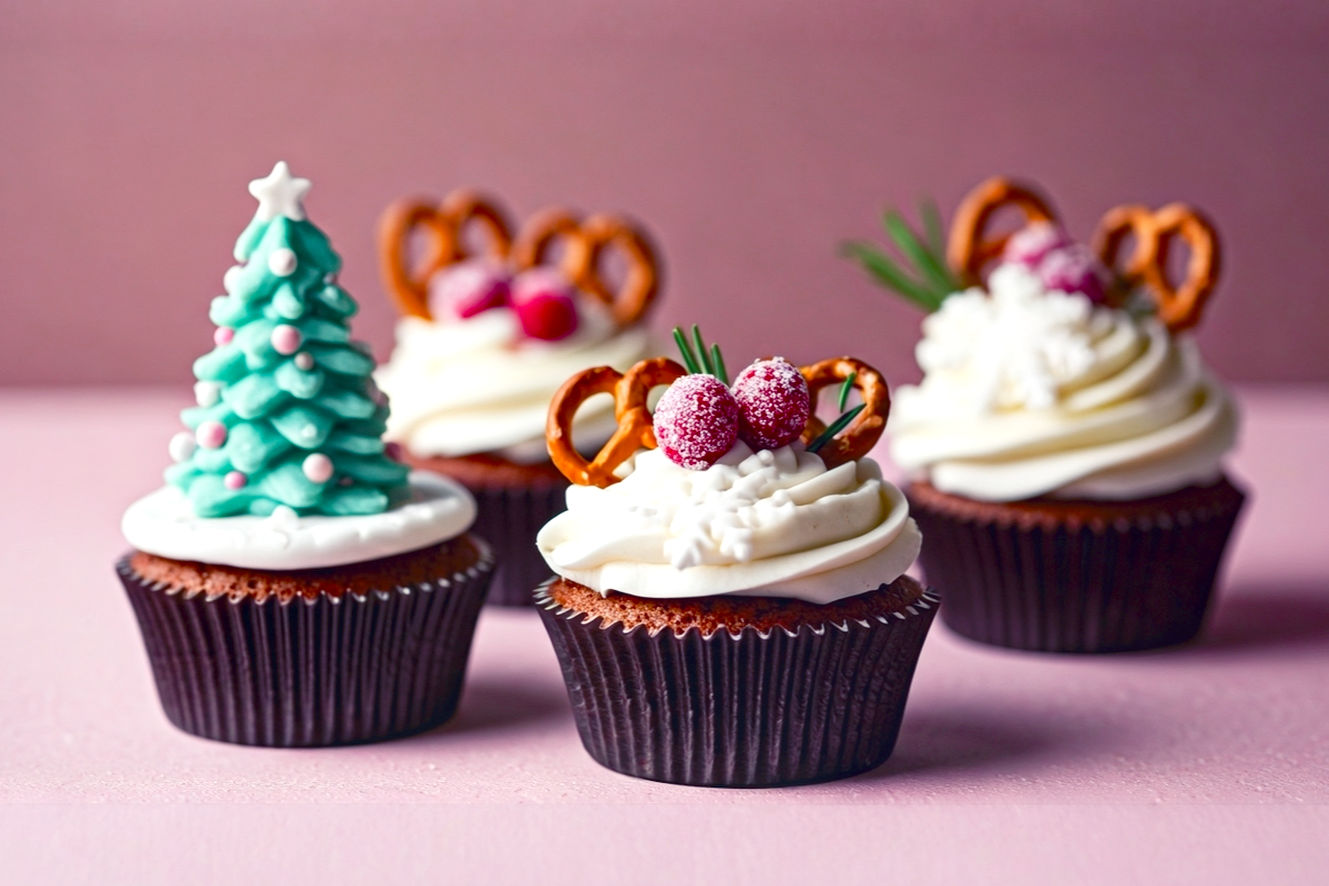
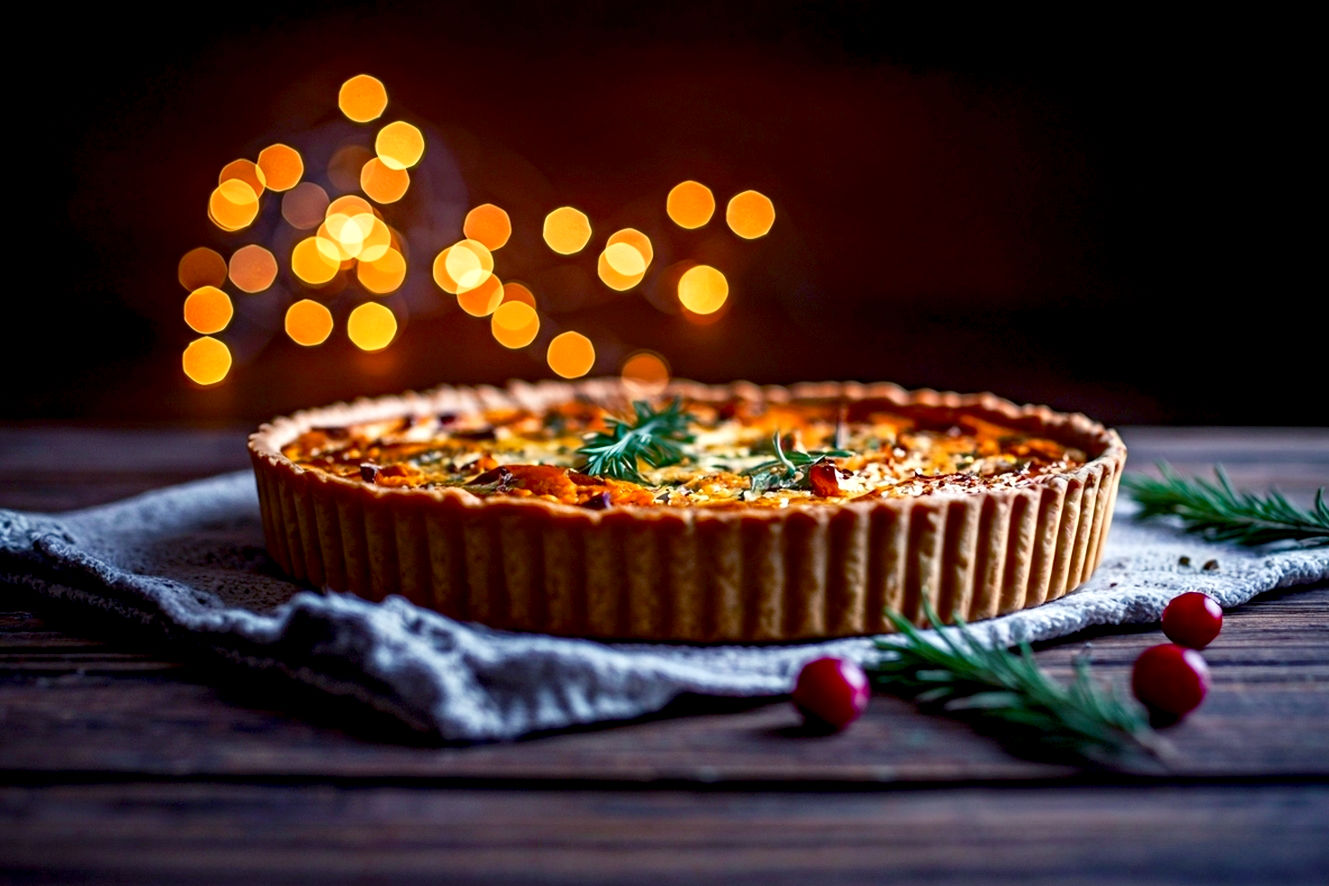
- Mini Quiches/Frittatas: Bake these bite-sized delights, cool, and freeze. Reheat in the oven or microwave.
- Brie en Croute: Assemble the brie wrapped in puff pastry, then freeze. Bake from frozen on the day of the party. This is a showstopper.
- Cocktail Meatballs: These can be cooked in a slow cooker days ahead and kept warm or reheated.
Soups & Sauces: Flavor That Deepens with Time
These are prime candidates for make-ahead success, as their flavors often improve overnight.
- Gravy: Your make ahead gravy is a game-changer. Prepare a rich stock-based gravy days or even weeks in advance and freeze it. On Christmas Day, simply warm it up and whisk in any pan drippings from your roast for extra flavor.
- Technical Detail: Roux-Based Gravy: A classic gravy often starts with a roux, a cooked mixture of fat (like butter or drippings) and flour. This provides thickening. For a make-ahead version, cook the roux until golden, then gradually whisk in hot stock. Simmer until thickened, then strain for a smooth consistency. Cool and refrigerate or freeze. The starch granules in the flour fully hydrate and swell, creating a stable, thick sauce that reheats well.
- Cranberry Sauce: Homemade cranberry sauce is infinitely better than canned. It can be made a week or two in advance and stored in the refrigerator. The flavors will deepen beautifully.
- Butternut Squash Soup: A creamy, comforting soup can be made entirely ahead, cooled, and reheated. It’s a fantastic starter that can be served hot or even chilled.
- Bread Sauce: A traditional British accompaniment for turkey, bread sauce can be made a day or two ahead and gently reheated.
Side Dishes: The Backbone of the Feast
Sides often take up the most oven and stovetop space. Prepping them is a huge relief.
- Mashed Potatoes: The classic make ahead mashed potatoes method involves cooking and mashing them, then stirring in cream cheese, sour cream, or extra butter before refrigerating. Reheat gently on the stovetop with a splash of milk or in a slow cooker.
- Technical Detail: Starch Retrogradation: When potatoes cool, their starch molecules (amylose and amylopectin) begin to recrystallize, a process called retrogradation, which can make them stiff. Adding fats and dairy products like cream cheese or sour cream helps to interfere with this process, keeping the potatoes creamier upon reheating.
- Roasted Vegetables: Root vegetables like carrots, parsnips, and Brussels sprouts can be par-cooked (roasted until almost tender) a day ahead, then finished in a hot oven on Christmas Day for perfect caramelization.
- Stuffing/Dressing: Prepare your stuffing mixture (bread, herbs, broth, aromatics) a day or two in advance. Store it covered in the refrigerator. Bake it fresh on Christmas Day. Some recipes can even be fully baked and reheated.
- Casseroles: Green bean casserole, sweet potato casserole, or corn pudding are ideal for assembling a day or two ahead and baking when needed. This frees up significant time and oven space.
- Braised Red Cabbage: This sweet and sour side dish actually benefits from being made a day or two in advance, allowing the flavors to meld.
Main Courses (Strategic Choices): The Centerpiece
While the main roast often needs to be carved fresh, certain main courses or components can be prepared ahead.
- Lasagna: A classic make ahead Christmas dinner main. Assemble the entire lasagna (meat sauce, pasta, cheese layers) days in advance and refrigerate or freeze. Bake from chilled or thawed on Christmas Day.
- Braised Meats: Dishes like beef bourguignon, short ribs, or lamb shanks are perfect. They can be cooked entirely days ahead, cooled, and gently reheated. The slow cooking process tenderizes the meat and develops deep flavors that improve with time.
- Turkey/Roast Beef: While you’ll likely want to carve these fresh, you can make the gravy ahead, prepare the stuffing, and even par-cook some side vegetables. Some hosts even cook and carve the turkey a day ahead, storing it in stock, and then gently reheating it. This is a more advanced technique but can be a huge time-saver.
- Technical Detail: Reheating Carved Meats: When reheating pre-carved meat, the key is to prevent it from drying out. Place the carved meat in an oven-safe dish with a small amount of broth or gravy, cover tightly with foil, and reheat at a low temperature (275−300∘F or 135−150∘C) until warmed through. The moisture from the broth creates a steamy environment, preventing dehydration.
Desserts: Sweet Endings, Stress-Free Beginnings
Many Christmas desserts are perfect for making ahead, some even benefiting from a longer resting period.
- Christmas Pudding: This traditional dessert is often made weeks or even months in advance and allowed to “mature.”
- Mince Pies: These can be baked and frozen, then reheated, or assembled unbaked and frozen, then baked from frozen.
- Cookies & Bars: Most Christmas cookies can be baked and stored in airtight containers for days, or even frozen for longer periods. Cookie dough can also be made and frozen.
- Cheesecakes: Cheesecakes are excellent make-ahead desserts, often improving in flavor and texture after a day or two in the refrigerator.
- Trifles: Assemble the components (cake, custard, fruit) a day ahead, but add whipped cream just before serving.
Breakfast/Brunch: Christmas Morning Ease
Don’t forget Christmas morning! A make-ahead breakfast means more time for presents.
- Breakfast Casseroles: Egg and sausage casseroles can be assembled the night before and baked in the morning.
- Overnight Oats: Prepare jars of overnight oats for a healthy and quick breakfast option.
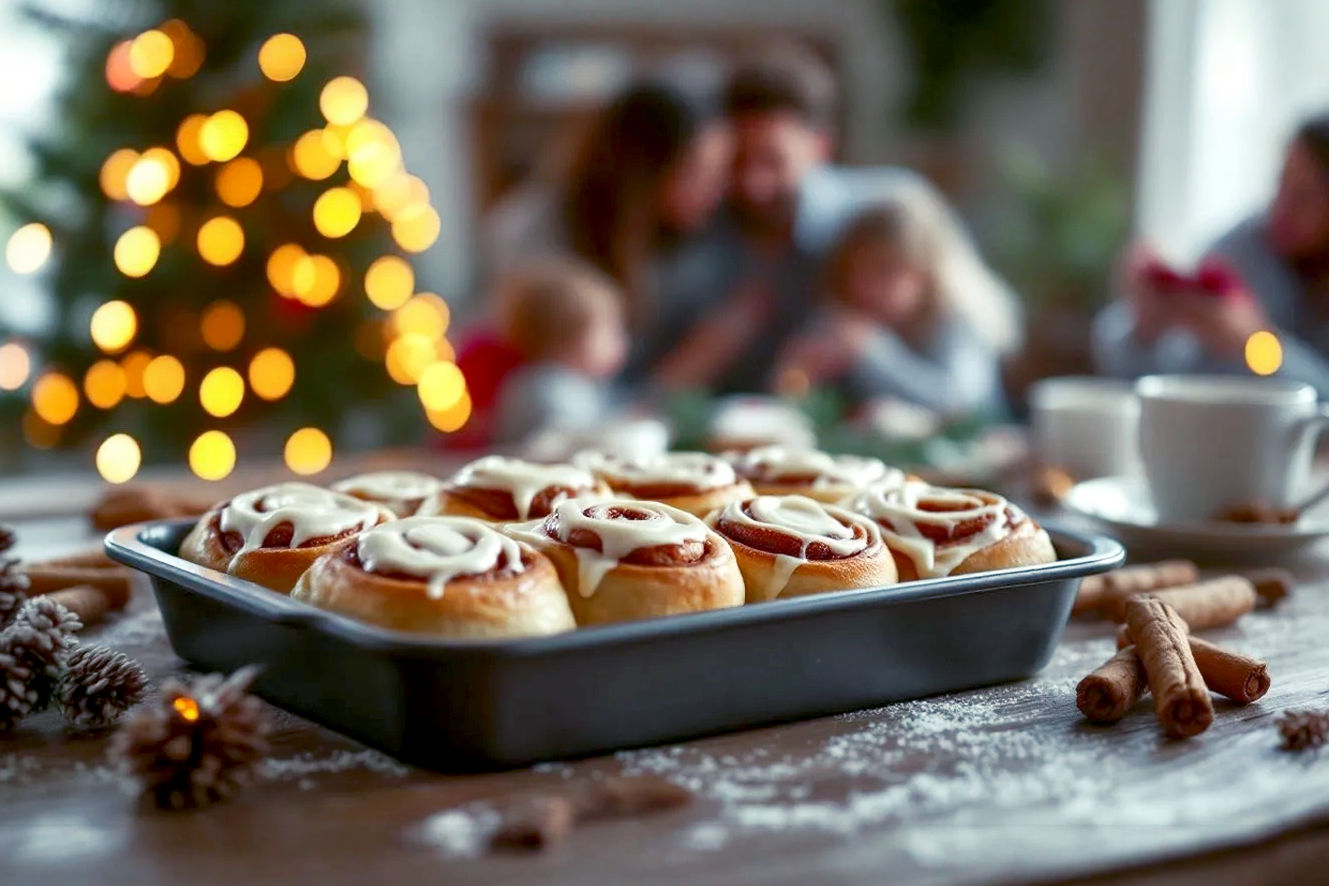
- Baked Goods: Muffins, scones, or cinnamon rolls can be baked ahead and gently warmed.
Food Safety & Storage Essentials: Protecting Your Feast
Making food ahead is only effective if it’s done safely. Improper handling can lead to foodborne illness. Understanding and adhering to food safety guidelines is paramount.
Temperature Control: Avoiding the Danger Zone
The “danger zone” for food is between 40∘F and 140∘F (4∘C and 60∘C). This is the temperature range where bacteria multiply most rapidly.
- Keep Hot Foods Hot: After cooking, if serving immediately, keep hot foods at or above 140∘F (60∘C).
- Keep Cold Foods Cold: Keep cold foods at or below 40∘F (4∘C).
- Rapid Cooling: As mentioned, cool cooked foods quickly before refrigerating or freezing. Divide large portions into smaller, shallow containers to speed up the cooling process. Aim to cool from 140∘F (60∘C) to 70∘F (21∘C) within two hours, and from 70∘F (21∘C) to 40∘F (4∘C) within an additional four hours.
Proper Cooling Methods: The Key to Safety
- Shallow Containers: Transfer hot food to shallow containers (no more than 2-3 inches deep) to maximize surface area for cooling.
- Ice Bath: For large quantities of liquids (soups, stews, gravy), place the pot in a sink filled with ice and water. Stir the food occasionally to help it cool evenly.
- Ventilation: Leave lids slightly ajar when cooling on the counter initially to allow steam to escape, then seal once cooled before refrigerating.
Airtight Containers & Labeling: Organization and Preservation
- Airtight is Key: Use high-quality, airtight containers (glass or BPA-free plastic) to prevent air exposure, which causes spoilage and freezer burn.
- Label Everything: Always label containers with:
- Dish name (e.g., “Make-Ahead Mashed Potatoes”)
- Date of preparation
- “Use by” or “Freeze by” date
- Basic reheating instructions (e.g., “Reheat at 350∘F for 20 mins”) This simple step prevents confusion and ensures food is consumed within its safe window.
Freezer Best Practices: Long-Term Storage
- Types of Freezers:
- Chest Freezers: Generally maintain colder, more consistent temperatures, ideal for long-term storage.
- Upright Freezers: Convenient for organization but can have more temperature fluctuations near the door.
- Refrigerator Freezers: Often have the most temperature fluctuations and are best for shorter-term freezing (1-2 months).
- Freezer Burn Prevention: Beyond airtight containers, consider wrapping items in plastic wrap or foil before placing them in freezer bags or containers. This adds an extra layer of defense against air.
- Thawing Safely:
- Refrigerator Thawing: This is the safest method. Place frozen food in the refrigerator. Allow approximately 24 hours for every 5 pounds of food. Once thawed, use within 1-2 days.
- Cold Water Thawing: For faster thawing, place food in a leak-proof bag and submerge it in cold tap water, changing the water every 30 minutes. Cook immediately after thawing.
- Microwave Thawing: Thaw in the microwave only if you plan to cook the food immediately, as some areas may begin to cook during thawing.
Reheating Guidelines: Bringing Dishes Back to Life
Proper reheating is crucial for both food safety and quality.
- Internal Temperatures: Always reheat leftovers to an internal temperature of 165∘F (74∘C) as measured with a food thermometer.
- Even Heating: Stir or rotate food during reheating to ensure it heats evenly.
- Oven Reheating: Best for casseroles, roasted vegetables, and larger dishes. Cover with foil to prevent drying.
- Stovetop Reheating: Ideal for soups, stews, and sauces. Reheat gently over medium-low heat, stirring frequently.
- Microwave Reheating: Quick for smaller portions, but can sometimes lead to uneven heating. Stir frequently.
- Never Reheat More Than Once: For safety and quality, avoid reheating food multiple times.
The Day-Of: Assembly & Finishing Touches
With your make-ahead arsenal ready, Christmas Day transforms from a cooking marathon into a well-orchestrated culinary performance. The focus shifts from frantic preparation to thoughtful assembly and elegant presentation.
Creating a Game Plan: The Final Countdown
Even with extensive make-ahead work, you’ll still have tasks on Christmas Day. A detailed “Day-Of” timeline is essential.
- List Remaining Tasks: Write down every single thing that needs to be done, from preheating the oven to garnishing dishes.
- Assign Times: Allocate specific times for each task. Be realistic about how long things will take.
- Coordinate Oven Space: This is often the biggest challenge. Plan which dishes need the oven at what temperature and for how long. Can some dishes be reheated on the stovetop or in a slow cooker?
- Preheat Early: Start preheating your oven well in advance for any dishes that need to bake.
Oven & Stovetop Management: The Art of the Juggling Act
This is where your strategic planning pays off.
- Temperature Zones: If your oven allows, utilize different racks for dishes that require slightly different temperatures.
- Batch Reheating: Group dishes that can be reheated at similar temperatures.
- Slow Cookers: These are invaluable for keeping make ahead mashed potatoes, gravy, or even a side dish warm without tying up oven space.
- Stovetop Focus: Reserve stovetop burners for quick warming of sauces, sautéing last-minute greens, or making fresh gravy adjustments.
Garnishing & Presentation: The Visual Feast
The final touches elevate your meal from good to gourmet.
- Fresh Herbs: A sprinkle of fresh parsley, rosemary, or thyme can instantly brighten a dish.
- Citrus Zest/Slices: Lemon or orange zest adds a burst of freshness, while slices make an elegant garnish.
- Toasted Nuts/Croutons: Add texture and flavor to soups or salads.
- Drizzles: A swirl of good olive oil, a balsamic glaze, or a dollop of crème fraîche can enhance both taste and appearance.
- Warm Plates: For a truly professional touch, warm your dinner plates in a low oven before serving.
Delegating Tasks: Many Hands Make Light Work
Don’t be afraid to ask for help! Your guests will often be happy to contribute.
- Simple Assignments: Give guests easy, clear tasks:
- Setting out appetizers
- Filling water glasses
- Carving the roast (if they’re experienced)
- Washing and drying last-minute greens
- Clearing the table between courses
- Washing dishes (the ultimate gift!)
- Make-Your-Own Stations: For a more interactive approach, set up a “make-your-own” salad bar or dessert station with pre-prepped components. This allows guests to customize their meal and reduces your workload.
Beyond the Kitchen: Other Holiday Time Savers
The make-ahead philosophy isn’t just for food. Applying similar principles to other holiday tasks can further reduce stress and enhance your enjoyment of the season.
Decorations: Deck the Halls Early
- Pre-Assemble: If you have complex decorations, assemble them in advance. Fluff artificial trees, untangle lights, and group ornaments by color or theme.
- Designate Storage: Store decorations in clearly labeled bins, organized by room or type. This makes both putting them up and taking them down much faster.
- Spread it Out: Don’t try to decorate the entire house in one day. Tackle one room or one area at a time over several days or weeks.
Gift Wrapping: The Art of the Assembly Line
- Batch Wrap: Instead of wrapping gifts one by one as you buy them, set aside dedicated “wrapping sessions.” Put on some Christmas music, gather all your supplies (paper, tape, scissors, tags, ribbons), and create an assembly line.
- Pre-Tag: Write out gift tags in advance, especially for multiple recipients.
- Utilize Gift Bags: For oddly shaped items or when time is truly short, gift bags are a lifesaver. Keep a stash on hand.
Table Setting: Ready for the Feast
- Set Early: If your dining table isn’t used daily, set it a day or two before Christmas. Lay out tablecloths, placemats, chargers, plates, cutlery, and glassware.
- Centerpiece: Assemble your centerpiece (floral arrangement, candles, festive decor) in advance.
- Name Cards: If using name cards, write them out early.
By incorporating these non-food make-ahead strategies, you create a holistic approach to holiday preparation. This allows you to truly relax and immerse yourself in the spirit of Christmas, rather than being overwhelmed by a never-ending to-do list.
Conclusion: Savoring the Season with Make-Ahead Magic
The Art of the Christmas Make Ahead is more than just a collection of recipes; it’s a mindset shift. It’s about empowering yourself to enjoy the holiday season fully, free from the last-minute kitchen frenzy that often overshadows the joy. By strategically planning, preparing components in advance, and utilizing smart storage and reheating techniques, you transform the daunting task of Christmas dinner into a smooth, enjoyable process.
You’ll discover that many dishes actually benefit from being made ahead, their flavors deepening and textures improving. More importantly, you’ll gain invaluable time—time to spend with loved ones, time to relax, and time to truly savor the magic of Christmas. Embrace the holiday meal prep philosophy, and you’ll not only serve a delicious feast but also create cherished memories, proving that the greatest gift you can give yourself and your guests is a calm, present, and joyful host. Make this Christmas your most relaxed and delicious one yet!