This post may contain affiliate links. If you make a purchase through these links, we may earn a commission at no additional cost to you.
Introduction: Crafting Your Own Holiday Magic
The holiday season brings with it a special kind of warmth and joy, doesn’t it? And nothing quite captures that festive spirit like beautiful Christmas decorations. While store-bought garlands are certainly convenient, there’s something truly magical about creating your own DIY Christmas garland. It’s more than just a decoration; it’s a personal expression of your holiday spirit, a unique piece that tells a story.
Why should you consider making a Christmas garland yourself? For starters, it adds a personal touch to your home that you just can’t buy off a shelf. You get to choose every element, from the type of greenery to the colors of the ornaments, ensuring it perfectly matches your home’s decor and your personal style. It’s also often cost-effective. You can repurpose old decorations, use natural elements from your yard, or hunt for bargains, saving money compared to purchasing a high-end, pre-made garland. Most importantly, it’s incredibly unique. No two handmade garlands are exactly alike, making yours a one-of-a-kind masterpiece that will impress your guests and bring a smile to your face every time you see it.
In this comprehensive guide, you’ll learn everything you need to know to craft a stunning DIY Christmas garland. We’ll walk you through the entire process, from planning your design and gathering materials to step-by-step assembly and creative ideas. Whether you’re aiming for a rustic farmhouse look, an elegant shimmering display, or a whimsical wonderland, we’ve got you covered. Get ready to unleash your inner crafter and make this holiday season truly sparkle!
Phase 1: Planning Your Perfect Christmas Garland
Before you even pick up a pair of scissors or a hot glue gun, the most crucial step is planning. A well-thought-out plan ensures your homemade Christmas garland turns out exactly as you envision it, saving you time, money, and frustration. Don’t skip this part; it’s the foundation of your stunning holiday decor!
Defining Your Garland’s Style and Theme
The first decision is deciding what kind of look you’re going for. Your garland should complement your existing holiday decorations and the overall aesthetic of your home. Think about the colors, textures, and general feeling you want to evoke.
Rustic Charm: Natural Elements and Warm Tones
If you love the cozy, inviting feel of a farmhouse or cabin, a rustic garland might be perfect. This style often features natural elements like pinecones, dried orange slices, cinnamon sticks, and burlap ribbon. You’ll typically see warm, earthy tones such as deep reds, forest greens, browns, and creams. The overall vibe is organic, unpretentious, and full of natural beauty. Think about using real evergreen branches for an authentic scent and texture.
Elegant Glamour: Sparkle, Metallics, and Refinement
For a more sophisticated and luxurious look, consider an elegant glamour garland. This style embraces sparkle, metallics, and refined details. Think silver, gold, rose gold, or champagne ornaments, glittery floral picks, and luxurious satin or velvet ribbons. Cool whites, deep jewel tones like sapphire blue or emerald green, and shimmering accents are common. The goal here is a polished, opulent appearance that catches the light beautifully.
Whimsical Wonderland: Playful Colors and Unique Embellishments
If you prefer a playful and imaginative approach to holiday decorating, a whimsical wonderland garland is your go-to. This theme often uses bright, playful colors like fuchsia, turquoise, lime green, or even pastels. You can incorporate unique embellishments such as oversized lollipops, faux candies, quirky animal ornaments, or even small toys. The idea is to create a fun, lighthearted, and imaginative display that brings out the child in everyone.
Traditional Festive: Classic Reds, Greens, and Golds
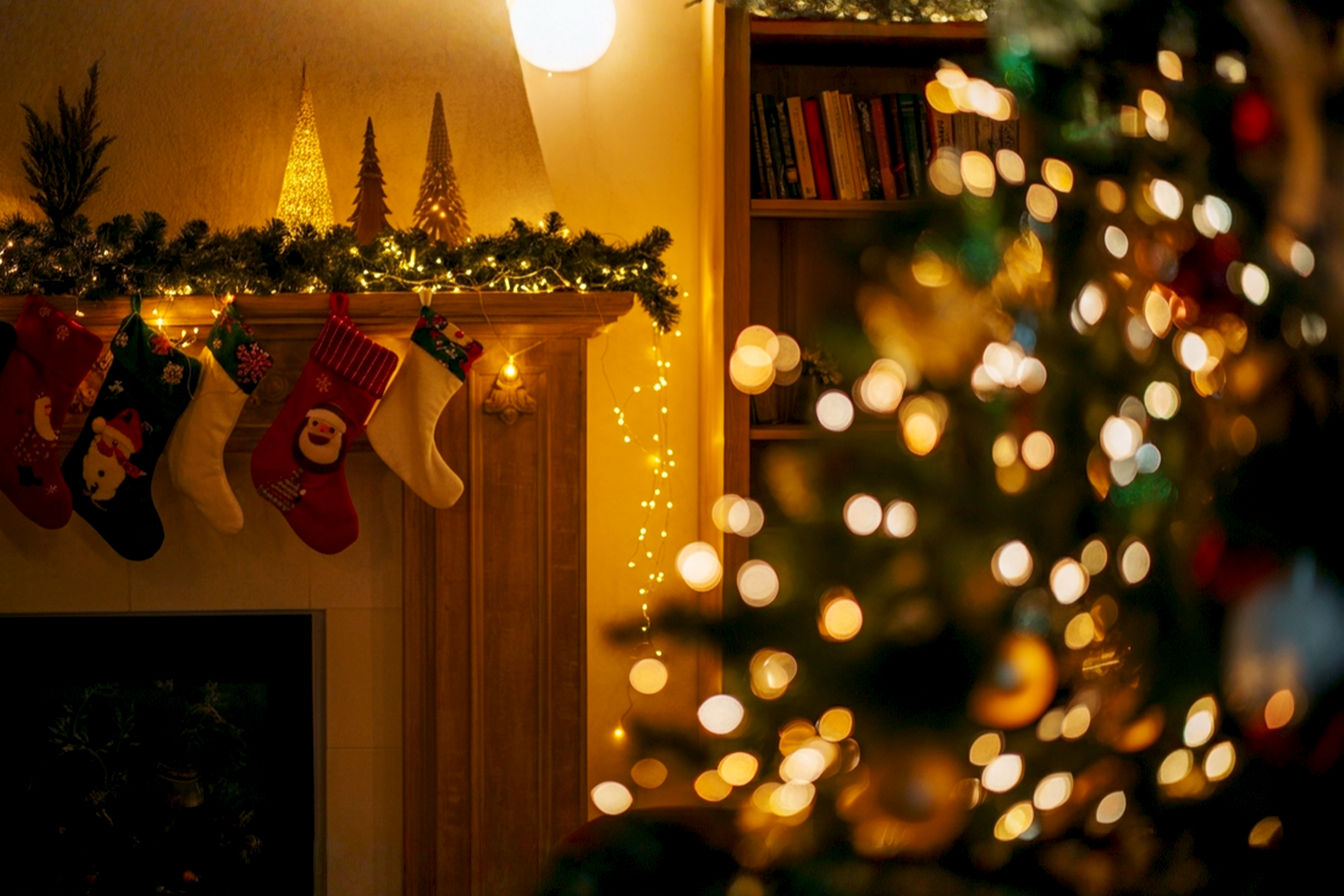
You can’t go wrong with a classic. The traditional festive garland sticks to the timeless combination of classic reds, greens, and golds. This style often includes traditional Christmas ornaments like glass balls, miniature presents, and perhaps some faux berries. It evokes a sense of nostalgia and comfort, reminding everyone of Christmases past. It’s a universally loved look that always feels festive and welcoming.
Measuring Up: Determining Garland Length
Once you’ve settled on a style, you need to figure out how much garland you’ll actually need. Measuring accurately prevents you from running out of materials mid-project or having too much leftover. Remember, it’s always better to have a little extra than not enough.
Doorways and Mantels: Standard Lengths
For doorways, measure the top width and then add the desired length for each side. A common approach is to measure across the top and down each side to the floor, or to a specific height. For example, a standard doorway might need 10-12 feet of garland to drape nicely over the top and down the sides.
Mantels are usually simpler. Measure the length of your mantelpiece and then add 1-2 feet on each end for a graceful drape. So, a 6-foot mantel might require 8-10 feet of garland. If you want a more dramatic swag, add even more length.
Staircases and Banisters: Calculating for Draping
Staircases and banisters require a bit more calculation due to their curves and the desired draping effect. A good rule of thumb is to measure the length of the banister and then multiply that measurement by 1.5 or 2. This extra length accounts for the natural dips and swags you’ll create as you wrap the garland around the railing. For instance, a 10-foot banister might need 15-20 feet of garland for a beautiful, full drape. Don’t forget to consider how much you want it to hang down between each banister post.
Tables and Centerpieces: Custom Fit
For tables and centerpieces, the length depends entirely on your vision. If you want it to run down the center of a dining table, measure the table’s length and add a foot or two for overhang on each end. For a centerpiece, you might only need a short section, perhaps 3-5 feet, that can be coiled or arranged artistically. Always measure the specific area you intend to decorate to ensure a custom fit.
Budgeting for Your DIY Christmas Garland
Making your own garland can be more affordable than buying one, but costs can still add up if you’re not careful. Setting a budget beforehand helps you make smart choices about materials.
Cost-Saving Tips: Repurposing and Sales
One of the best ways to save money is by repurposing materials. Do you have old Christmas decorations that aren’t being used? Ornaments, ribbons, or even old strings of lights can be given new life in a garland. Look for natural elements in your yard, like pinecones, evergreen clippings, or dried leaves. These are free and add an authentic touch.
Keep an eye out for sales and discounts at craft stores, dollar stores, and even hardware stores. After-Christmas sales are perfect for stocking up on next year’s supplies at a fraction of the cost. Thrift stores and second-hand shops can also be treasure troves for unique and inexpensive embellishments. Don’t be afraid to mix and match; sometimes the most interesting garlands come from unexpected combinations.
Investing in Quality: When to Splurge
While saving money is great, there are times when it makes sense to invest in quality materials. For example, a durable artificial greenery base will last for many years, making it a worthwhile investment. High-quality wired ribbon holds its shape better and looks more luxurious than cheaper alternatives. If you plan to use your garland year after year, spending a bit more on core components can pay off in the long run. Think about what elements will be the most visible or bear the most stress, and consider splurging on those.
Phase 2: Gathering Your Garland Materials
With your plan in place, it’s time for the fun part: gathering all your supplies! This phase is like shopping for ingredients for a delicious recipe. The right materials are key to creating a stunning DIY Christmas garland that truly shines.
The Foundation: Garland Bases
Every great garland needs a strong foundation. This base will provide the bulk and structure for all your embellishments.
Artificial Greenery Garlands: Pros and Cons
Artificial greenery garlands are a popular choice for their convenience and durability. They typically come in long strands, often made from PVC or polyethylene, designed to mimic the look of real pine, fir, or cedar.
- Pros: They are incredibly durable and can be reused year after year, making them a sustainable and cost-effective option over time. They don’t shed needles, require no watering, and are fire-resistant (though always check product specifications). They also provide a consistent, full base that’s easy to work with.
- Cons: They lack the natural scent of real evergreens, which some people miss. Higher-quality artificial garlands can be more expensive upfront, though cheaper ones might look less realistic. You might need to “fluff” them significantly to make them look full and natural.
Natural Greenery: Freshness and Fragrance
For an authentic, aromatic experience, natural greenery is unbeatable. Using fresh branches brings the scent of the outdoors into your home, creating a truly immersive holiday atmosphere.
- Types of Greenery:
- Pine: Offers long, soft needles and a classic Christmas look.
- Cedar: Has flat, feathery branches with a distinct, pleasant aroma.
- Fir: Features short, stiff needles that are great for holding ornaments. Balsam fir is known for its strong, sweet scent.
- Eucalyptus: Adds a unique, silver-green color and a refreshing, slightly medicinal scent. It provides a modern touch.
- Pros: The freshness and fragrance are unparalleled, creating a truly sensory holiday experience. It’s often free if you have access to trees or can get clippings from local tree farms. It’s also fully biodegradable.
- Cons: Natural greenery can be messy, shedding needles as it dries. It requires more maintenance, like misting, to prolong its life, and it won’t last as long as artificial options. You’ll need to dispose of it after the holidays. If you’re using loose branches, you’ll also need a sturdy base like floral wire or rope to attach them to.
Twine, Wire, or Rope: Simple Base Options
If you’re creating a non-greenery garland, or if you’re bundling natural clippings yourself, you’ll need a simple base. Twine, floral wire, or rope can serve this purpose. Floral wire, often green or brown, is flexible yet strong, perfect for securing branches and embellishments. Thicker rope or natural jute twine can also be used, especially for rustic designs where the base is meant to be visible.
Adding the Sparkle: Lights and Illumination
No Christmas garland is complete without a bit of sparkle, and lights are the best way to achieve this. They add warmth, depth, and that unmistakable festive glow.
Battery-Operated LED Lights: Flexibility and Safety
Battery-operated LED lights are incredibly versatile. They don’t need an outlet, which means you can place your garland almost anywhere—on a mantel without a nearby plug, wrapped around a staircase, or even as a centerpiece on a dining table.
- Pros: Their flexibility is a huge advantage, allowing for creative placement. They are also generally safer, as there’s no long cord to trip over, and LEDs produce very little heat, reducing fire risk. They are energy-efficient, meaning batteries last longer.
- Cons: Batteries need to be replaced, which can be a hassle. The light output might not be as bright or consistent as plug-in options for very long garlands.
Plug-In String Lights: Brighter, Longer Displays
For longer garlands or areas where a power outlet is readily available, plug-in string lights are an excellent choice.
- Pros: They offer brighter, more consistent illumination and are ideal for very long garlands, like those draped along a staircase or across a large wall. You don’t have to worry about batteries dying.
- Cons: You need access to an electrical outlet, which can limit placement. Cords might need to be hidden or managed carefully to avoid tripping hazards.
Choosing Light Color and Warmth
The color and warmth of your lights can significantly impact the overall mood of your garland.
- Warm White: Emits a soft, inviting, yellowish glow, similar to traditional incandescent bulbs. It creates a cozy and classic atmosphere, perfect for rustic or traditional themes.
- Cool White: Has a brighter, slightly bluish-white light. It provides a crisp, modern look, often favored for elegant or winter wonderland themes.
- Multi-Color: Features a variety of colors (red, green, blue, yellow) and is ideal for whimsical or playful garlands, adding a vibrant, cheerful touch.
Drape and Delight: Ribbons and Fabrics
Ribbons and fabrics add softness, texture, and a touch of elegance or whimsy to your garland. They help create that beautiful “drape” effect.
Wired Ribbons: Holding Shape and Volume
Wired ribbons are a crafter’s best friend. They have thin wires along their edges, allowing them to be shaped and molded.
- Pros: They hold their shape and volume beautifully, making it easy to create elaborate bows, loops, and cascades that stay put. They add significant visual interest and fullness.
- Cons: Can be a bit more expensive than non-wired ribbons.
Velvet, Satin, and Burlap: Texture and Visual Interest
The material of your ribbon adds distinct texture.
- Velvet: Luxurious and rich, perfect for elegant or traditional garlands. It adds depth and a tactile quality.
- Satin: Smooth and shiny, offering a sleek and sophisticated look. Great for adding a subtle sheen.
- Burlap: Rustic and natural, ideal for farmhouse or country-themed garlands. It provides a coarse, earthy texture.
Tulle and Mesh: Sheer and Shimmering Effects
For a lighter, more ethereal feel, consider tulle or mesh ribbons. These sheer fabrics add a delicate, shimmering effect without adding much visual weight. They’re excellent for layering over other ribbons or for creating a soft, snowy look.
Embellishments and Ornaments: Personalizing Your Garland
This is where your garland truly comes to life and reflects your unique style. Embellishments are the decorative elements that you attach to the base and lights.
Natural Accents: Pinecones, Berries, Dried Oranges, Cinnamon Sticks
These elements bring the beauty of nature indoors.
- Pinecones: Can be natural, glittered, or flocked. They add a rustic, earthy feel.
- Berries: Faux red berries (like holly or cranberry sprays) add pops of color and a traditional touch.
- Dried Oranges: Sliced and dried, they offer a beautiful translucent quality and a lovely citrus scent.
- Cinnamon Sticks: Bundled together, they add a warm, spicy aroma and a rustic look.
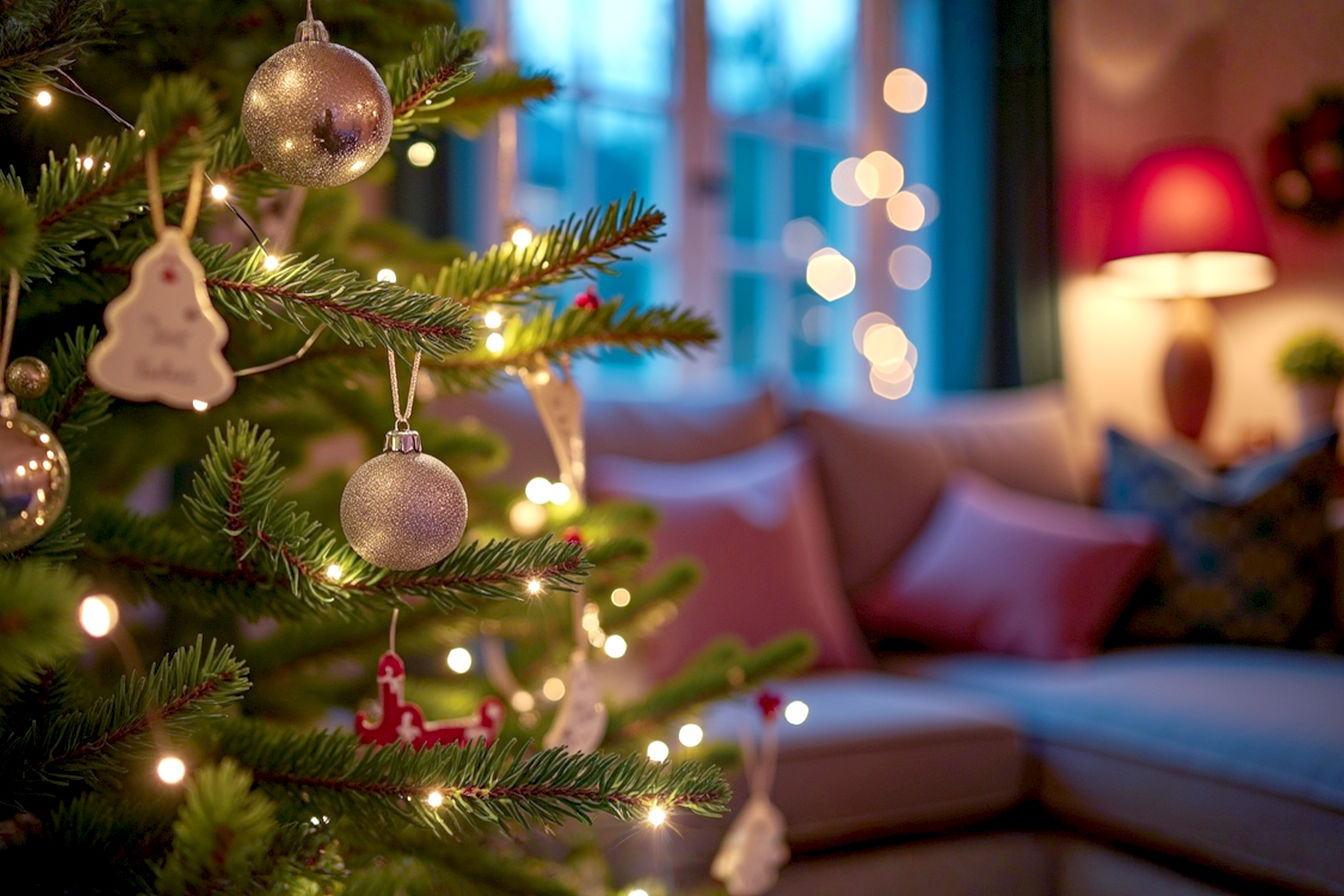
Shatterproof Ornaments: Durability and Variety
For garlands that will be handled frequently or hung in high-traffic areas, shatterproof ornaments are a smart choice. They come in a vast array of colors, sizes, and finishes, from matte to glossy to glittered. They are much less likely to break if they fall, making them ideal for families with children or pets.
Floral Picks and Sprays: Adding Dimension
Floral picks and sprays are small bundles of decorative elements on a wire stem. They can include glittery leaves, faux flowers, frosted branches, or miniature ornaments. They are fantastic for filling gaps, adding pops of color, and creating dimension within your garland. Simply tuck them into the greenery or use floral wire to secure them.
DIY Ornaments: Crafting Unique Touches
Don’t forget the power of handmade ornaments! You can craft unique touches like salt dough ornaments, paper snowflakes, felt shapes, or even small wrapped “gifts.” These personal additions make your garland truly special and are a wonderful activity to do with family.
Essential Tools for Garland Making
Having the right tools makes the assembly process much smoother and more enjoyable.
Floral Wire and Clippers: Securing Elements
Floral wire (often 22-26 gauge) is indispensable for attaching elements securely. It’s flexible enough to wrap around branches and ornaments but strong enough to hold them in place. Wire clippers are essential for cutting the floral wire cleanly and efficiently. Don’t try to use regular scissors, as they’ll get dull quickly.
Hot Glue Gun: Quick Adhesion
A hot glue gun is perfect for quickly attaching lighter elements like small ornaments, faux berries, or ribbon ends. Make sure to use glue sticks that are appropriate for the materials you’re working with. A low-temp glue gun is often safer for delicate materials and your fingers.
Scissors, Measuring Tape, Gloves
- Scissors: For cutting ribbons, fabric, and other non-wire materials.
- Measuring Tape: Crucial for planning your garland’s length and ensuring even spacing of elements.
- Gloves: Especially important if you’re working with natural evergreens, as their sap can be sticky and irritating, and needles can be prickly. Gardening gloves work well.
Phase 3: Step-by-Step Garland Assembly
Now that you have all your materials and tools ready, it’s time to bring your vision to life! This phase is all about patiently building your DIY holiday garland layer by layer.
Step 1: Preparing Your Base Garland
The base is the canvas for your festive masterpiece. Proper preparation ensures a full and sturdy foundation.
Fluffing Artificial Greenery
If you’re using an artificial greenery garland, it will likely come compressed in its packaging. Before you add anything else, you need to fluff it out. This involves gently pulling and separating the individual branches and needles. Work your way down the entire length of the garland, bending the branches outwards and upwards to create a full, natural, and voluminous appearance. Don’t rush this step; a well-fluffed base makes a huge difference in the final look.
Bundling Natural Branches (If using loose greenery)
If you’ve opted for loose natural greenery clippings, you’ll need to create your own base. Gather small bundles of branches (e.g., 3-5 branches per bundle) and secure them tightly together at their stems using floral wire. Then, attach these bundles to a longer piece of rope or a sturdy, thicker floral wire, overlapping them slightly to create a continuous, full strand. Work in one direction, ensuring the tips of the branches point the same way for a cohesive look. This technique allows you to control the fullness and shape of your natural Christmas garland.
Step 2: Weaving in the Lights
Adding lights early in the process ensures an even glow and makes it easier to hide wires.
Even Distribution: Techniques for Consistent Glow
Begin by laying your garland base flat on a clean surface. Starting at one end, weave your string of lights through the branches. The key is even distribution. Don’t just wrap the lights around the outside; push them deep into the garland’s core, then pull them back out, creating pockets of light throughout. This technique ensures a consistent glow from all angles and prevents the lights from looking like they’re just sitting on top. For every 1-2 feet of garland, you’ll want to ensure a good amount of light is integrated.
Securing Wires: Hiding and Fastening
As you weave, use small pieces of floral wire or the garland’s own branches to secure the light wires to the base. This keeps the lights from shifting and helps to hide the wires from view. You want the light to be the star, not the wires. If using battery-operated lights, position the battery pack discreetly at one end or in a spot where it can be easily accessed for battery changes but remains out of sight.
Step 3: Adding Ribbons and Drapes
Ribbons add softness, color, and that beautiful draped effect.
Layering Techniques: Creating Fullness
For a rich, full look, consider layering different ribbons. You can start with a wider ribbon as a base, weaving it loosely through the garland, and then add a narrower, contrasting ribbon on top. Don’t pull the ribbon too tightly; allow it to swag and drape naturally. Twist the ribbon occasionally to show both sides if it has a patterned back.
Tying Bows and Cascades: Decorative Touches
You can tie large, decorative bows and attach them at intervals along the garland, or create cascades by letting lengths of ribbon hang down gracefully. For wired ribbon, you can easily shape the loops of your bows to stand out. Use floral wire to secure bows firmly to the garland base.
Securing Ribbon: Wire vs. Glue
For most ribbon applications, floral wire is the best choice for securing it to the garland, especially if you want to reuse the ribbon next year. Simply wrap the wire around the ribbon and a branch of the garland, twisting it tightly at the back. For very small pieces of ribbon or for securing the very ends of a ribbon, a hot glue gun can be used, but be mindful that glue can be permanent and might damage delicate fabrics.
Step 4: Attaching Ornaments and Embellishments
This is where your garland truly comes to life with personal flair.
Strategic Placement: Balancing Visual Weight
When adding ornaments and embellishments, think about strategic placement. You want to create a balanced look, distributing elements evenly along the garland’s length. Avoid clumping too many large items together. Step back frequently to assess the visual weight and adjust as needed. Place larger, focal ornaments first, then fill in with smaller items and picks.
Using Floral Wire for Secure Attachment
For most ornaments, especially glass or heavier ones, floral wire is your best friend. Thread a piece of floral wire through the ornament’s hanger or loop. Then, wrap the wire tightly around a sturdy branch of the garland base, twisting the ends together at the back to secure it. This method ensures your ornaments won’t fall off easily. For pinecones, you can wrap wire around the base of the cone or hot glue them if they are very light.
Hot Gluing Lighter Elements
A hot glue gun is ideal for attaching lighter items that don’t have a natural hanging point, such as faux berries, small floral picks, or lightweight DIY ornaments. Apply a small dab of hot glue to the back of the embellishment and press it firmly onto a branch of the garland. Hold it in place for a few seconds until the glue sets. Be careful not to use too much glue, as it can be visible and messy.
Step 5: The Finishing Touches
Almost there! These final steps ensure your garland looks polished and perfect.
Filling Gaps: Ensuring Fullness
Once all your main elements are in place, take a good look at your garland. Are there any gaps or sparse areas? Use smaller floral picks, extra sprigs of greenery, or small ornaments to fill these in, ensuring a lush, full appearance. This is also a good time to adjust any branches or ribbons that aren’t sitting quite right.
Testing Lights: Troubleshooting
Before you hang your garland, plug in or turn on the lights. Check that all bulbs are working and that the light is evenly distributed. If you find any dark spots, gently adjust the light string within the garland. If a section isn’t lighting up, check the bulb connections or battery pack. It’s much easier to troubleshoot now than when it’s already hanging.
Adding Scent: Essential Oils or Potpourri
If you’ve used an artificial garland but crave that fresh Christmas scent, you can easily add it! Lightly spray your garland with a Christmas-scented essential oil (like pine, cinnamon, or orange) diluted in water, or tuck small sachets of potpourri or dried orange slices discreetly within the branches. This adds another layer to the sensory experience of your beautiful festive garland tutorial creation.
Phase 4: Creative DIY Christmas Garland Ideas
Now that you know the fundamental steps, let’s explore some specific ideas to inspire your next unique Christmas garland project. These concepts provide a starting point, but feel free to mix and match elements to truly make them your own!
The Rustic Farmhouse Garland
This style evokes warmth, simplicity, and a connection to nature. It’s perfect for homes with a cozy, country aesthetic.
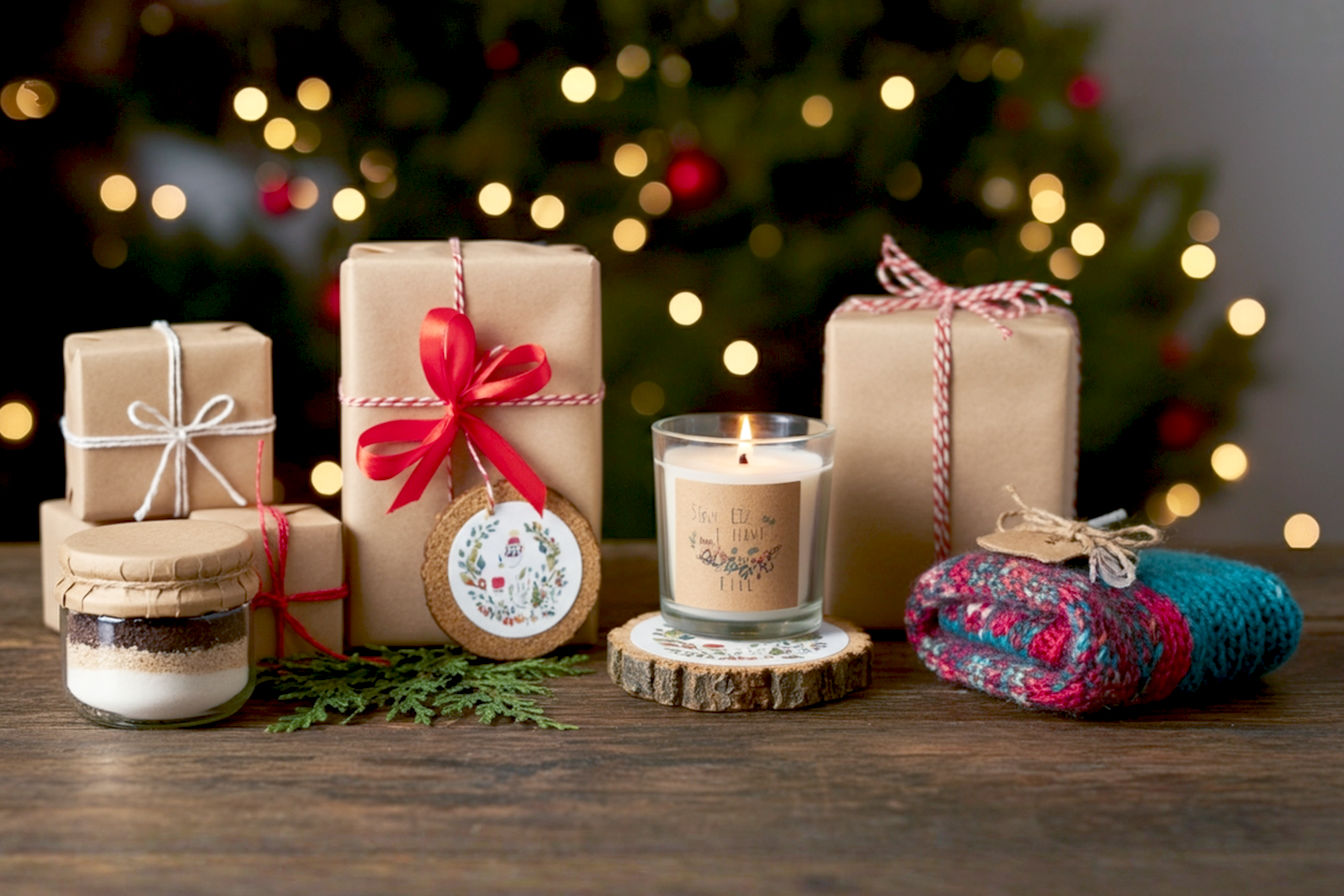
- Materials: Start with a base of natural evergreen branches (pine or fir work wonderfully) or a realistic artificial pine garland. Incorporate burlap ribbon in varying widths, perhaps plain or with a subtle plaid pattern. Gather or purchase pinecones (you can lightly dust them with faux snow for a frosted look). Dried orange slices add a beautiful pop of natural color and a lovely scent. Bundle cinnamon sticks with twine and tuck them in. Small, matte red berries or faux cranberries on picks complete the look.
- Assembly Tips: Aim for a loose, organic feel. Don’t make it too symmetrical. Let the burlap ribbon drape naturally. Attach pinecones and orange slices with floral wire, making sure they’re securely nestled within the greenery. The beauty of this style lies in its slightly imperfect, handcrafted charm.
Elegant Gold and Silver Garland
For a sophisticated and glamorous display, combine classic metallic tones with shimmering accents.
- Materials: Choose a full, lush artificial garland, perhaps one with frosted tips or a subtle glitter. Focus on metallic ornaments in various sizes and finishes (shiny, matte, glittered) in gold, silver, and champagne. Incorporate glittery floral picks shaped like leaves, berries, or delicate branches. Use sheer organza or satin ribbon in gold, silver, or cream, allowing it to shimmer as it drapes. Warm white LED lights will enhance the elegant glow.
- Assembly Tips: Maintain a sense of balance and refinement. Distribute the metallic ornaments evenly, ensuring a consistent sparkle. Use floral wire to secure the glitter picks so they stand out. The sheer ribbon can be woven in large, graceful loops to add volume and a touch of luxury. This elegant Christmas garland will catch every bit of light.
Whimsical Candy Cane Lane Garland
Bring a playful and sweet vibe to your holiday decor with this fun, vibrant garland.
- Materials: A bright green artificial garland provides a cheerful base. The stars of this show are peppermint swirl ornaments (red and white striped balls) and actual or faux candy canes. Use a mix of red and white wired ribbon, perhaps with a polka dot or striped pattern. You can also add small, colorful, faux candies (like wrapped hard candies or gumdrops) and maybe even some miniature gingerbread men. Multi-color LED lights would be a fantastic addition.
- Assembly Tips: This style is all about fun and vibrancy. Don’t be afraid to use bold colors and playful arrangements. Attach candy canes by their hooks or with floral wire. Secure the faux candies with hot glue. Let the ribbons create playful loops and bows. This easy Christmas garland is sure to delight children and adults alike.
Winter Wonderland Blue and White Garland
Create a serene and ethereal atmosphere reminiscent of a snowy landscape.
- Materials: A frosted artificial garland or a plain green one dusted with white faux snow provides the perfect icy base. Incorporate silver glitter ornaments and various shades of blue ornaments (from light sky blue to deep navy). White faux berries or frosted branches on picks add to the wintry feel. Snowflake picks or small, delicate white ornaments are essential. Cool white LED lights will enhance the frosty look.
- Assembly Tips: Focus on cool tones and a sense of lightness. Distribute the blue and silver elements to create a harmonious blend. The faux snow adds texture and depth, making the garland feel truly magical. This festive garland tutorial will guide you to a truly enchanting display.
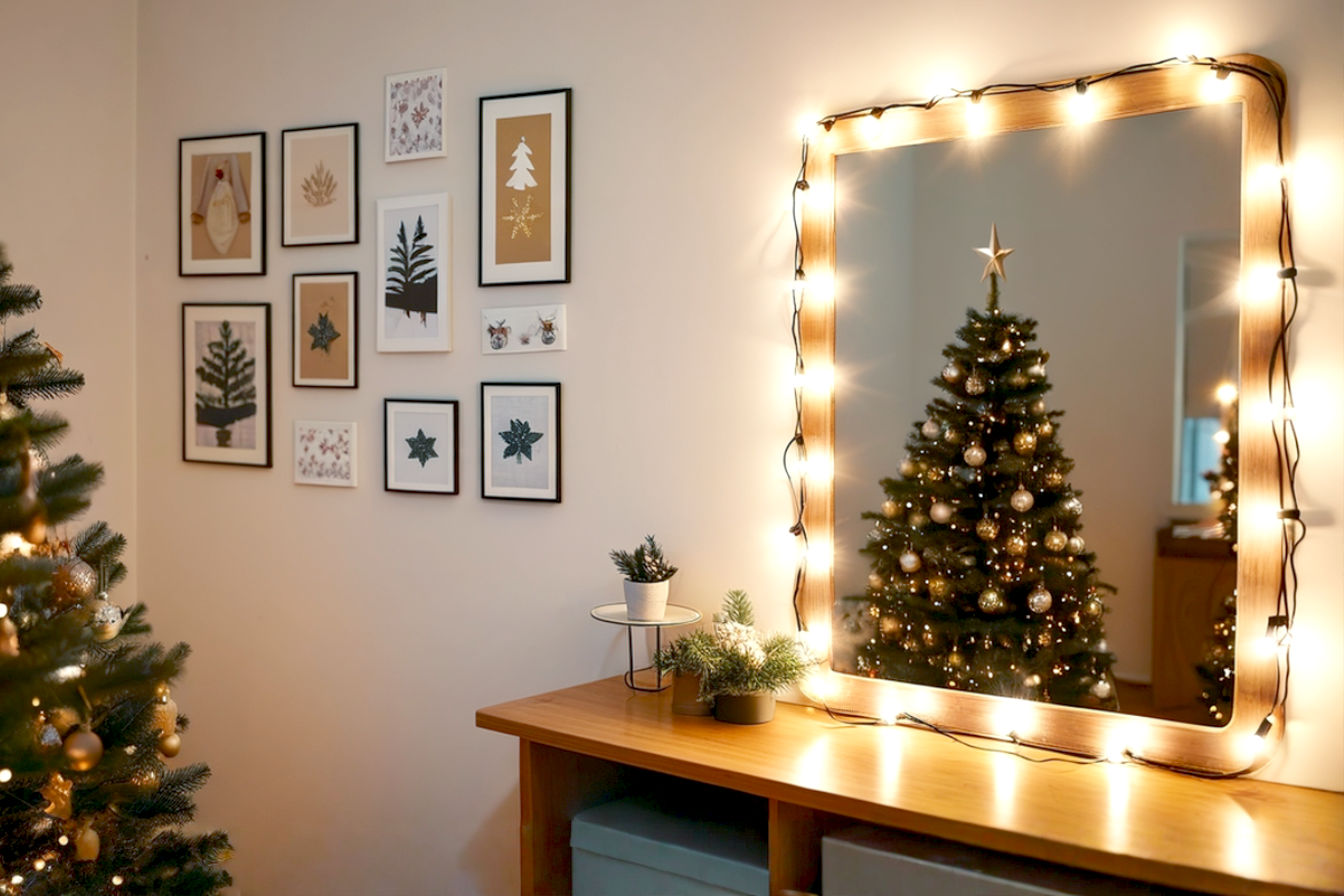
Photo Memory Garland
This is a deeply personal and heartwarming garland that celebrates cherished moments.
- Materials: A simple, unadorned artificial green garland or even a thick piece of rope or twine will serve as the base. You’ll need small framed photos (miniature frames are available at craft stores) or simply printed photos that you can laminate or mount on cardstock. Mini clothespins are perfect for attaching the photos. Integrate string lights (fairy lights work wonderfully) to illuminate the memories. You can also add very simple, small ornaments or beads as fillers.
- Assembly Tips: The focus here is on the photos. Space them out evenly along the garland. The fairy lights can be woven around the photos to highlight them. This garland is less about elaborate decoration and more about the sentimental value of the displayed memories. It’s a truly unique Christmas garland that tells your family’s story.
Phase 5: Displaying and Storing Your DIY Masterpiece
You’ve poured your heart into creating a beautiful DIY Christmas garland. Now, let’s make sure it’s displayed safely and stored properly so you can enjoy it for years to come.
Hanging Your Garland Safely and Securely
Proper hanging is crucial for both aesthetics and safety. You want your garland to stay put and not damage your surfaces.
Command Hooks, Garland Hangers, Nails
- Command Hooks: These are fantastic for temporary hanging, especially on painted walls, mantels, or doorways, as they remove cleanly without leaving residue. Choose hooks specifically designed for the weight of your garland. They adhere with adhesive strips and are easy to apply and remove.
- Garland Hangers: For mantels, specialized garland hangers can be placed over the edge of the mantelpiece, providing hooks without needing nails or adhesives. They are often weighted to prevent tipping.
- Nails: If you’re comfortable with more permanent solutions, small finishing nails can be used in discreet locations (like the top of a door frame or along a banister) to secure the garland. Be mindful of where you place them to avoid damage.
Protecting Surfaces
No matter how you hang it, always take steps to protect your surfaces. If using nails, consider small felt pads or rubber stoppers behind the garland where it touches the wall to prevent scratches. For mantels, place a protective layer (like felt or a thin piece of fabric) under the garland, especially if it contains glitter or sap from natural greenery. This prevents residue or scratches on your furniture.
Caring for Natural Garlands
If you’ve chosen the beauty of natural greenery, a little care will help it last longer.
Misting and Longevity
Natural garlands will eventually dry out, but you can extend their life. Lightly mist your natural garland with water every day or two, especially if it’s in a warm, dry environment (like near a fireplace). This helps the needles retain moisture and stay fresh longer. Avoid direct sunlight or heat sources, which will accelerate drying. Even with care, natural garlands typically last 2-4 weeks indoors.
Disposal
Once the holidays are over and your natural garland has dried out, it’s time for disposal. Many communities offer Christmas tree and greenery recycling programs. Check with your local waste management services for guidelines on how to properly dispose of your natural garland. Composting is also an option if you have a compost pile.
Storing Artificial Garlands for Next Year
One of the big advantages of artificial garlands is their reusability. Proper storage is key to keeping them looking great year after year.
Preventing Tangling: Wrapping and Bagging
The biggest challenge with storing garlands is preventing them from tangling, especially if they have lights. After carefully removing all ornaments and embellishments, gently coil the garland into a loose circle or figure-eight. You can then secure it with soft ties or strips of fabric to keep it from unraveling. Store it in a garland storage bag (specifically designed for this purpose) or a large, clear plastic storage bin. These containers protect the garland from dust, moisture, and crushing, which can flatten the branches.
Keeping Ornaments Safe
Store your ornaments separately in dedicated ornament storage boxes, ideally with individual compartments. This prevents them from scratching or breaking each other. Label your storage containers clearly so you know exactly what’s inside next year. This careful storage ensures your DIY Christmas garland components are ready for another stunning display when the holiday season rolls around again.
Conclusion: Your Garland, Your Legacy
Congratulations! You’ve navigated the exciting journey of creating a stunning DIY Christmas garland. From the initial spark of an idea to the final festive drape, you’ve learned how to plan, gather materials, and assemble a truly personal piece of holiday decor. We’ve covered everything from choosing between artificial and natural greenery to weaving in lights, adding ribbons, and strategically placing embellishments. We even explored diverse creative ideas, from rustic charm to whimsical wonders, and discussed the best ways to display and store your creation.
Making your own garland isn’t just about saving money or having a unique decoration; it’s about the joy of creation, the satisfaction of a job well done, and the memories you make along the way. Each time you look at your homemade Christmas garland, you’ll see not just pinecones and ribbons, but a reflection of your creativity and effort. It becomes a part of your family’s holiday tradition, a legacy of warmth and beauty.
So, don’t hesitate to embark on more DIY projects in the future. The skills you’ve gained here can be applied to countless other crafts. Happy crafting, and may your home be filled with sparkle, drape, and holiday cheer!