This post may contain affiliate links. If you make a purchase through these links, we may earn a commission at no additional cost to you.
The holiday season often brings to mind cozy images: a crackling fire, stockings hung with care, and families gathered around a warm hearth. But what if your home doesn’t have a fireplace? Does that mean you miss out on that classic Christmas magic? Absolutely not! You can still create a beautiful, festive focal point that captures the spirit of the season, even without a traditional chimney.
This comprehensive guide will show you how to design, build, and decorate a stunning decorative (or “faux”) fireplace. We’ll cover everything from simple cardboard constructions to more permanent wooden structures, explore realistic flame effects, and provide endless ideas for decking your new mantel with holiday cheer. Get ready to transform your living space and make this Christmas truly magical.
Why a Faux Fireplace? Unlocking Christmas Ambiance
A fireplace isn’t just about warmth; it’s a symbol of home, comfort, and togetherness. During Christmas, it becomes the heart of holiday traditions. Even without a real one, a decorative fireplace can provide that essential festive ambiance.
The Appeal of a Hearth: More Than Just Heat
Think about the classic Christmas scene. What’s often at its center? A fireplace. It’s where Santa traditionally arrives, where stockings are hung, and where the family gathers. This visual focal point draws the eye and creates a natural gathering spot in any room. A faux fireplace fulfills this role perfectly, offering a dedicated space for your most cherished holiday decorations. It acts as a backdrop for your Christmas tree, a display area for festive figurines, and, most importantly, a place to hang those stockings, ready for Christmas morning.
Practical Benefits: Space, Safety, and Budget
Building a decorative fireplace offers several significant advantages over a real one. First, space efficiency is key. Unlike a bulky, permanent structure, a faux fireplace can be designed to fit almost any room size, from a small apartment living room to a spacious family den. You can even make it temporary and store it away after the holidays. Second, safety is greatly enhanced. There’s no open flame, no smoke, and no need for chimney maintenance. This makes it a fantastic option for homes with young children or pets, giving you peace of mind while still enjoying the visual appeal of a hearth. Finally, budget-friendliness is a huge plus. Constructing a decorative fireplace can be incredibly inexpensive, especially if you use readily available materials like cardboard or repurposed furniture. Even sturdier wood options are far more affordable than installing a real fireplace.
Overcoming Common Hurdles: Renters, Small Spaces, and No Chimney
Many people face obstacles to having a real fireplace. Renters often can’t make permanent structural changes. Homes in warmer climates or older buildings might simply lack a chimney. Small apartments might not have the floor space for a traditional hearth. A faux fireplace solves all these problems. It’s a non-permanent solution for renters, requires no chimney, and can be scaled down to fit even the tiniest nooks. It empowers everyone to enjoy the cherished tradition of a fireplace at Christmas, regardless of their living situation.
Planning Your Perfect Faux Fireplace: Design & Dimensions
Before you start cutting or gluing, careful planning is essential. Thinking through the design, size, and materials will ensure your decorative fireplace looks great and fits seamlessly into your holiday decor.
Defining Your Vision: Style and Aesthetic Considerations
What kind of look are you going for? Do you envision a rustic farmhouse feel, a sleek modern design, or a classic traditional style? Your decorative fireplace should complement your existing home decor and your chosen Christmas theme.
- Traditional: Think classic brick patterns (painted or wallpapered), white or dark wood, and ornate molding. This style often features a prominent mantel and a deep firebox opening.
- Modern: Clean lines, minimalist design, and perhaps a single, bold color. The “firebox” might be a simple recess, and the mantel could be very thin or integrated seamlessly.
- Farmhouse/Rustic: Distressed wood finishes, shiplap details, and a more rugged, natural look. Consider using reclaimed wood or painting new wood to look aged.
- Whimsical/Child-Friendly: Bright colors, playful shapes, and perhaps a cartoonish flame effect. This is perfect for a child’s bedroom or play area.
Consider the overall shape too. Will it be a simple rectangular box, or will it have decorative columns or a more elaborate mantel shelf? Sketching out a few ideas can help you visualize the final product.
Measuring Up: Placement and Proportions for Your Space
The size of your faux fireplace is crucial for it to look realistic and not overwhelm or get lost in your room.
- Height: A standard fireplace mantel is typically between 48 to 54 inches (about 122 to 137 cm) from the floor. This height allows for comfortable decorating and generally looks proportionate.
- Width: The width will depend on your wall space. A common width for the entire structure (including side columns) might range from 48 to 60 inches (about 122 to 152 cm). The firebox opening itself is usually narrower, perhaps 24 to 36 inches (61 to 91 cm) wide.
- Depth: This is where faux fireplaces differ significantly from real ones. A decorative fireplace only needs enough depth to provide a sense of dimension and hold any “fire” elements. Six to twelve inches (15 to 30 cm) deep is often sufficient. If you plan to incorporate an electric fireplace insert, check its specific depth requirements.
Before you build, measure the wall where you plan to place it. Use painter’s tape to outline the proposed dimensions on the wall and floor. This visual aid will help you determine if the size feels right for your room. Ensure it doesn’t block doorways, windows, or essential walkways.
Choosing Your Foundation: Freestanding vs. Wall-Mounted
Your construction method will depend on whether you want a permanent fixture or something you can move or store.
- Freestanding: This is the most common approach for decorative fireplaces. The structure is self-supporting and can be moved around the room or stored away after the holidays. This is ideal for renters or those who like to redecorate frequently. Most DIY options, especially those made from cardboard or lighter wood, will be freestanding.
- Wall-Mounted/Attached: While less common for purely decorative purposes, you could build a fireplace surround that is secured to the wall. This offers greater stability and can look more integrated, but it’s less flexible. This option is usually reserved for more permanent structures, perhaps built around an existing wall or to frame an electric fireplace insert that you want to be a year-round feature.
Material Matters: From Cardboard to Wood and Beyond
The material you choose will impact the difficulty of construction, the cost, and the durability of your faux fireplace.
- Cardboard:
- Pros: Extremely inexpensive, lightweight, easy to cut and shape with basic tools (box cutter, scissors), perfect for temporary setups, and highly customizable with paint and paper.
- Cons: Not very durable, susceptible to moisture, can be flimsy if not reinforced properly, and might not look as realistic without careful finishing.
- Best for: Quick, budget-friendly, and temporary Christmas displays, especially fun for families to build together.
- Plywood or MDF (Medium-Density Fiberboard):
- Pros: Sturdy, durable, can be painted or finished to look like real wood, reusable for many years, good for supporting heavier mantel decor or electric inserts. MDF is smoother and easier to paint; plywood offers more structural integrity.
- Cons: Requires more tools (saw, drill), heavier, more expensive than cardboard, and can be more challenging for novice DIYers.
- Best for: A more permanent, realistic, and reusable decorative fireplace.
- Repurposed Furniture:
- Pros: Eco-friendly, unique, can save construction time if the base structure is already there (e.g., an old dresser or bookcase), adds character.
- Cons: Requires finding the right piece, might need significant modifications, and can be heavy.
- Best for: Creative individuals looking for a unique, upcycled solution.
- Foam Board:
- Pros: Lightweight, easy to cut, smooth surface for painting, good for a slightly sturdier alternative to cardboard.
- Cons: More expensive than cardboard, can bend if not supported, not as durable as wood.
- Best for: A step up from cardboard, offering a cleaner finish for temporary displays.
Consider your DIY skill level, budget, and how long you want the fireplace to last when making your material choice.
DIY Decorative Fireplace Construction: Step-by-Step Guides
Now for the fun part: building your faux fireplace! We’ll explore three popular methods, ranging from super simple to more involved.
Option 1: The Cardboard Christmas Fireplace (Budget-Friendly & Easy)
This is a fantastic option for a quick, inexpensive, and temporary Christmas display. It’s also a great project to do with kids.
Materials Needed: Cardboard, Tape, Glue, Paint
You’ll need several large cardboard boxes. Appliance boxes (refrigerator, washing machine) are ideal, but you can tape smaller boxes together.
- Cardboard: Large, sturdy boxes (moving boxes, appliance boxes).
- Strong Tape: Packing tape or duct tape for initial assembly.
- Hot Glue Gun and Glue Sticks: For more secure seams and attaching decorative elements. White craft glue can also work but takes longer to dry.
- Box Cutter or Utility Knife: For precise cutting. A ruler or straight edge is essential for straight lines.
- Pencil and Measuring Tape: For marking cuts.
- Paint: White, red, or brick-colored acrylic or spray paint. You might also want black or dark gray for the firebox interior.
- Optional: Brick-patterned contact paper or wallpaper, decorative foam molding, clear packing tape (for a “glass” effect in the firebox).
Cutting and Shaping: Creating the Mantel and Surround
- Plan Your Pieces: Based on your measurements (height, width, depth), draw out the individual pieces on your cardboard. You’ll typically need:
- A large front panel for the main body.
- Two side panels for the depth.
- A top panel for the mantel shelf.
- Smaller pieces for the mantel support (if desired) and the firebox opening.
- Cut Carefully: Using your box cutter and a straight edge, carefully cut out all your cardboard pieces. Take your time to ensure clean, straight lines. For the firebox opening, you can cut out a rectangle from the main front panel.
- Score and Fold: For pieces that need to bend (like the top of the firebox opening or the edges of the mantel), gently score the cardboard with your utility knife (don’t cut all the way through) along the fold line. This creates a crisp, clean fold.
Assembly Techniques: Reinforcing for Stability
- Form the Main Body: Begin by taping the front panel to the two side panels to create a basic box shape. Use strong packing tape on the inside seams for a cleaner exterior.
- Create the Firebox: If you cut out a firebox opening, you’ll need to create depth. Cut strips of cardboard and glue them to the inside edges of the opening, extending backward to form the firebox’s interior walls. Paint the inside of this area black or dark gray before fully assembling for easier access.
- Add the Mantel Shelf: Cut your mantel shelf piece (this should be wider and deeper than the main body). Attach it to the top of your fireplace structure using hot glue or strong tape. For extra support, you can create small cardboard braces and glue them underneath the mantel shelf where it meets the main body.
- Reinforce: Cardboard can be flimsy. To make it sturdier, you can:
- Add Internal Bracing: Glue cardboard strips vertically inside the structure, especially at corners and along edges, to act as internal supports.
- Double Layering: For areas like the mantel top or the front panel, you can cut and glue a second layer of cardboard for added thickness and rigidity.
- Weighted Base: If stability is a concern, you can place a flat, heavy object (like a few books or a small sandbag) inside the base of the fireplace once it’s assembled.
Finishing Touches: Painting and Texturing
- Prime (Optional but Recommended): If your cardboard has a lot of printing, a coat of white primer will help your final paint color look more vibrant and even.
- Paint: Paint the entire fireplace structure.
- Brick Effect: You can paint a brick pattern by hand using a sponge or stencil. Alternatively, apply brick-patterned contact paper or wallpaper for a realistic look with less effort.
- Stone Effect: Sponge on different shades of gray and brown paint for a stone appearance.
- Solid Color: A simple white, cream, or dark gray can look very elegant and modern.
- Add Details:
- Molding: Use strips of foam board, thin cardboard, or even actual lightweight foam molding (available at craft stores) to create decorative trim around the firebox opening or under the mantel.
- “Hearth” Base: Glue a slightly larger piece of cardboard to the bottom front of your fireplace to simulate a hearth.
- “Grates”: Cut thin strips of black cardboard and glue them in a grid pattern inside the firebox opening to mimic a fireplace grate.
Let all paint and glue dry completely before moving or decorating your new cardboard fireplace.
Option 2: The Plywood or MDF Faux Fireplace (Sturdier & Reusable)
This option requires a bit more skill and tools but results in a durable, reusable, and very realistic-looking decorative fireplace.
Tools and Materials: Wood, Saw, Drill, Screws, Wood Glue
- Wood: 1/2-inch or 3/4-inch thick plywood or MDF sheets. MDF is smoother for painting, plywood is generally stronger.
- Saw: Circular saw, jigsaw, or miter saw for cutting straight lines and curves.
- Drill: With drill bits for pilot holes and a driver bit for screws.
- Wood Screws: Various lengths (e.g., 1 1/4-inch, 2-inch).
- Wood Glue: For strong, permanent joints.
- Measuring Tape, Pencil, and Carpenter’s Square: For accurate measurements and marking.
- Clamps: To hold pieces together while glue dries.
- Sanding Supplies: Sandpaper (medium and fine grit) or an orbital sander.
- Wood Filler: To fill screw holes and imperfections.
- Primer and Paint: Latex paint for a smooth finish.
- Optional: Decorative wood molding, trim, shiplap panels, or thin brick veneer for added detail.
Measuring and Cutting Precise Pieces
- Detailed Cut List: Based on your design and dimensions, create a precise cut list for all your wood pieces. This will typically include:
- Front Panel: The main face of the fireplace with the firebox opening.
- Side Panels (2): To create the depth.
- Top Mantel Shelf: The widest and deepest piece.
- Mantel Support/Header: A piece that sits under the mantel shelf.
- Base/Hearth: A wider, deeper piece for the bottom.
- Internal Bracing/Supports: Strips of wood to reinforce the structure.
- Firebox Interior Panels (optional): If you want a fully enclosed firebox.
- Accurate Cutting: Carefully cut each piece according to your measurements. Use a straight edge or a saw guide for perfectly straight cuts. For the firebox opening, drill a pilot hole in one corner, then use a jigsaw to cut out the rectangle. Sand all cut edges smooth to prevent splinters and prepare for finishing.
Assembling the Frame and Mantel
- Build the Main Box: Attach the two side panels to the front panel using wood glue and screws. Drill pilot holes first to prevent the wood from splitting. Ensure the corners are square using a carpenter’s square.
- Add Internal Supports: Cut smaller pieces of wood to create internal bracing at the corners and along the top and bottom edges. These provide structural integrity and give you more surface area for attaching other pieces. Glue and screw these in place.
- Construct the Mantel: Attach the mantel support/header piece to the top front of your main box. Then, place the mantel shelf on top of this support, ensuring it overhangs evenly on the front and sides. Glue and screw the mantel shelf into the support and the top edges of the side panels.
- Attach the Base/Hearth: Secure the wider base piece to the bottom of your assembled fireplace structure using glue and screws. This provides stability and a finished look.
- Firebox Interior (Optional): If you want a fully enclosed firebox, cut and attach smaller pieces of wood to form the back and side walls of the interior. Paint the inside of the firebox black before final assembly.
Adding Details: Trim, Molding, and Paneling
This is where you can really make your wooden fireplace look professional and customized.
- Molding: Apply decorative wood molding around the firebox opening, along the edges of the mantel, or at the base. Use wood glue and small finish nails or brad nails (a nail gun makes this easy). Miter cuts at corners will create seamless joints.
- Paneling: For a farmhouse look, you could attach thin shiplap or beadboard panels to the front and sides of the fireplace.
- Columns: You can purchase pre-made decorative wood columns or build simple box columns from plywood to attach to the sides of your fireplace for a more grand appearance.
- Faux Brick/Stone: Instead of painting, you could apply thin, lightweight faux brick or stone veneer panels directly to the wood surface using construction adhesive. This creates an incredibly realistic texture.
Finishing: Sanding, Priming, and Painting
- Fill and Sand: Once all pieces are assembled and details are added, fill all screw holes and any gaps with wood filler. Let it dry completely, then sand the entire structure smooth. Start with a medium-grit sandpaper (e.g., 120-grit) to remove imperfections, then move to a fine-grit (e.g., 220-grit) for a silky smooth finish. Wipe away all dust.
- Prime: Apply a good quality wood primer. This step is crucial, especially for MDF, as it helps the paint adhere evenly and prevents the wood from absorbing too much paint.
- Paint: Apply two or more coats of your chosen paint color. Lightly sand between coats for the smoothest finish. White, cream, or a deep charcoal gray are popular choices for a classic look. For a rustic feel, you might stain the wood or use a distressed painting technique.
Allow all paint to cure fully before moving or decorating your sturdy new fireplace.
Option 3: Repurposed Furniture Fireplace (Creative Upcycling)
Transforming an old piece of furniture into a decorative fireplace is a fantastic way to create a unique and eco-friendly focal point.
Finding the Right Piece: Old Dressers, Bookcases
The key is to find a piece of furniture with the right dimensions and a suitable structure.
- Old Dresser: A dresser with two or three drawers can be perfect. You’ll remove the drawers and cut out the front panel to create the firebox opening. The top of the dresser becomes your mantel.
- Bookcase: A short, wide bookcase can also work. You’d remove shelves and cut out a central opening.
- Console Table/Sideboard: These pieces often have a good height and depth, requiring less modification.
Look for sturdy, solid wood pieces at thrift stores, yard sales, or online marketplaces. Avoid particle board furniture, as it’s difficult to cut cleanly and isn’t very durable.
Modifying for a Firebox Opening
- Empty and Clean: Remove all drawers, shelves, and hardware from your chosen furniture piece. Clean it thoroughly.
- Mark the Opening: Measure and mark the dimensions of your desired firebox opening on the front of the furniture. Remember to leave enough structural integrity on the sides and top.
- Cut the Opening: Use a jigsaw to carefully cut out the marked opening. Drill pilot holes in the corners first to make it easier to start the cut. Take your time to ensure clean, straight lines.
- Remove Obstructions: If you’re using a dresser, you’ll need to remove the drawer slides and any internal dividers that obstruct the new firebox space.
- Create an Interior (Optional): If the furniture piece is deep enough, you can add a back panel and side panels inside the newly cut opening to create a finished firebox interior. Paint this area black.
Structural Reinforcement and Stability
- Internal Bracing: Depending on how much you cut away, you might need to add internal wood bracing to reinforce the structure, especially around the new firebox opening. Use wood glue and screws to secure these.
- Base Stability: If the furniture piece feels wobbly after modification, consider adding a wider base or some small feet for better stability.
- Leveling: Ensure the piece is level once placed in its final position. Use furniture glides or shims if needed.
Refinishing and Decorating
- Prep the Surface: Fill any holes or imperfections with wood filler. Sand the entire piece thoroughly to prepare it for painting or staining. Remove all dust.
- Prime and Paint/Stain: Apply a suitable primer, then paint or stain the furniture piece to match your desired aesthetic. A fresh coat of paint can completely transform an old piece.
- Add Details:
- Molding: Attach decorative wood molding around the firebox opening for a finished look.
- Hardware: Re-attach original hardware or add new decorative knobs or pulls if they fit the aesthetic.
- Faux Brick/Stone: Apply lightweight faux brick or stone veneer inside the firebox opening or on the front face for added texture.
- Hearth: You can place a piece of painted plywood or a decorative tile mat on the floor in front of the fireplace to simulate a hearth.
This method allows for incredible creativity and can result in a truly unique and charming decorative fireplace.
Enhancing the Illusion: Realistic Fire Effects
A decorative fireplace truly comes alive with the addition of a convincing flame effect. You have several options, from high-tech electric inserts to simple, non-electric solutions.
Electric Fireplace Inserts: Types and Features
Electric fireplace inserts are self-contained units that mimic the look of a real fire using various technologies. They are designed to fit into an existing fireplace opening or a custom-built surround.
Types and Features: LED, Water Vapor, Fan-Forced
- LED Flame Technology: This is the most common type. LEDs project light onto a rotating rod or screen, creating a flickering flame effect. Many models offer adjustable flame brightness, color options (from traditional orange to more modern blue or purple), and realistic log sets. They are energy-efficient and produce no heat unless a heater is included.
- Water Vapor (Opti-Myst/Vapor-Fire): These inserts use ultrasonic technology to create an ultra-fine water mist that is illuminated by LED lights. The mist rises, creating a remarkably realistic 3D flame and smoke effect. They are cool to the touch, produce no heat, and require regular refilling of a water reservoir. This technology offers the most realistic visual effect without actual fire.
- Fan-Forced Heaters: Many electric inserts include a fan-forced heater that can provide supplemental zone heating. This means they blow warm air into the room, typically heating an area of 400-1000 square feet. This feature can be turned on or off independently of the flame effect.
Installation Considerations: Sizing and Power
- Sizing: It’s crucial to measure your firebox opening precisely before purchasing an electric insert. Inserts come in standard sizes, and you’ll want one that fits snugly or can be easily trimmed around with molding.
- Power: Most electric fireplace inserts plug into a standard 120V household outlet. If the unit includes a heater, it might draw more power (e.g., 1500 watts), so ensure the circuit can handle the load without tripping breakers. Some larger or higher-output units might require a dedicated 240V circuit, but these are less common for simple decorative inserts. Always check the manufacturer’s specifications.
- Ventilation: While electric inserts don’t produce combustion byproducts, some models with heaters recommend a small amount of clearance around the unit for proper airflow. Read the manual carefully.
Safety and Heat Output (if applicable)
Electric fireplace inserts are generally very safe.
- No Combustion: They don’t burn anything, so there are no harmful emissions, smoke, or carbon monoxide.
- Cool-Touch Glass: Many models feature cool-touch glass fronts, making them safe for homes with children or pets.
- Overheat Protection: Inserts with heaters typically have an automatic shut-off feature that activates if the unit overheats, preventing fire hazards.
- Heat Output: If your insert has a heater, be mindful of its heat output. While it’s supplemental, it can still make the area warm. Avoid placing highly flammable materials directly in front of the heat vent.
Non-Electric Flame Alternatives: Creating a Glow
If an electric insert isn’t in your budget or you prefer a simpler approach, many non-electric options can create a beautiful, glowing effect.
LED Flame Lights and Projectors
- LED Flame Bulbs: These unique bulbs screw into standard light sockets and are designed to mimic the flickering motion and color of a real flame. You can place them in a lamp base inside your firebox or even hang them from the top of the firebox opening.
- Flame Projectors: Small, inexpensive projectors can cast a flickering flame image onto the back wall of your firebox, creating a dynamic and realistic effect.
- Battery-Operated LED Candles: Group several battery-operated LED pillar candles of varying heights inside the firebox. Their flickering “flames” provide a warm, inviting glow without any fire risk. Look for candles with a realistic wax coating and a warm white or amber light.
Fairy Lights and Twinkle Lights in Logs
- Illuminated Log Sets: Purchase faux logs specifically designed with internal LED lights that glow and flicker.
- DIY Lit Logs: Collect a few real logs (or use faux ones) and arrange them in your firebox. Weave strands of battery-operated fairy lights or warm white LED twinkle lights among them. The lights will glow through the gaps, creating a magical, ethereal effect. You can also wrap individual logs with lights.
- Colored Cellophane: For a more vibrant, fiery glow, you can wrap some of the fairy lights or LED candles with orange, red, and yellow cellophane before placing them among the logs.
DIY Log Piles with Orange/Red Cellophane
This is a very simple and effective way to create a warm glow.
- Gather Logs: Use a few real logs (cleaned and dried) or faux logs.
- Add Light Source: Place a string of warm white LED lights or a few battery-operated LED candles at the base of your log pile.
- Cellophane Effect: Drape pieces of orange, red, and yellow cellophane or tissue paper over the lights and among the logs. The light will diffuse through the colored paper, creating a soft, warm, and flickering “ember” effect. You can crinkle the cellophane for more texture.
Sound Effects: Crackling Fire Apps and Speakers
To truly complete the illusion, add the sound of a crackling fire.
- Smartphone Apps: Many free or inexpensive apps offer realistic fireplace sounds.
- YouTube Videos: Search for “crackling fireplace sounds” on YouTube. Many videos offer hours of continuous fire sounds.
- Bluetooth Speaker: Place a small Bluetooth speaker discreetly inside or near your firebox, connected to your phone or tablet playing the fire sounds. The sound will seem to emanate directly from your faux fireplace, enhancing the immersive experience.
Combining visual flame effects with realistic sound will make your decorative fireplace feel incredibly authentic and inviting.
Decorating Your Faux Fireplace for Christmas Magic
Once your decorative fireplace is built and your flame effect is in place, it’s time to unleash your creativity and transform it into a Christmas wonderland.
The Mantelpiece Masterpiece: Focal Point Decor
The mantel is the prime real estate for holiday decorating. It’s where you can truly express your Christmas style.
Garlands, Wreaths, and Greenery
- Classic Greenery: Start with a lush garland draped across the mantel. You can use artificial pine, cedar, or mixed greenery garlands. For a more natural look, incorporate real evergreen branches (pine, fir, cedar) from your yard or a local tree farm.
- Embellish Your Garland: Weave in battery-operated fairy lights for a magical glow. Add pinecones, berries (faux or real), ornaments, ribbons, or even small bells to personalize it.
- Layering: For a fuller look, layer two different types of garlands (e.g., a thick pine garland with a thinner, more delicate eucalyptus garland).
- Wreath Accent: Hang a festive Christmas wreath above the mantel. Choose one that complements your garland and overall theme. You can hang it directly on the wall or from a decorative hook.
Candles (LED for Safety), Lanterns, and Lighting
- LED Candles: These are a must for safety on a faux fireplace. Group varying heights of battery-operated LED pillar candles on your mantel for a warm, flickering glow. Look for remote-controlled options for easy operation.
- Lanterns: Place decorative lanterns (filled with LED candles or fairy lights) on either end of the mantel or nestled within the garland. They add a charming, rustic touch.
- String Lights: Drape additional strands of warm white or colored LED string lights along the mantel, weaving them through the garland or letting them cascade down the sides.
- Spotlights: For a dramatic effect, consider a small, battery-operated spotlight hidden behind the garland, aimed at a specific ornament or piece of art above the mantel.
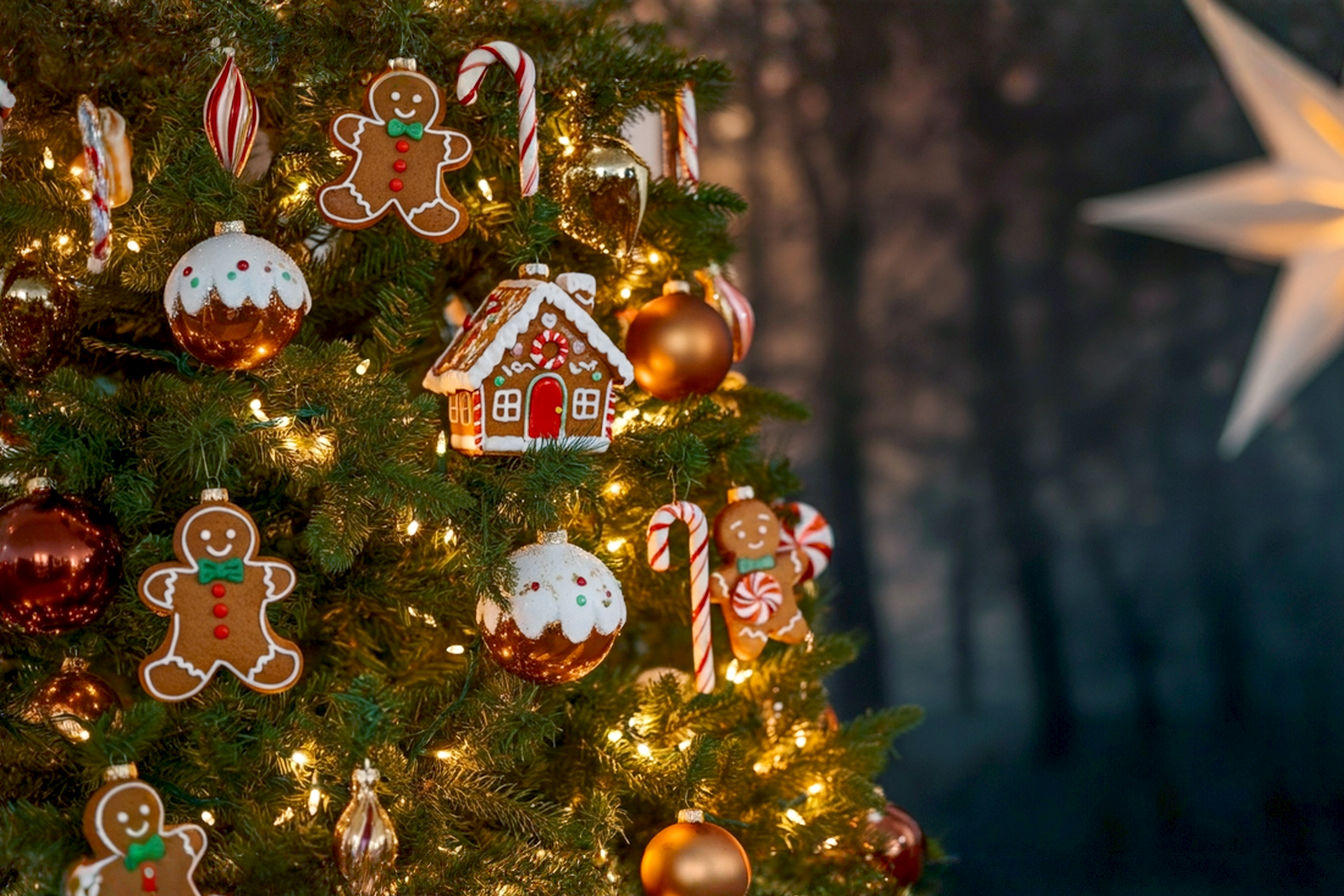
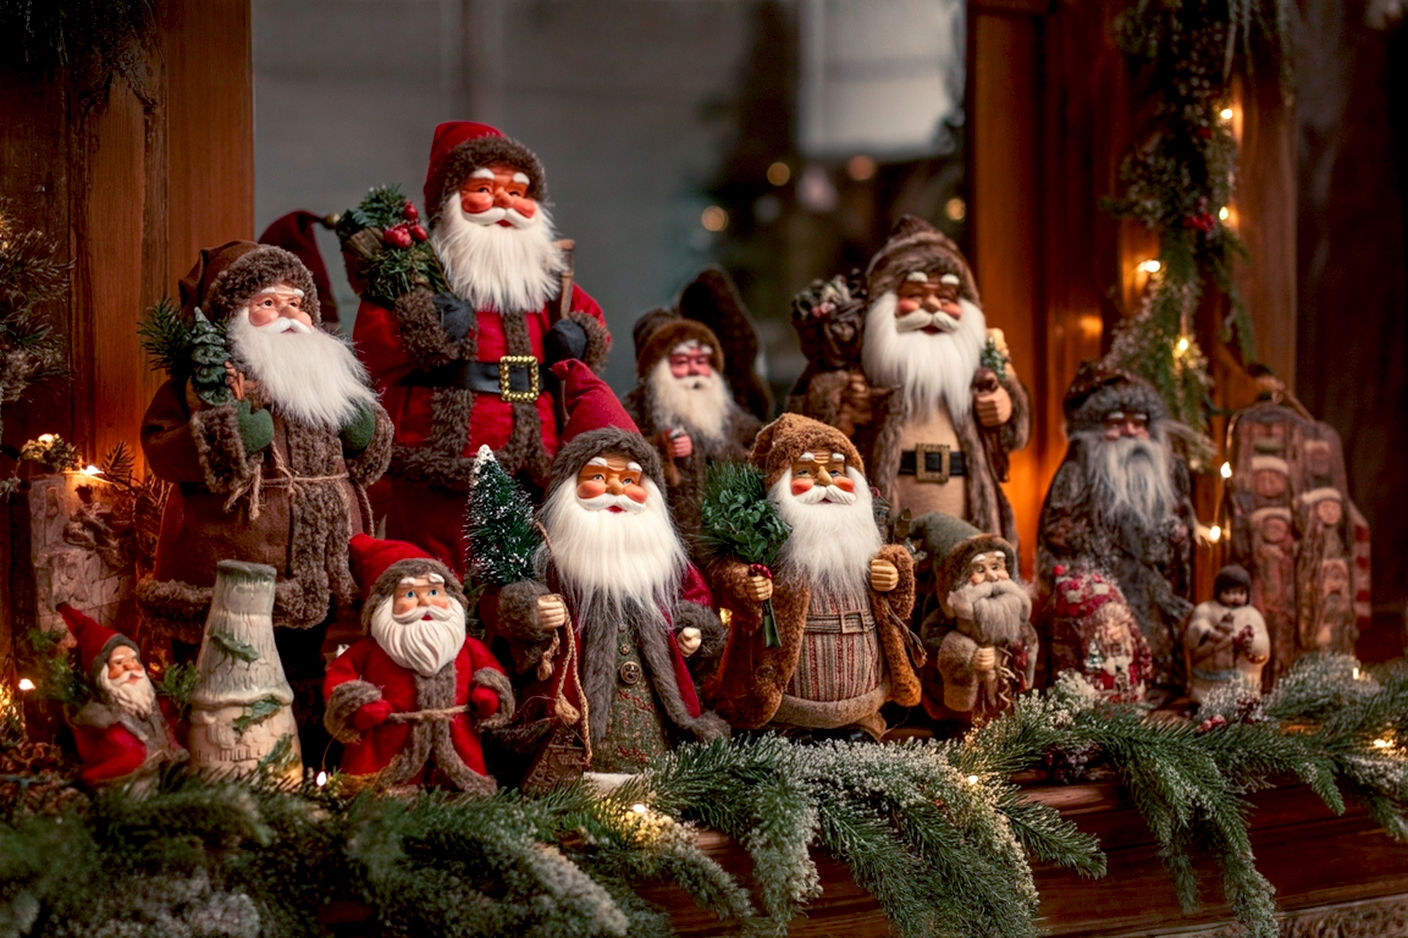
Ornaments, Figurines, and Personal Touches
- Themed Ornaments: Incorporate ornaments that match your Christmas theme (e.g., rustic, vintage, whimsical). Hang them from the garland or arrange them in small groupings.
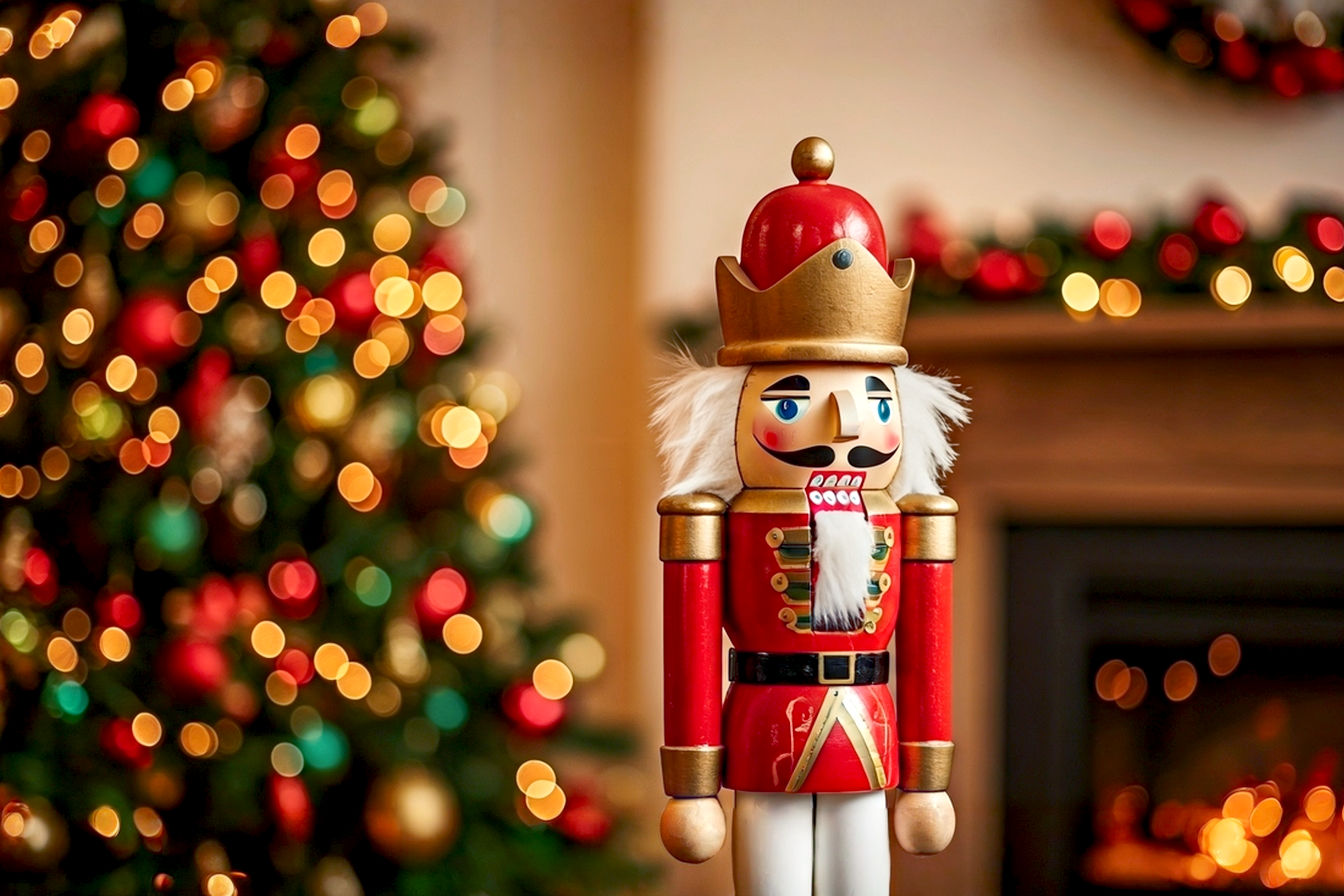
- Figurines: Display cherished Christmas figurines, Santa statues, nutcrackers, or miniature village pieces.
- Personal Photos: Frame festive family photos and arrange them on the mantel.
- Stocking Holders: If you’re hanging stockings from the mantel, use decorative stocking holders. These can be weighted to prevent tipping or simply decorative hooks integrated into your design.
- Mirrors or Art: A large mirror or a festive piece of art hung above the mantel can anchor the entire display and reflect light, making the room feel brighter and more spacious.
The Hearth and Firebox Area: Beyond the Flame
Don’t forget the area inside and immediately around the firebox. This is crucial for completing the illusion.
Stockings (Crucial for Christmas!)
- Hanging Stockings: This is arguably the most important element for a Christmas fireplace. If you have a sturdy mantel, use weighted stocking holders. If your faux fireplace is lighter, you can attach small, strong adhesive hooks to the underside of the mantel or even directly to the wall behind the fireplace structure.
- Stocking Design: Choose stockings that complement your overall decor. Personalize them with names or initials.
Faux Logs, Pinecones, and Natural Elements
- Realistic Log Pile: Even if you have an electric insert, a pile of realistic-looking faux logs (or real, clean logs) adds authenticity. Arrange them artfully inside the firebox.
- Pinecones: Scatter large pinecones around the base of the logs or on the “hearth” area. You can even spray-paint them with glitter or faux snow.
- Natural Elements: Incorporate other natural elements like bundles of cinnamon sticks, dried orange slices, or small branches of evergreen for a rustic, aromatic touch.
- Ash/Embers: For extra realism, you can place a few dark gray or black rocks at the base of your logs to mimic ash or embers.
Cozy Blankets and Pillows
- Layering: Drape a cozy throw blanket over the edge of your faux hearth or a nearby armchair.
- Floor Pillows: Place a few festive floor pillows or poufs around the fireplace area. This creates an inviting, comfortable spot for gathering and enjoying the ambiance.
- Faux Fur: A faux fur rug or throw can add a luxurious, warm texture to the hearth area.
Beyond the Mantel: Surrounding Decor
Extend your decorating beyond the immediate fireplace structure to create a cohesive and immersive Christmas scene.
Area Rugs and Floor Pillows
- Define the Space: An area rug in front of your faux fireplace helps define the “hearth” zone and adds warmth and texture. Choose a rug with Christmas colors or patterns.
- Comfort Zone: Complement the rug with additional floor pillows, creating an inviting space for kids to open presents or for adults to relax.
Christmas Trees and Presents
- Strategic Placement: Position your Christmas tree near the faux fireplace to create a unified holiday display. The fireplace acts as a beautiful backdrop for your tree.
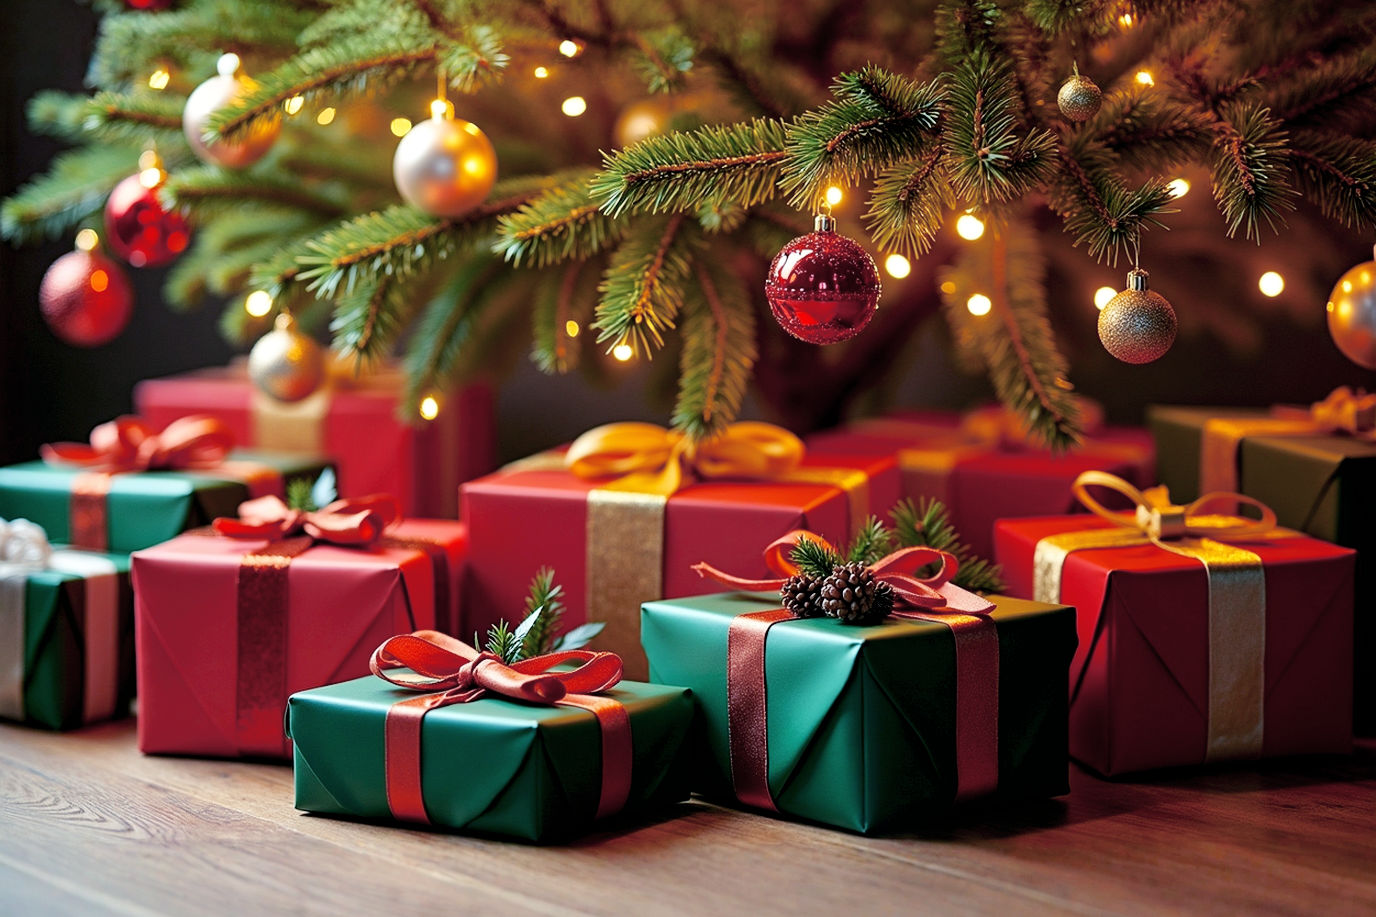
- Present Display: Arrange wrapped presents around the base of the tree and spilling onto the hearth area. The colorful packages add to the festive visual.
Wall Art and Mirrors
- Above the Mantel: As mentioned, a large mirror or a piece of festive wall art (e.g., a winter landscape, a Santa Claus portrait, or a holiday-themed print) can be a stunning focal point above the mantel. A mirror will also reflect the lights from your fireplace and tree, enhancing the sparkle.
- Flanking the Fireplace: If you have space, consider placing matching wall sconces or framed prints on either side of the fireplace to frame it visually.
By thoughtfully combining these decorative elements, your faux fireplace will become the undeniable heart of your Christmas celebrations.
Safety First: Enjoying Your Decorative Fireplace Responsibly
Even though a decorative fireplace doesn’t involve real flames, it’s still important to consider safety, especially when dealing with electrical components and decorative materials.
Placement Considerations: Stability and Clearances
- Stable Surface: Ensure your faux fireplace is placed on a flat, stable surface. If it’s a lightweight cardboard construction, consider placing a few heavy books or sandbags inside the base to prevent it from tipping over, especially if you have active children or pets.
- Clearances: While there’s no actual fire, maintain some clearance around the unit, especially if you’re using an electric insert with a heater. Avoid placing it directly against curtains, drapes, or other highly flammable materials. Check the manufacturer’s recommendations for any electric insert.
- Traffic Areas: Do not place the fireplace in a high-traffic area where it could be easily bumped into or knocked over.
Electrical Safety with Inserts and Lights
- UL Certification: If using an electric fireplace insert, ensure it is UL (Underwriters Laboratories) certified. This indicates it has met specific safety standards.
- Proper Outlets: Plug electric inserts and string lights into appropriate, grounded outlets. Avoid using extension cords if possible. If an extension cord is necessary, use a heavy-duty, outdoor-rated cord that is rated for the appliance’s wattage. Never daisy-chain multiple extension cords.
- Overload Prevention: Do not overload electrical circuits. If you notice lights flickering or breakers tripping, unplug some devices.
- Damaged Cords: Regularly inspect all electrical cords for fraying, cuts, or damage. Replace any damaged cords immediately.
- Unplug When Not in Use: Unplug electric inserts and string lights when you leave the house or go to bed.
Avoiding Flammable Materials Near Heat Sources (even faux ones)
- No Real Candles: While LED candles are safe, avoid using real wax candles with open flames on or near your faux fireplace, especially if it’s made of cardboard or other flammable materials. The risk of accidental tipping or ignition is too high.
- Heat from Inserts: If your electric insert has a heater, be mindful of where the heat is directed. Avoid placing stockings, garlands, or other fabric decorations directly in front of the heat vent. While the heat is not extreme, prolonged exposure could potentially damage delicate materials or, in rare cases, pose a fire risk if materials are too close.
- Decorations: Ensure any fabric or paper decorations (like stockings, paper snowflakes, or dried floral arrangements) are kept a safe distance from any heat-emitting components of an electric insert.
Child and Pet Safety
- Stability: As mentioned, ensure the fireplace is stable and won’t tip if a child or pet bumps into it.
- Electrical Cords: Secure all electrical cords to prevent tripping hazards and to keep them out of reach of curious children and pets who might chew on them. Use cord covers or secure them with cable ties.
- Small Decorations: If you have very young children or pets, be mindful of small ornaments, figurines, or faux berries that could be a choking hazard. Place them higher up on the mantel or choose larger, safer decorations.
- “Cool-Touch” Inserts: If using an electric insert, opt for models with cool-touch glass fronts to prevent burns if touched by curious hands.
By following these simple safety guidelines, you can enjoy the beauty and magic of your decorative fireplace with complete peace of mind throughout the holiday season.
Beyond Christmas: Year-Round Decorative Fireplace Ideas
A decorative fireplace doesn’t have to be just for Christmas. With a little creativity, it can be a charming and functional feature in your home all year long.
Seasonal Transformations: Spring, Summer, Fall
- Spring: Decorate with pastel colors, faux flowers (tulips, daffodils), bird figurines, and light, airy garlands. You could fill the firebox with decorative branches, fairy lights, or a collection of colorful vases.
- Summer: Embrace a coastal or botanical theme. Use seashells, driftwood, vibrant green plants, or a collection of blue and white ceramics on the mantel. The firebox could hold a display of potted herbs or a stack of colorful books.
- Fall: Transition to warm, earthy tones. Decorate with pumpkins, gourds, fall leaves, corn husks, and candles in amber or rust colors. A cozy plaid blanket draped over the mantel or a stack of firewood (real or faux) in the firebox would complete the look.
Functional Uses: Storage, Display Shelving
- Built-in Shelving: If your faux fireplace is deep enough, you can add small shelves inside the firebox opening. This creates a clever spot for displaying small decorative items, books, or even art.
- Hidden Storage: For a more discreet approach, you could design the firebox with a hinged door or a removable panel, turning it into hidden storage for blankets, games, or other household items.
- Display Nook: Even without shelves, the firebox itself can be a unique display area. Show off a collection of antique bottles, a stack of vintage books, or a large, decorative vase.
Creating a Cozy Reading Nook
- Comfort is Key: Place a comfortable armchair or a plush beanbag chair next to your decorative fireplace.
- Lighting: Add a floor lamp or a table lamp nearby for reading.
- Books and Blankets: Keep a stack of your favorite books and a soft throw blanket within easy reach. The faux fireplace, with its gentle glow (perhaps from an electric insert or LED candles), creates the perfect ambiance for a quiet evening of reading and relaxation.
- Small Table: A small side table for your cup of tea or coffee can complete the cozy setup.
By thinking beyond Christmas, your decorative fireplace can become a versatile and beloved feature in your home, adding charm and character throughout the year.
Conclusion
The absence of a traditional fireplace doesn’t mean you have to miss out on the quintessential Christmas magic. As we’ve explored, creating a decorative fireplace is an accessible, affordable, and incredibly rewarding DIY project. Whether you opt for the simplicity of cardboard, the durability of wood, or the charm of repurposed furniture, you can craft a stunning focal point that anchors your holiday decor.
From selecting the perfect design and materials to adding realistic flame effects and decking the mantel with festive cheer, every step allows for personal expression and creativity. Remember to prioritize safety in your design and decoration, ensuring your beautiful creation brings joy without worry. And don’t forget that your faux fireplace can be a versatile addition to your home all year round, transforming with the seasons and offering functional benefits.
So, embrace the spirit of innovation and make this holiday season truly special. Your custom-built decorative fireplace will not only bring warmth and charm to your home but will also become a cherished part of your family’s Christmas traditions for years to come. Get ready to hang those stockings and create unforgettable memories around your very own magical hearth!