This post may contain affiliate links. If you make a purchase through these links, we may earn a commission at no additional cost to you.
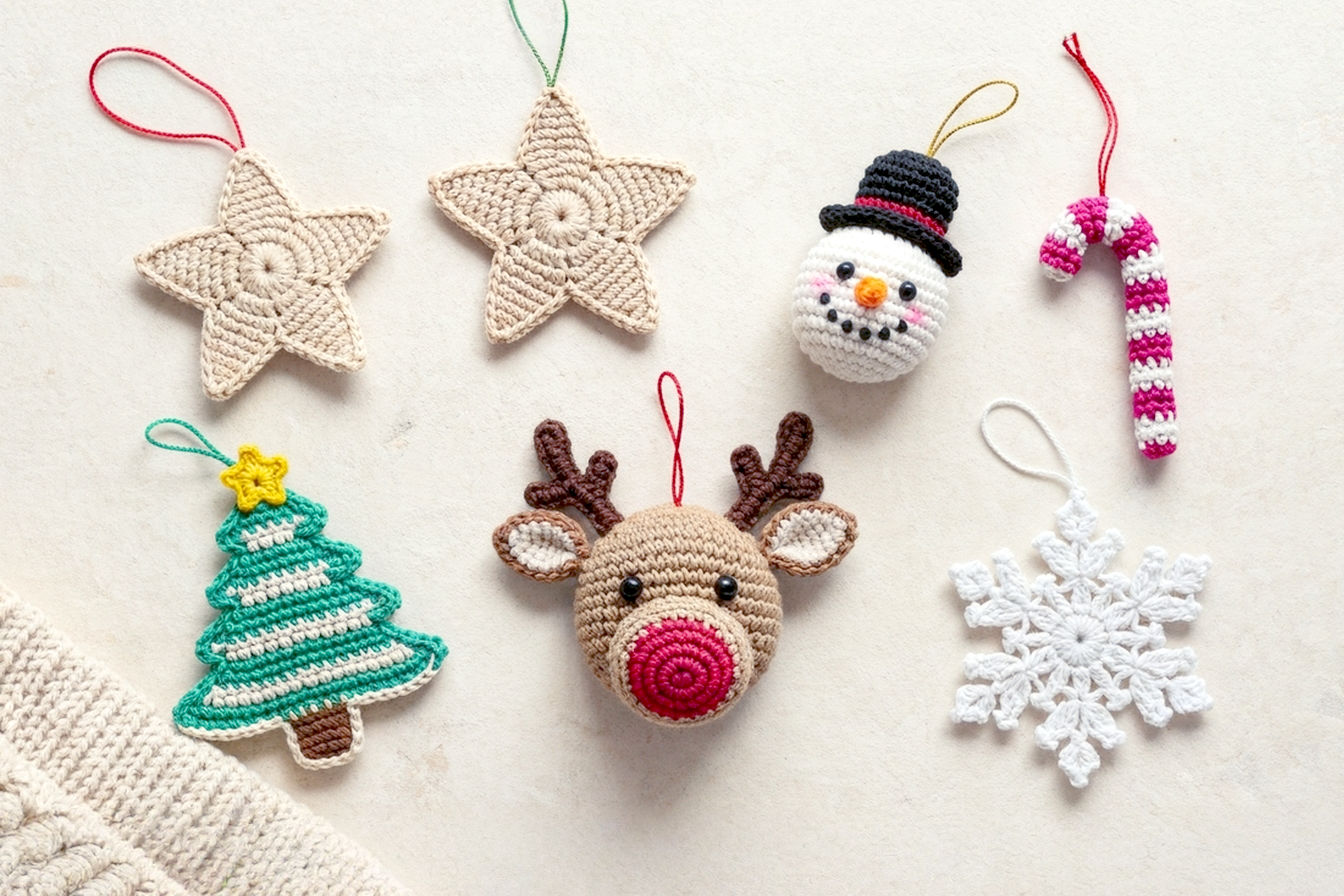
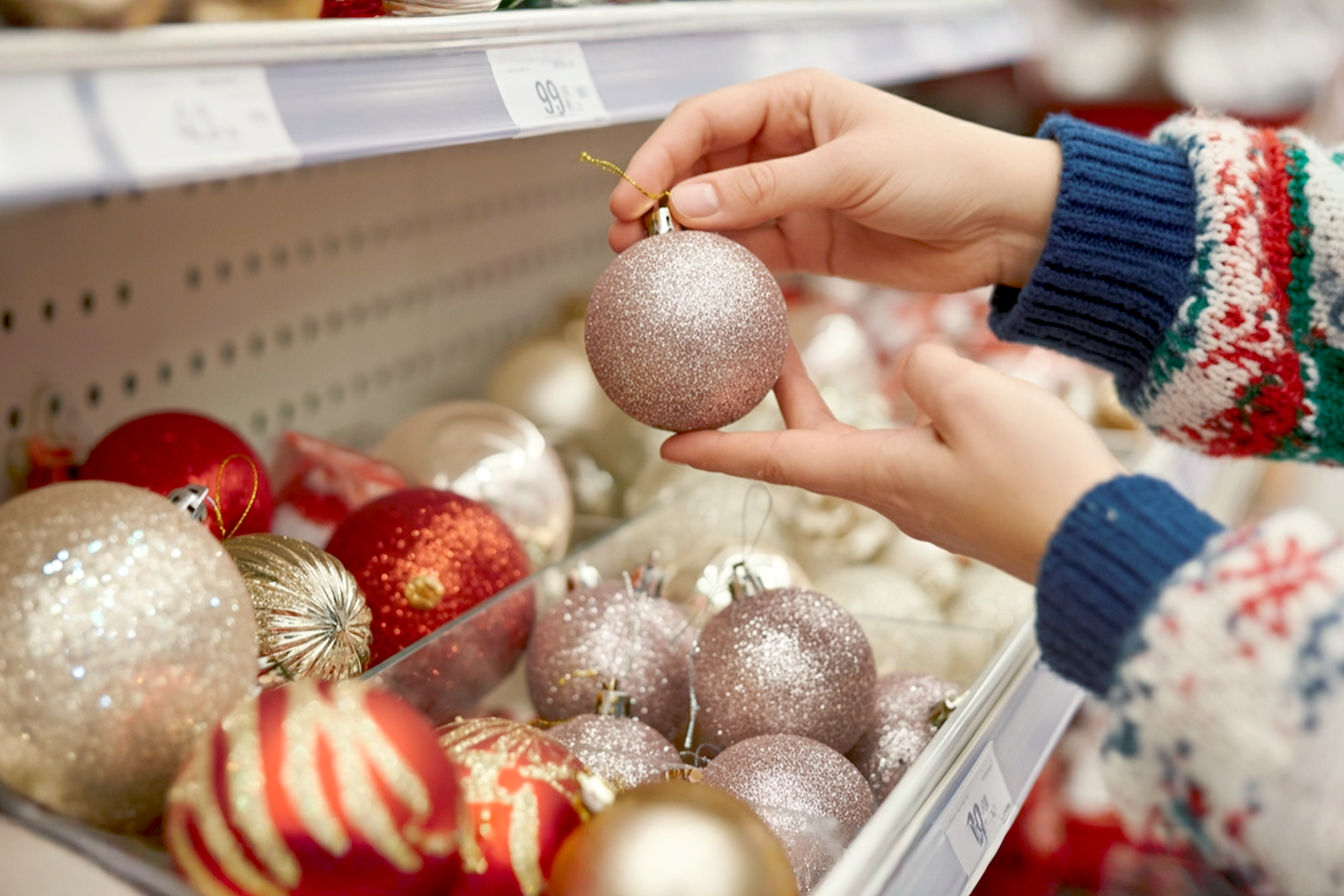
The holiday season brings a special kind of magic, a time when homes glow with warmth and decorations tell stories. While store-bought ornaments are certainly beautiful, there’s something truly enchanting about a homemade Christmas ornament. These aren’t just decorations; they’re tiny capsules of memories, filled with laughter, creativity, and the unique touch of your own hands. Imagine hanging an ornament on the tree year after year, recalling the afternoon you spent crafting it with loved ones.
This comprehensive guide will walk you through 10 creative ideas for making Christmas ornaments that are both unique and surprisingly simple. Whether you’re a seasoned crafter or just looking for fun, easy projects to do with your family, you’ll find inspiration here. We’ll cover everything from classic salt dough designs to charming upcycled creations, ensuring your holiday decor is filled with personal flair and heartfelt sentiment. Get ready to unleash your inner artist and make this Christmas truly unforgettable!
Why Choose Homemade Christmas Ornaments?
Opting for DIY Christmas ornaments goes far beyond just saving a few dollars. It’s about infusing your holiday celebrations with a deeper meaning and creating cherished traditions. When you craft your own decorations, you’re not just making an object; you’re making a memory.
Personalization and Sentimentality
One of the biggest draws of homemade Christmas ornaments is the incredible opportunity for personalization. Each ornament can reflect your family’s unique style, hobbies, or special moments. Think about it: a tiny ornament commemorating a child’s first Christmas, or one that represents a family vacation. These aren’t just generic decorations; they become cherished keepsakes that tell a story. Over time, your tree transforms into a visual timeline of your family’s journey, making each holiday season even more meaningful. This deep connection to your decor fosters a sense of nostalgia and warmth that mass-produced items simply can’t replicate.
Cost-Effectiveness and Sustainability
In an age where we’re all trying to be more mindful of our impact, making eco-friendly Christmas ornaments is a fantastic choice. Many of these projects utilize materials you might already have around the house, like fabric scraps, old magazines, or even wine corks. This approach significantly reduces waste and lessens the demand for new manufactured goods. By repurposing materials, you’re not only saving money but also contributing to a more sustainable holiday. It’s a budget-friendly way to decorate that also feels good for the planet. You can create stunning, unique decorations without breaking the bank or adding to landfill waste.
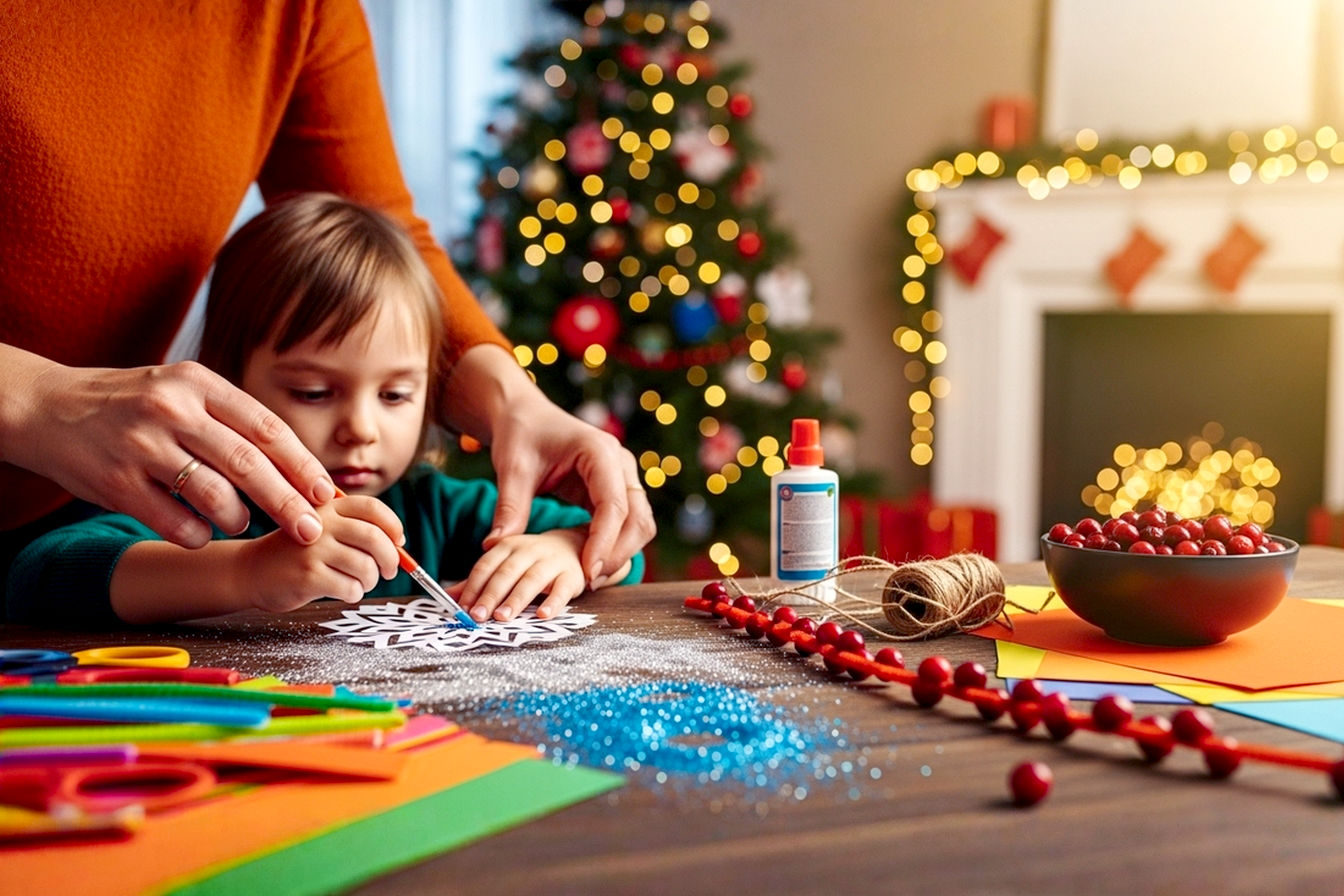
Creative Expression and Family Fun
Crafting is a wonderful way to unleash your creativity, and making handmade holiday decorations is no exception. It provides a fantastic outlet for artistic expression, allowing you to experiment with colors, textures, and designs. Beyond individual creativity, these projects are perfect for engaging kids in holiday crafts. Gathering around a table to make ornaments fosters teamwork, communication, and a sense of shared accomplishment. It’s a fantastic way to spend quality time together, away from screens, and build excitement for the holidays. The process itself is often stress-relieving and deeply satisfying, providing a welcome break from the hustle and bustle of the season.
Essential Supplies for Your Ornament Crafting Journey
Before you dive into the exciting world of ornament making, it’s helpful to have a basic set of supplies on hand. While each project will have its specific material list, these general tools and embellishments will form the foundation of your crafting kit. Having them ready will make your creative process smoother and more enjoyable.
Basic Crafting Tools
Every good crafter knows the importance of the right tools. For ornament making, you’ll want to have sharp scissors for cutting paper and fabric, and perhaps a craft knife for more precise cuts (always with adult supervision). A low-temperature glue gun is incredibly useful for quick, secure bonds, especially when working with kids, as it reduces the risk of burns compared to high-temp versions. Don’t forget a variety of paintbrushes if you plan on adding color, from fine tips for detail work to broader brushes for larger areas. Other handy tools include hole punches for creating hanging spots in paper or felt, and pliers (specifically round-nose and wire cutters) if your projects involve bending or shaping craft wire.
Adhesives and Fasteners
Good adhesion is crucial for durable ornaments. Craft glue (like white school glue or tacky glue) is versatile for paper, fabric, and light embellishments. For stronger, faster bonds, especially on three-dimensional projects or when attaching heavier items, a hot glue gun (with appropriate glue sticks) is indispensable. For sealing and adding a protective layer, Mod Podge is an excellent choice, acting as both a glue and a finish. To ensure your beautiful creations can hang properly, stock up on twine, various ribbons, or traditional ornament hooks. These fasteners are essential for transforming your crafted pieces into hangable decorations.
Decorating Embellishments
This is where your ornaments truly come to life! A collection of glitter (fine, chunky, iridescent) in various colors is a must for adding sparkle. Acrylic paints in holiday hues, along with permanent markers, will allow you to add vibrant designs and details. Don’t underestimate the power of beads (glass, plastic, wooden) and buttons for adding texture and dimension. Finally, gather a stash of fabric scraps, felt sheets, and natural elements like small twigs or dried berries. These items provide endless possibilities for adding unique character and charm to your handmade holiday decorations.
10 Creative Ideas for Making Christmas Ornaments
Now for the fun part! Here are 10 detailed, creative ideas for making your own Christmas ornaments, complete with materials, step-by-step instructions, and helpful tips to ensure your crafting success. Each idea offers a unique way to add a personal touch to your holiday decor.
1. Salt Dough Ornaments: Timeless & Customizable
Salt dough ornaments are a classic for a reason: they’re incredibly simple to make, use basic kitchen ingredients, and offer endless possibilities for customization. They create a charming, rustic look that’s perfect for any tree.
Materials You’ll Need:
- 1 cup all-purpose flour
- 1/2 cup salt (fine grain works best)
- 1/2 cup water (adjust as needed)
- Cookie cutters (Christmas shapes like stars, trees, gingerbread men)
- Drinking straw or skewer (for making holes)
- Rolling pin
- Baking sheet lined with parchment paper
- Acrylic paints, markers, glitter, Mod Podge (for decorating and sealing)
- Ribbon or twine (for hanging)
Steps to Craft:
- Mix the Dough: In a large bowl, combine the flour and salt. Gradually add the water, mixing with your hands until a firm, pliable dough forms. If it’s too sticky, add a little more flour; if too dry, add a tiny bit more water. The ideal consistency is like playdough.
- Roll and Cut: On a lightly floured surface, roll out the dough to about 1/4 inch thickness. Use your favorite cookie cutters to cut out various shapes.
- Create Hanging Holes: Before baking, use a drinking straw or skewer to make a hole at the top of each ornament. Make sure the hole is large enough for your ribbon or twine to pass through after baking.
- Bake or Air Dry: For best results, bake the ornaments in an oven preheated to 250∘F (120∘C) for 2-4 hours. The exact time depends on the thickness of your ornaments. They should be hard and dry to the touch. Alternatively, you can air dry them for 2-3 days, flipping them periodically. Baking provides a more consistent, durable result.
- Decorate and Seal: Once completely cool and dry, let your creativity shine! Paint your ornaments with acrylics, add details with markers, or sprinkle on some glitter. After the paint is dry, apply a coat of Mod Podge or clear sealant to protect the design and give it a slight sheen. This also helps to prevent moisture absorption, which can degrade the dough over time.
- Add Hanger: Thread a piece of ribbon or twine through the hole and tie a loop for hanging.
Tips for Success:
- Food Coloring: For colored dough, add a few drops of food coloring to the water before mixing.
- Texture: Press lace, leaves, or stamps into the dough before baking for interesting textures.
- Longevity: Store finished customizable ornaments in an airtight container in a cool, dry place to prevent moisture damage.
2. Pinecone Ornaments: Nature’s Touch
Bring the beauty of the outdoors inside with pinecone ornaments. These natural Christmas ornaments are wonderfully rustic and incredibly easy to transform into festive decorations.
Materials You’ll Need:
- Pinecones (various sizes)
- White or metallic spray paint, or glitter spray
- Small pompoms, beads, mini bows, or dried berries
- Hot glue gun and glue sticks
- Ribbon or twine (for hanging)
Steps to Craft:
- Prepare Pinecones: If you collected pinecones outdoors, clean them by rinsing off any dirt. To open them up and sanitize them, bake them on a foil-lined baking sheet at 200∘F (95∘C) for about 30 minutes. This also helps to kill any lingering bugs. Let them cool completely.
- Add Frosting/Sparkle: Lightly spray the tips of the pinecone scales with white or metallic spray paint to create a “snow-tipped” effect. Alternatively, spray with adhesive and sprinkle glitter for a sparkling look. Let dry completely.
- Embellish: Use a hot glue gun to attach small pompoms, beads, or mini bows onto the pinecone scales. You can create little “berries” or “flowers” nestled within the scales.
- Attach Hanger: Glue a loop of ribbon or twine to the very top (stem end) of the pinecone. Ensure the glue is secure before hanging.
Tips for Success:
- Collecting: Collect pinecones after a dry spell so they are already somewhat open.
- Variety: Use different types of pinecones for varied textures and shapes, creating a diverse set of rustic ornaments.
3. Cinnamon Stick Ornaments: Aromatic & Rustic
These cinnamon stick ornaments not only look charming but also fill your home with a delightful, warm aroma. They are perfect for adding a sensory dimension to your holiday decor.
Materials You’ll Need:
- Cinnamon sticks (various lengths, typically 3-6 inches)
- Twine or thin ribbon
- Small embellishments: dried orange slices, small pinecones, star anise, mini bells, fabric scraps
- Hot glue gun and glue sticks
Steps to Craft:
- Bundle Cinnamon Sticks: Gather 3-5 cinnamon sticks together. You can arrange them parallel or in a small fan shape.
- Secure the Bundle: Wrap twine or ribbon tightly around the middle of the bundle, tying a secure knot. You can leave long ends to create a rustic bow.
- Add Embellishments: Use a hot glue gun to attach small decorative elements to the front of the bundle. A few dried orange slices, a tiny pinecone, or a piece of star anise can add beautiful detail.
- Create Hanging Loop: Form a loop with a separate piece of twine or ribbon and hot glue it to the back of the cinnamon stick bundle for hanging.
Tips for Success:
- Enhance Aroma: If the cinnamon sticks’ aroma fades, you can refresh them by gently rubbing them or adding a drop of cinnamon essential oil to the back (ensure it doesn’t stain surfaces).
- Alternative Spices: Incorporate other aromatic elements like dried citrus peels or whole cloves for a more complex and aromatic ornament.
4. Paper Ornaments: Simple & Versatile
Paper ornaments are incredibly versatile, allowing for intricate designs with just a few basic supplies. They are perfect for easy Christmas ornaments and can be tailored to any style.
Materials You’ll Need:
- Cardstock, construction paper, patterned scrapbook paper, or even old book pages/magazines
- Scissors or craft knife
- Craft glue or glue stick
- Ruler and pencil (for measuring)
- Glitter, markers, stamps (for decorating)
- String or thread (for hanging)
Ideas and Steps to Craft:
Paper Snowflakes:
- Fold a square piece of paper diagonally into a triangle. Fold it again into a smaller triangle.
- Fold the triangle into thirds, aligning the edges.
- Cut off the top point to create a new top edge.
- Cut intricate designs along the folded edges and the new top edge.
- Carefully unfold to reveal your unique snowflake. Add glitter if desired.
3D Paper Stars/Baubles:
- Cut out multiple identical shapes (e.g., circles, stars) from cardstock.
- Fold each shape in half.
- Glue the halves together, one by one, along their folded edges, until you form a complete 3D shape.
- Before gluing the last two halves, insert a loop of string for hanging.
Paper Strip Ornaments:
- Cut paper into strips of varying lengths and widths.
- Curl the strips using a pencil or by gently pulling them over the edge of a ruler.
- Arrange and glue the curled strips into desired shapes like spirals, teardrops, or abstract designs.
- Allow glue to dry completely before adding a hanging loop.
Tips for Success:
- Patterned Paper: Use double-sided patterned paper for extra visual interest.
- Layering: Layer different colors and textures of paper for depth.
- Stiffness: For more durable paper ornaments, apply a thin coat of Mod Podge after decorating to add stiffness and protection. This is especially good for versatile crafts that might get handled frequently.
5. Fabric Scraps & Felt Ornaments: Cozy Creations
Turn leftover fabric scraps and felt into charming, cozy Christmas crafts. These ornaments are soft, tactile, and perfect for adding a homemade warmth to your tree.
Materials You’ll Need:
- Felt sheets (various colors)
- Fabric scraps (cotton, flannel, burlap)
- Embroidery floss and needle
- Polyester fiberfill (stuffing)
- Buttons, small beads, sequins (for embellishments)
- Fabric glue or hot glue gun
- Ribbon or twine (for hanging)
- Pinking shears (optional, for decorative edges)
Ideas and Steps to Craft:
Felt Cut-outs:
- Draw or trace simple Christmas shapes (stars, trees, stockings, gingerbread men) onto felt.
- Cut out two identical shapes for each ornament.
- Decorate one side of each shape with embroidery, buttons, or small felt cut-outs using fabric glue.
- Place the two identical shapes together and stitch around the edges using embroidery floss. You can use a simple running stitch or a decorative blanket stitch. Leave a small opening.
- Lightly stuff with fiberfill, then stitch the opening closed.
- Attach a ribbon loop for hanging.
Stuffed Felt Characters:
- Similar to felt cut-outs, but focus on creating small, three-dimensional characters like snowmen, reindeer, or elves.
- Cut out body parts from different colored felt.
- Embroider faces or details onto the front piece.
- Sew front and back pieces together, stuffing as you go, to create a plush ornament.
Fabric Ball Ornaments:
- Get a foam ball (various sizes).
- Cut fabric scraps into small squares or strips.
- Apply craft glue to a small section of the foam ball.
- Press a fabric piece onto the glue, smoothing it out. Continue overlapping fabric pieces until the entire ball is covered.
- Secure a ribbon loop with hot glue at the top.
Tips for Success:
- No-Sew Options: For younger crafters, use fabric glue or hot glue instead of sewing to attach felt pieces and embellishments.
- Pinking Shears: Use pinking shears to cut felt or fabric edges for a decorative, zig-zag finish that also helps prevent fraying.
- Scent Sachets: For a lovely touch, add a small pinch of dried lavender or cinnamon powder inside stuffed felt ornaments before closing them. These fabric ornaments will smell wonderful.
6. Wine Cork Ornaments: Upcycled Charm
Don’t toss those wine corks! They are fantastic material for upcycled ornaments, offering a unique texture and a charming, rustic appeal. These eco-friendly Christmas decorations are a testament to creative reuse.
Materials You’ll Need:
- Clean wine corks (various quantities depending on the design)
- Hot glue gun and glue sticks
- Small beads, googly eyes, mini pompoms, pipe cleaners, small twigs (for features)
- Acrylic paints (optional)
- Ribbon or twine (for hanging)
- Craft knife (for slicing corks – adult use only)
Ideas and Steps to Craft:
Cork Reindeer/Snowmen:
- Reindeer: Glue two corks together side-by-side for the body. Glue another cork on top, perpendicular, for the head. Attach small twig pieces or pipe cleaners for antlers. Add googly eyes and a red pompom for a nose.
- Snowman: Glue three corks vertically. Paint them white. Add small black dots for eyes and mouth, and an orange triangle for a carrot nose. Wrap a thin strip of fabric around the neck for a scarf.
- Secure a ribbon loop to the back with hot glue.
Cork Star/Wreath:
- Star: Arrange 5-6 corks in a star shape, with their ends touching. Hot glue them securely together.
- Wreath: Glue corks side-by-side in a circle to form a mini wreath.
- Decorate with small beads, paint, or a tiny bow.
- Attach a hanging loop.
Tips for Success:
- Cutting Corks: If your design requires cork slices, use a sharp craft knife with extreme caution, cutting slowly and steadily. This is best done by an adult.
- Painting: Corks can be painted easily with acrylics. Consider painting them entirely or just adding small details. These wine cork ornaments are surprisingly versatile.
7. Beaded & Wire Ornaments: Sparkle & Structure
For a touch of elegance and shine, beaded and wire ornaments are perfect. They allow for intricate designs and catch the light beautifully, adding a lovely sparkle to your tree.
Materials You’ll Need:
- Craft wire (20-24 gauge for shaping, 26-28 gauge for wrapping)
- Assorted beads (glass, plastic, seed beads, crystal beads – choose ones with good light reflection)
- Round-nose pliers, chain-nose pliers, wire cutters
- Ribbon or thin string (for hanging)
Ideas and Steps to Craft:
Wire Wrapped Shapes:
- Cut a length of heavier gauge craft wire (e.g., 20 gauge).
- Using round-nose pliers, bend the wire into simple Christmas shapes like stars, trees, or hearts. Ensure the ends overlap slightly for stability.
- Take a thinner gauge wire (e.g., 26 gauge) and secure one end to the frame.
- Thread beads onto the thinner wire and wrap it around the frame, securing the beads in place. You can wrap randomly or create patterns.
- Once the frame is covered to your liking, secure the end of the thin wire.
- Form a small loop at the top of the ornament for hanging.
Beaded Icicles:
- Cut a length of medium-gauge wire (e.g., 22 gauge).
- Create a small loop at one end using round-nose pliers.
- String various sizes and shapes of clear or silver beads onto the wire, starting with larger beads and tapering down to smaller ones for an icicle effect.
- Once all beads are on, create another small loop at the bottom to secure them.
- Attach a ribbon or string to the top loop for hanging.
Name Ornaments:
- Using a single piece of medium-gauge wire, carefully bend it into the letters of a name or a festive word (e.g., “Joy,” “Noel”).
- Use pliers to help create sharp bends and smooth curves.
- Once the word is formed, you can add small beads by threading them onto the wire before making final connections, or by wrapping thin wire with beads around the letters.
- Ensure there’s a loop for hanging.
Tips for Success:
- Wire Safety: Always use wire cutters to cut wire, and be careful of sharp ends.
- Bead Selection: Choose beads that have a good shine or transparency to create a beautiful sparkling Christmas decor effect when light hits them.
- Practice: Wire bending takes a little practice, so start with simple shapes.
8. Photo Ornaments: Cherished Memories
Transform your favorite snapshots into personalized ornaments that capture cherished memories. These are wonderful for commemorating special events or simply celebrating loved ones.
Materials You’ll Need:
- Small photo prints (ensure they are printed on photo paper for durability)
- Clear plastic or glass baubles (fillable or flat disc style)
- Mod Podge (matte or gloss finish)
- Foam brush
- Glitter, fake snow, small beads (optional, for filling baubles)
- Wood slices, flat ceramic ornaments, or cardboard shapes (for photo transfer)
- Ribbon or twine (for hanging)
Ideas and Steps to Craft:
Photo Inside Bauble:
- Print a photo that is small enough to fit inside your clear bauble. You might need to roll it gently to insert it.
- Carefully insert the photo into the bauble.
- Add a small amount of glitter, fake snow, or tiny beads to the bauble for a magical effect.
- Replace the top cap of the bauble and attach a ribbon for hanging.
Mod Podge Photo Transfer:
- Print your photo using a laser printer (inkjet photos don’t transfer well with this method). Ensure the image is reversed if it contains text.
- Apply a generous, even layer of Mod Podge to the surface of a wood slice or flat ceramic ornament.
- Carefully place the printed photo face-down onto the Mod Podge, pressing firmly to remove any air bubbles.
- Let it dry completely for at least 24 hours.
- Once dry, gently dampen the back of the paper with a wet sponge. Slowly and carefully rub away the paper backing, revealing the transferred image on the ornament.
- Once all paper is removed, apply a few thin coats of Mod Podge over the transferred image to seal and protect it.
- Attach a hanging loop.
Mini Photo Frames:
- Cut small frames from sturdy cardstock or use miniature wooden frames.
- Trim your photo to fit the frame.
- Glue the photo into the frame.
- Decorate the frame with glitter, small beads, or paint.
- Attach a hanging loop to the top.
Tips for Success:
- Photo Size: Always measure your ornament base or bauble opening before printing photos to ensure a good fit.
- Protection: For any photo ornament, a final coat of Mod Podge or clear sealant will help protect the image from fading or damage over time, preserving these memory ornaments.
9. Cookie Cutter Ornaments: Beyond Baking
Cookie cutter ornaments aren’t just for the kitchen! You can use your favorite metal cookie cutters to create unique and easy DIY ornaments that are both charming and simple.
Materials You’ll Need:
- Metal cookie cutters (Christmas shapes like stars, trees, gingerbread men, snowflakes)
- Baking soda dough (recipe below) or air-dry clay
- Drinking straw or skewer
- Acrylic paints, glitter, permanent markers (for decorating)
- Mod Podge or clear sealant
- Ribbon or twine (for hanging)
Baking Soda Dough Recipe:
- 2 cups baking soda
- 1 cup cornstarch
- 1.5 cups cold water
- Combine ingredients in a saucepan. Cook over medium heat, stirring constantly, until the mixture thickens to a mashed potato consistency. Remove from heat, cover with a damp cloth, and let cool. Knead until smooth.
Ideas and Steps to Craft:
- Baking Soda Dough Ornaments:
- Prepare the baking soda dough. It’s similar to salt dough but results in a whiter, smoother finish.
- Roll out the dough to about 1/4 inch thickness on a lightly floured surface.
- Press your metal cookie cutters firmly into the dough to cut out shapes.
- Use a straw or skewer to create a hanging hole at the top of each ornament.
- Carefully transfer the cut-outs to a baking sheet lined with parchment paper.
- Bake at 175∘F (80∘C) for 1-2 hours, or until completely dry and hard. (Times vary depending on thickness). You can also air dry them for 24-48 hours.
- Once cool, decorate with paints, glitter, or markers.
- Seal with Mod Podge or clear sealant for protection and a finished look.
- Add ribbon or twine for hanging.
Cookie Cutter Frames:
- Take a metal cookie cutter.
- Cut a small photo or a piece of decorative paper to fit inside the opening of the cookie cutter.
- Glue the photo/paper to the back inside edge of the cookie cutter using hot glue or strong craft glue.
- You can add a thin piece of felt or cardboard to the back to cover the glued area and give it a neat finish.
- Tie a ribbon around the top of the cookie cutter for hanging, or glue a loop to the back.
Tips for Success:
- Smooth Edges: For baking soda dough, use a small, damp paintbrush to smooth any rough edges before drying/baking.
- Non-Stick: If the dough sticks to the cookie cutters, lightly dust the cutters with flour or cornstarch. These unique Christmas crafts are a delightful way to use everyday items.
10. Yarn Wrapped Ornaments: Textured Warmth
Add a touch of textured warmth to your tree with yarn wrapped ornaments. These are simple, satisfying to make, and can be customized with various yarn colors and textures.
Materials You’ll Need:
- Foam balls (various sizes), cardboard shapes (stars, circles), or even old plastic ornaments
- Yarn (various colors, weights, and textures – acrylic, wool, chunky, thin)
- Craft glue (like white school glue or tacky glue)
- Scissors
- Embellishments: small buttons, felt shapes, beads, glitter glue
- Ribbon or twine (for hanging)
Steps to Craft:
- Prepare Base: If using a foam ball, push a skewer or toothpick into it to hold it while you work. If using cardboard, ensure it’s sturdy.
- Apply Glue: Apply a small amount of craft glue to a section of your base (e.g., the top of the foam ball or one edge of a cardboard shape).
- Start Wrapping: Press the end of your yarn into the glue and begin tightly wrapping the yarn around the base. Ensure each new layer of yarn is snug against the previous one, covering the base completely without gaps.
- Continue Wrapping: Apply glue in small sections as you go, wrapping the yarn evenly until the entire base is covered. This prevents the glue from drying before you get to that section.
- Secure End: Once the base is fully covered, trim the yarn and secure the end with a dab of glue, tucking it neatly under a wrapped section.
- Add Hanger: If using a foam ball, remove the skewer and insert a looped piece of ribbon or twine into the hole, securing it with glue. For cardboard shapes, glue a loop to the back.
- Embellish (Optional): Once the glue is dry, add extra embellishments like small buttons, felt shapes, or a touch of glitter glue for extra sparkle.
Tips for Success:
- Yarn Weight: Experiment with different yarn weights. Chunky yarn covers faster, while thinner yarn allows for more intricate wrapping.
- Color Changes: To change yarn colors, simply glue the end of the first color down and start wrapping with the new color, securing its end with glue. These cozy holiday decor pieces are truly unique.
- Patterns: You can create stripes, spirals, or other patterns by carefully changing yarn colors or wrapping directions.
Tips for Successful Ornament Crafting
Creating beautiful handmade Christmas ornaments is a rewarding experience, but a few key tips can make the process smoother and ensure your creations last for years to come.
Safety First
When crafting, especially with children, safety is paramount. Always supervise kids when they are using scissors, craft knives, or hot glue guns. For hot glue, consider using a low-temperature gun, which significantly reduces the risk of burns. Ensure adequate ventilation when using spray paints or strong adhesives. Reading product labels for specific safety instructions is always a good idea. Taking these simple precautions will help keep the crafting fun and injury-free.
Drying and Curing
Patience is a virtue in crafting, especially when it comes to drying and curing. Many adhesives, paints, and doughs require ample time to fully dry and harden. Rushing this process can lead to sticky ornaments, smudged designs, or pieces that fall apart. For items like salt dough or baking soda dough, ensure they are completely dry to the core before decorating or sealing; otherwise, they may crack or mold. Allowing proper drying and curing time ensures the durability and longevity of your DIY Christmas ornaments.
Proper Storage
After the holidays, you’ll want to protect your precious handmade treasures so they can be enjoyed for many years. Store ornaments in sturdy, airtight containers to protect them from dust, moisture, and pests. You can use acid-free tissue paper or bubble wrap to individually wrap delicate ornaments, preventing them from scratching or breaking. Storing them in a cool, dry place away from extreme temperature fluctuations will help maintain their integrity and keep them looking their best for seasons to come.
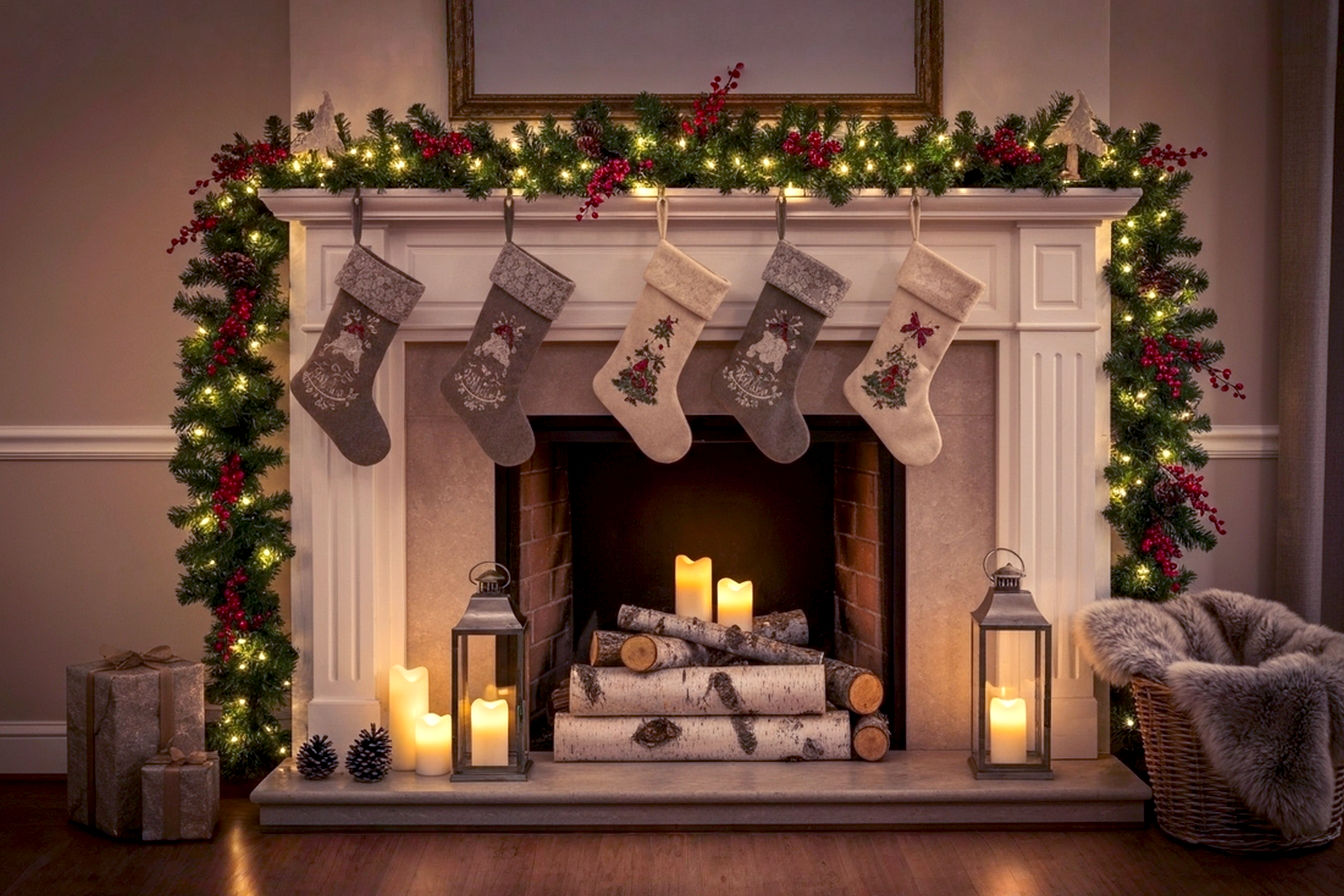
Displaying Your Handmade Ornaments
While the Christmas tree is the traditional home for ornaments, your handmade holiday decorations don’t have to be limited to just one spot. Get creative with how you display your unique creations to spread festive cheer throughout your home.
Beyond the Christmas tree, consider these ideas:
- Garlands: String your lighter ornaments onto a length of twine or ribbon to create a charming garland for a mantelpiece, staircase railing, or doorway.
- Wreaths: Attach smaller ornaments to a plain evergreen or grapevine wreath for a personalized touch on your front door or wall.
- Gift Toppers: A small, beautifully crafted ornament makes a fantastic and memorable gift topper, adding an extra layer of thoughtfulness to your presents.
- Window Displays: Hang ornaments at varying heights in a window using clear fishing line for a whimsical, floating effect.
- Centerpieces: Arrange a collection of ornaments in a decorative bowl or on a tiered stand as a festive table centerpiece.
- Branch Displays: Place bare branches in a vase and hang your ornaments from them for a minimalist, modern display.
By thinking beyond the tree, you can truly showcase your creative Christmas ornaments and infuse every corner of your home with your unique holiday spirit.
Conclusion
Creating homemade Christmas ornaments is more than just a holiday activity; it’s an opportunity to infuse your celebrations with personal meaning, foster creativity, and build lasting memories with loved ones. From the simple charm of salt dough to the sparkling elegance of beaded wire, each of the 10 creative ideas for making Christmas ornaments we’ve explored offers a unique way to add a heartfelt touch to your holiday decor.
Embrace the joy of crafting, experiment with different materials, and don’t be afraid to let your imagination guide you. The beauty of DIY Christmas ornaments lies in their imperfections and the stories they tell. This holiday season, take the time to get crafty, and watch as your home fills with the warmth and magic of truly unique, handmade treasures. Happy crafting!