This post may contain affiliate links. If you make a purchase through these links, we may earn a commission at no additional cost to you.
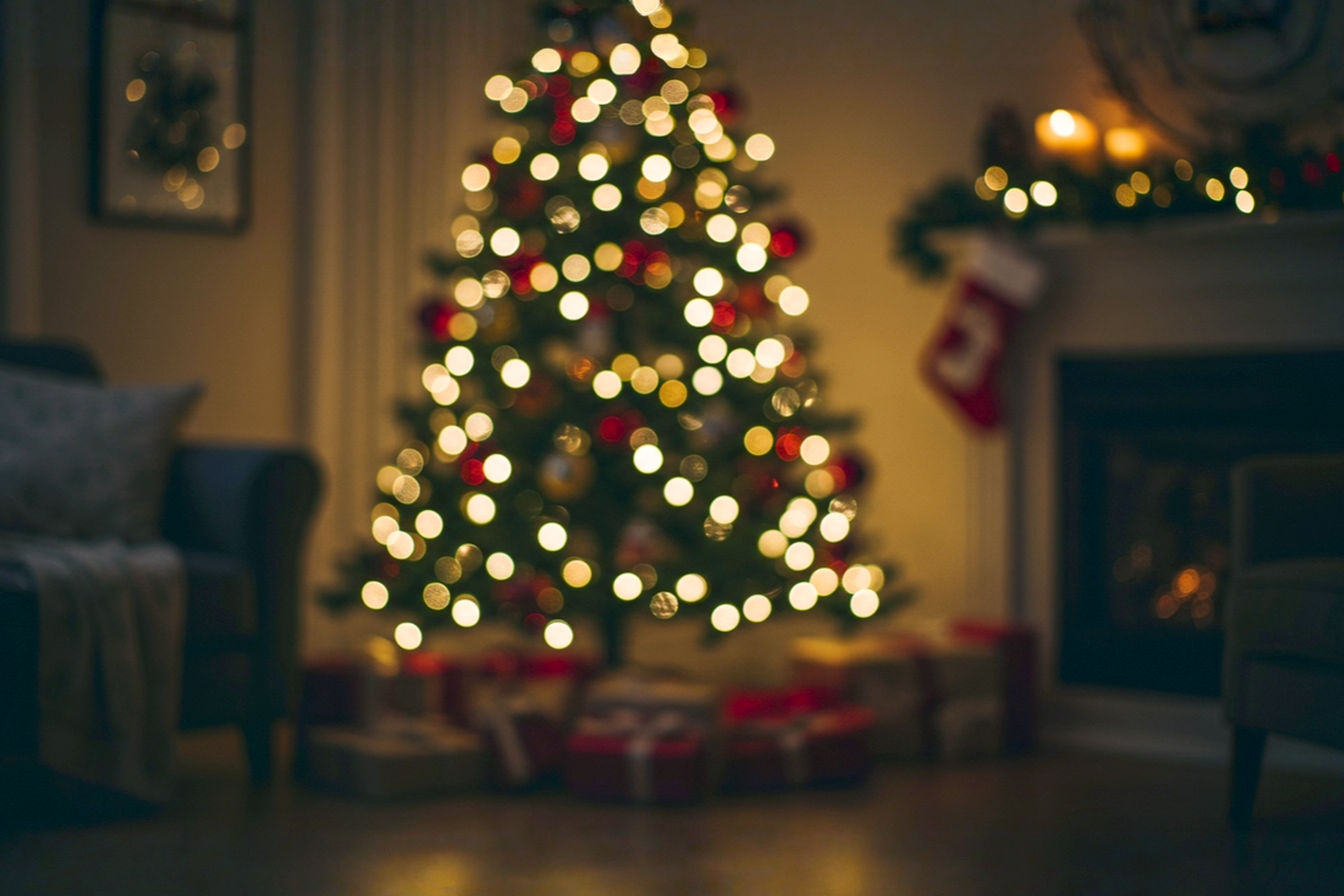
The holiday season is a magical time of year. It’s filled with joy, warmth, and the special feeling of togetherness. One of the best ways to capture this spirit is by transforming your home into a festive wonderland. While store-bought decorations are convenient, there’s something truly special about homemade Christmas ornaments and decor. They carry a unique charm and tell a story.
Introduction: Deck the Halls with DIY Delights
Imagine your living room sparkling with decorations you crafted yourself. Each piece reflects your personal style and the love you put into it. This isn’t just about saving money; it’s about creating lasting memories. When you make your own holiday decor, you’re not just decorating a space; you’re infusing it with personal touches and holiday spirit.
The Magic of Homemade Holiday Decor
Homemade holiday decor brings a warmth that mass-produced items simply can’t match. Each DIY Xmas decor idea you implement adds a layer of personality to your home. It makes your space feel more inviting and truly yours. From a simple paper snowflake to an elaborate pinecone garland, these creations become part of your family’s holiday tradition. They often become cherished keepsakes, brought out year after year, sparking conversations and fond memories.
Why Choose Fast & Easy DIY?
Life gets busy, especially during the holidays. You might think you don’t have enough time for crafting, but that’s where easy DIY Christmas decorations come in. This guide focuses on projects you can complete quickly, often in just an hour or two. We’ll show you how to achieve stunning results without spending days on complicated crafts. The goal is to maximize festive fun while minimizing stress. You don’t need to be an expert crafter. These projects are designed for everyone, regardless of skill level.
What You’ll Discover in This Guide
In this comprehensive guide, you’ll learn how to create a variety of beautiful and fast Christmas crafts. We’ll cover everything from simple ornaments to impressive tabletop displays and welcoming wreaths. You’ll find practical tips, material lists, and step-by-step instructions. Get ready to transform your home with unique, handmade touches that will impress your guests and fill your family with holiday cheer.
The Foundation of Fast Festive Crafts: Essential Supplies & Mindset
Before diving into specific projects, it’s helpful to understand the basic tools and materials you’ll need. Having these on hand will make your crafting process much smoother and faster. Think of it as setting up your creative workstation.
Gathering Your Go-To Crafting Toolkit
You don’t need a professional art studio to make beautiful decorations. Many essential items are probably already in your home. These basic supplies form the backbone of almost any quick holiday decor project.
Basic Adhesives and Fasteners
Adhesives are crucial for holding your creations together. You’ll want a good variety. Craft glue, like white school glue, is perfect for paper and fabric. A hot glue gun is a game-changer for speed; it dries almost instantly, making it ideal for attaching heavier items like pinecones or fabric scraps. Just be careful, as the glue can be very hot. For temporary attachments or delicate items, double-sided tape or washi tape can be useful. Consider stapler and staples for quick paper or fabric joining.
Cutting Tools and Measuring Aids
Precise cuts make a big difference in the final look of your decorations. A sharp pair of scissors is a must-have. For more intricate paper designs, a craft knife (like an X-Acto knife) can be incredibly helpful, but always use it with a cutting mat for safety. A ruler and a pencil are essential for measuring and marking, ensuring your designs are symmetrical and well-proportioned.
Everyday Materials for Instant Decor
The beauty of budget-friendly Christmas decor is that you can often use items you already have. Think about paper in various forms: construction paper, cardstock, old newspapers, or even wrapping paper scraps. Fabric scraps from old clothes or quilting projects can be repurposed. Natural elements found outdoors, like pinecones, twigs, and dried leaves, are free and add a rustic touch. Don’t forget household items like mason jars, old buttons, or even bottle caps; they can all be transformed.
The “Fast & Fun” Mindset: Embracing Imperfection and Creativity
The key to enjoying simple festive crafts is to let go of the idea of perfection. Handmade items have character precisely because they aren’t flawless. Embrace the unique quirks of your creations.
Repurposing and Upcycling for Instant Impact
One of the quickest ways to create decor is by giving new life to old items. This is called upcycling. For example, an old sweater can become a cozy stocking, or empty glass jars can be transformed into sparkling luminaries. This approach not only saves money but also reduces waste. It’s an eco-friendly way to decorate. Look around your home with fresh eyes; you might be surprised by what you can repurpose.
Batch Production for Maximum Output
If you want to make several of the same item, like a set of ornaments, try batch production. This means doing all of one step for all items before moving to the next step. For example, cut out all your paper shapes first, then do all the gluing, then all the decorating. This method is much more efficient than completing one item at a time. It’s how professionals make things quickly, and it works great for home crafting too.
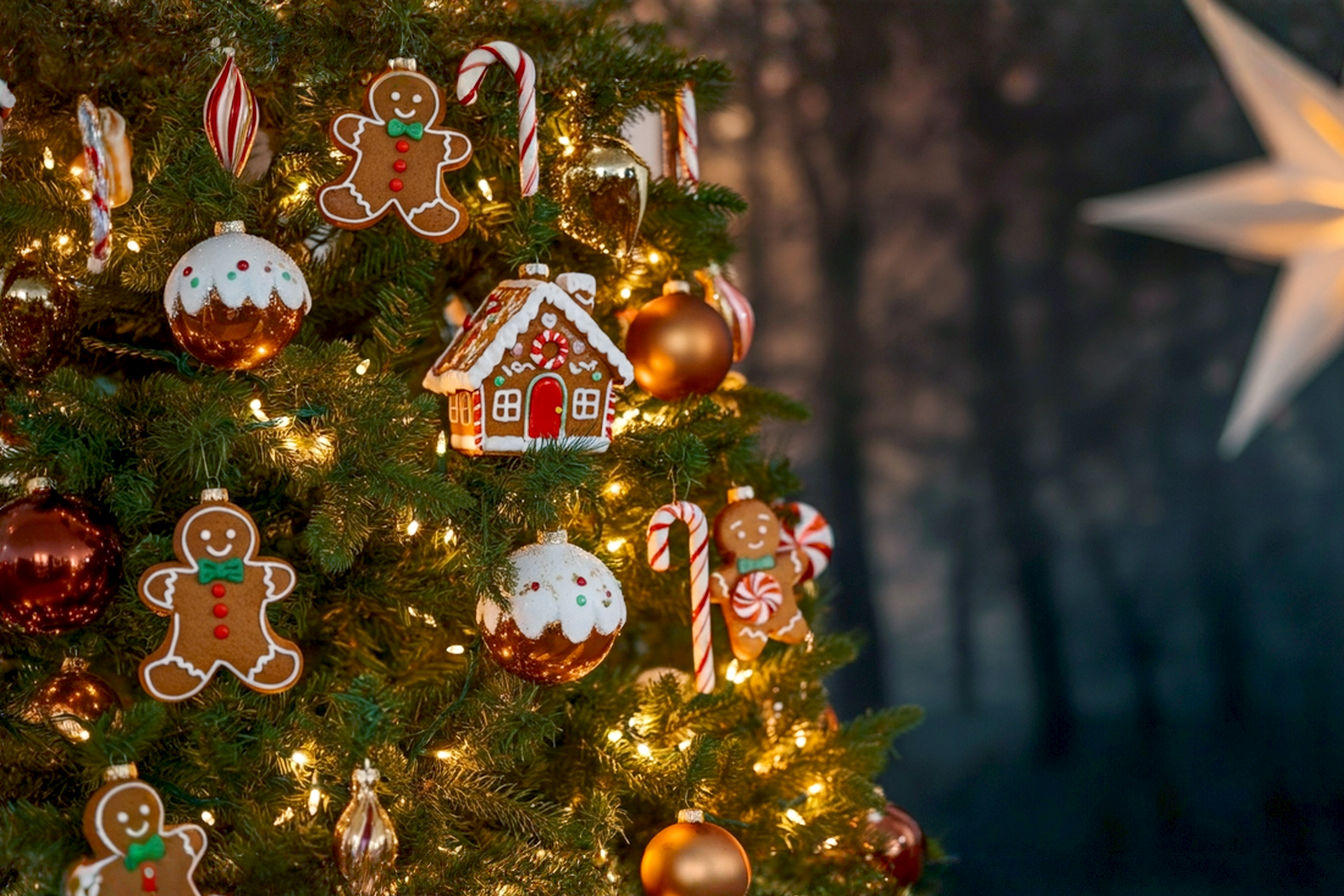
Sparkle in Minutes: Quick & Easy Ornament Ideas
Ornaments are the heart of Christmas tree decor. They also make wonderful additions to garlands, wreaths, and even gift wrapping. These ideas are designed to be completed in a flash.
Paper Power: Simple Ornaments from Everyday Paper
Paper is one of the most versatile and affordable crafting materials. It’s easy to cut, fold, and decorate, making it perfect for paper Christmas decorations.
Classic Paper Snowflakes: A Timeless Tradition
Everyone loves a paper snowflake. They are incredibly simple to make and create a beautiful, delicate look.
- Materials: White or colored paper, scissors.
- How to make them: Start with a square piece of paper. Fold it diagonally to form a triangle. Fold it again, and then a third time, making a smaller triangle. Now, cut small shapes from the folded edges. When you unfold it, you’ll have a unique snowflake design. No two are ever exactly alike, which is part of their charm. You can hang them on your tree, tape them to windows, or string them together for a garland.
3D Paper Stars: Adding Dimension with Ease
These stars add a lovely three-dimensional effect to your tree or garlands.
- Materials: Cardstock, scissors, ruler, glue stick.
- How to make them: Draw two identical five-pointed stars on cardstock. Cut them out. On one star, cut a slit from the top point down to the center. On the second star, cut a slit from the bottom point up to the center. Slide the two stars together through the slits until they interlock. You can add glitter or paint for extra sparkle. These stars look impressive but are surprisingly simple to assemble.
Rolled Paper Ornaments: Simple Yet Elegant
These ornaments are elegant and use up paper scraps.
- Materials: Strips of colored paper (about 1 inch wide, varying lengths), glue.
- How to make them: Take a strip of paper and roll it tightly into a coil. Secure the end with a small dot of glue. Make several coils of different sizes. Then, glue these coils together in various arrangements to form a larger ornament. You can create spheres, flat designs, or abstract shapes. Add a loop of string for hanging.
Nature’s Bounty: Ornaments from Outdoor Finds
Bring the beauty of the outdoors inside with these natural, rustic ornaments. They are perfect for natural Christmas decor.
Pinecone Perfection: Rustic Charm in a Flash
Pinecones are naturally beautiful and require minimal effort to transform.
- Materials: Pinecones, string or ribbon, optional: glitter, paint, small bells.
- How to make them: First, ensure your pinecones are clean and dry. You can bake them on a low heat (around 200°F or 95°C) for about 30 minutes to open them up and kill any lingering bugs. Once cool, tie a loop of string or ribbon around the top scales for hanging. For extra sparkle, you can lightly spray them with adhesive and sprinkle glitter, or dab white paint on the tips to mimic snow. They look beautiful on a tree or as part of a garland.
Dried Orange Slices: Aromatic and Beautiful
These not only look lovely but also fill your home with a wonderful citrus scent.
- Materials: Oranges, sharp knife, baking sheet, parchment paper, string or twine.
- How to make them: Slice oranges about 1/4 inch thick. Pat them dry with a paper towel. Arrange them on a baking sheet lined with parchment paper. Bake at a very low temperature (around 200°F or 95°C) for 2-3 hours, flipping occasionally, until they are dry and translucent. Let them cool completely. Once dry, you can poke a hole near the top with a skewer and thread string through for hanging. They look stunning catching the light.
Twig Stars and Hearts: Natural and Whimsical
Simple twigs can become charming, rustic shapes.
- Materials: Small, thin twigs, hot glue gun, string or twine.
- How to make them: Collect thin, straight twigs. Break or cut them into equal lengths. Arrange them into star or heart shapes and secure the joints with hot glue. You can wrap twine around the joints for extra reinforcement and a decorative touch. Add a loop for hanging. These are wonderfully minimalist and bring a touch of the forest indoors.
Salt Dough Sentiments: Personalized Keepsakes
Salt dough ornaments are a classic homemade Christmas ornaments project. They are incredibly versatile and can be personalized with handprints, stamps, or paint.
The Simple Salt Dough Recipe
This recipe is straightforward and uses common kitchen ingredients.
- Materials: 2 cups all-purpose flour, 1 cup salt, 1 cup warm water.
- How to make it: In a large bowl, combine the flour and salt. Gradually add the warm water, mixing until a dough forms. Knead the dough on a lightly floured surface for about 5-10 minutes until it’s smooth and pliable, similar to playdough. The technical explanation for this involves the gluten in the flour developing through kneading, which gives the dough its elasticity and prevents it from crumbling.
Shaping and Decorating Your Ornaments
Once your dough is ready, the fun begins!
- Materials: Salt dough, cookie cutters, optional: stamps, glitter, paint, clear sealant.
- How to make them: Roll out the dough to about 1/4 inch thickness. Use cookie cutters to cut out festive shapes like stars, trees, or gingerbread men. For handprint ornaments, press a child’s hand firmly into the dough. Use a straw or skewer to make a small hole at the top of each ornament for hanging. You can press stamps into the dough for texture or write names with a toothpick.
Baking and Finishing Touches
Baking the ornaments hardens them, making them durable keepsakes.
- Baking: Place the shaped ornaments on a baking sheet lined with parchment paper. Bake in a preheated oven at a very low temperature (around 200-250°F or 95-120°C) for 2-4 hours, or until completely hard. The exact time depends on the thickness of your ornaments. The low temperature is crucial to dry them out slowly without browning or cracking.
- Finishing: Once cool, you can paint them with acrylic paints, add glitter, or seal them with a clear varnish or Mod Podge to protect them and give them a finished look. Thread ribbon or twine through the holes for hanging.
Dazzling Displays: Instant Decor for Every Corner
Beyond the tree, there are many opportunities to spread holiday cheer throughout your home. These ideas focus on creating impressive displays quickly.
Garland Galore: Weaving Festive Strands
Garlands add a festive touch to mantels, staircases, doorways, and even trees. They are a fantastic way to spread DIY Christmas garland cheer.
Popcorn and Cranberry Garlands: Edible Elegance
This classic garland is both beautiful and a fun activity.
- Materials: Air-popped popcorn (slightly stale is better, as it’s less brittle), fresh cranberries, needle, strong thread or fishing line.
- How to make them: Thread the needle with a long piece of thread. Alternate stringing popcorn and cranberries onto the thread. The slight staleness of the popcorn helps prevent it from crumbling as you thread it. The vibrant red of the cranberries against the white popcorn creates a striking contrast. These garlands are biodegradable and can even be left out for birds after the holidays.
Felt Ball Garlands: Softness and Color in Minutes
Felt balls are soft, colorful, and easy to string.
- Materials: Felt balls (pre-made or make your own from felt scraps), needle, strong thread.
- How to make them: Simply thread the felt balls onto a long piece of thread, spacing them out as desired. You don’t need to knot them; the felt will hold its position. This is a very quick and satisfying project. You can choose colors that match your existing decor or go for traditional red, green, and white.
Fabric Scrap Garlands: Upcycled Charm
Use up those leftover fabric pieces for a charming, rustic garland.
- Materials: Fabric scraps (cotton, flannel, burlap work well), string or twine, scissors.
- How to make them: Cut fabric scraps into strips or squares. Tie them onto a long piece of string or twine, alternating colors and patterns. You can tie them tightly together for a fuller look or space them out for a more whimsical feel. This is an excellent way to repurpose old clothes or leftover sewing materials.
Wreath Wonders: Welcoming Holiday Cheer
A wreath on your door or wall instantly signals holiday cheer. These are DIY Christmas wreaths easy to assemble.
Tinsel Wreaths: Shiny and Simple
Tinsel wreaths are quick, sparkly, and festive.
- Materials: Wire wreath form (or a coat hanger bent into a circle), tinsel garland, hot glue gun (optional).
- How to make them: Simply wrap the tinsel garland tightly around the wire wreath form, securing the ends with hot glue or by tucking them into the tinsel. You can use one color or mix several for a multi-colored effect. Add a large bow or a few ornaments for a finishing touch. This is one of the fastest wreaths you can make.
Ornament Cluster Wreaths: Maximum Impact, Minimum Effort
This wreath looks complex but is surprisingly simple to create.
- Materials: Wire wreath form (or a coat hanger bent into a circle), various sizes of shatterproof ornaments, hot glue gun.
- How to make them: Start by hot gluing the largest ornaments to the wreath form, spacing them evenly. Then, fill in the gaps with smaller ornaments, overlapping them to create a full, lush look. The key is to use shatterproof ornaments to avoid breakage. You can stick to a color scheme or use a mix of colors for a playful look.
Natural Greenery Wreaths: Fresh and Fragrant
Bring the scent of the forest indoors with a fresh greenery wreath.
- Materials: Wire wreath form, fresh evergreen clippings (pine, fir, cedar), floral wire, optional: pinecones, berries, ribbon.
- How to make them: Gather small bundles of evergreen clippings. Attach them to the wire wreath form using floral wire, layering them in the same direction to create a full shape. Continue until the entire form is covered. The floral wire is thin and flexible, allowing you to secure the branches tightly. Add pinecones, artificial berries, or a festive bow for decoration.
Tabletop Transformations: Centerpieces in a Snap
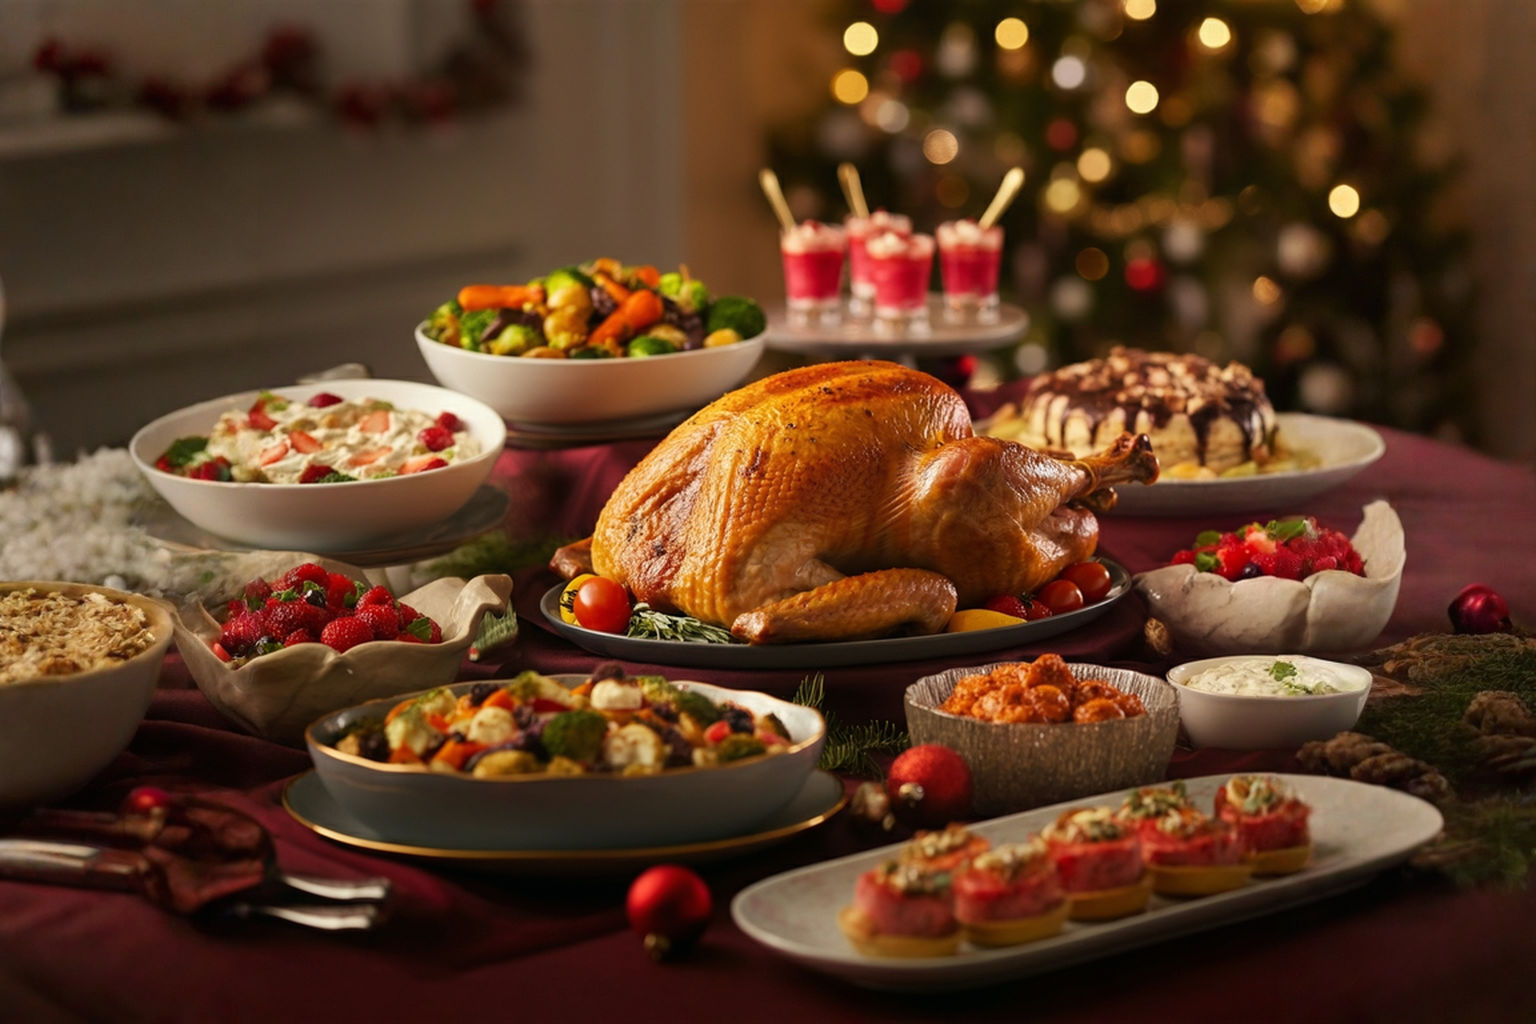
A festive centerpiece instantly elevates any dining table or console. These are Christmas table centerpieces DIY projects that are quick to assemble.
Mason Jar Luminaries: Glowing Ambiance
These simple luminaries create a warm, inviting glow.
- Materials: Mason jars (various sizes), battery-operated fairy lights or small LED candles, optional: Epsom salt (for a snowy look), ribbon, greenery.
- How to make them: Clean and dry your mason jars. For a snowy effect, apply a thin layer of craft glue to the outside of the jar and roll it in Epsom salt. Once dry, place battery-operated fairy lights or LED candles inside. Tie a ribbon around the rim or add a sprig of evergreen for extra flair. These are safe to use anywhere and provide beautiful, soft lighting.
Candle Displays with Natural Accents
Combine candles with natural elements for an elegant, rustic centerpiece.
- Materials: Pillar candles (various heights), a tray or platter, evergreen clippings, pinecones, cinnamon sticks, dried orange slices.
- How to make them: Arrange the pillar candles on your tray or platter. Tuck evergreen clippings, pinecones, cinnamon sticks, and dried orange slices around the base of the candles. The key is to arrange them artfully, creating a natural, abundant look. Ensure that the greenery is not too close to the candle flames for safety.
Festive Fruit and Nut Bowls: Edible Decor
This is the easiest centerpiece of all—and it’s edible!
- Materials: A decorative bowl or platter, fresh fruit (oranges, pomegranates, apples), nuts in their shells (walnuts, pecans, almonds), optional: cinnamon sticks, star anise.
- How to make them: Simply arrange the fruits and nuts artfully in your bowl. The vibrant colors of the fruit and the interesting textures of the nuts create a beautiful display. Add a few cinnamon sticks or star anise for a lovely aroma and extra visual interest. This centerpiece is perfect for last-minute gatherings and can be enjoyed by your guests.
Window Wonderland & Doorway Delights: Enhancing Entrances
Don’t forget your windows and doorways! They offer prime real estate for spreading holiday cheer, both inside and out.
Window Silhouettes: Easy Cut-Out Designs
Window silhouettes are a classic way to decorate, creating a lovely effect from both inside and outside your home.
Festive Shapes and Scenes
These simple cut-outs can transform your windows into a festive display.
- Materials: Large sheets of black or white paper (or cardstock), scissors, pencil, templates (optional).
- How to make them: Find simple templates online or draw your own festive shapes like reindeer, sleighs, Santa, snowflakes, or Christmas trees. Trace them onto your paper and carefully cut them out. For a more intricate look, you can cut out small details within the shapes, like stars on a tree. The contrast of the paper against the window glass creates a striking silhouette, especially when lit from behind at night.
Attaching Your Window Art
Securing your silhouettes is simple and won’t damage your windows.
- Materials: Paper silhouettes, clear tape or static cling film.
- How to make them: For a quick and easy method, use small pieces of clear tape rolled into loops on the back of your silhouettes to attach them to the inside of your windowpanes. For a reusable option, you can laminate your paper cut-outs and use static cling film, which adheres to glass without adhesive and can be peeled off easily. This allows you to store them for next year.
Doorway Drapery: Fabric and Ribbon Accents
Your doorways are natural frames for festive decorations.
Simple Bows and Ribbons
Adding bows is one of the quickest ways to bring holiday cheer to any doorway.
- Materials: Wide festive ribbon (red, green, gold, silver, or patterned), scissors.
- How to make them: Cut lengths of ribbon and tie them into large, elegant bows. You can attach these bows to the top corners of your doorframes using small nails or removable adhesive hooks. For a more elaborate look, create multiple bows and cascade them down the sides of the doorway. Velvet or satin ribbons add a touch of luxury.
Fabric Swags and Drapes
Fabric swags create a soft, luxurious look.
- Materials: Festive fabric (velvet, satin, burlap, or even a holiday-themed tablecloth), safety pins or small nails.
- How to make them: Drape a length of fabric over your doorway, letting it swag naturally in the center and hang down the sides. You can secure it at the top corners with safety pins or small nails. For added elegance, gather the fabric at the top and tie it with a matching ribbon. This creates a soft, welcoming feel, much like a curtain for your doorway.
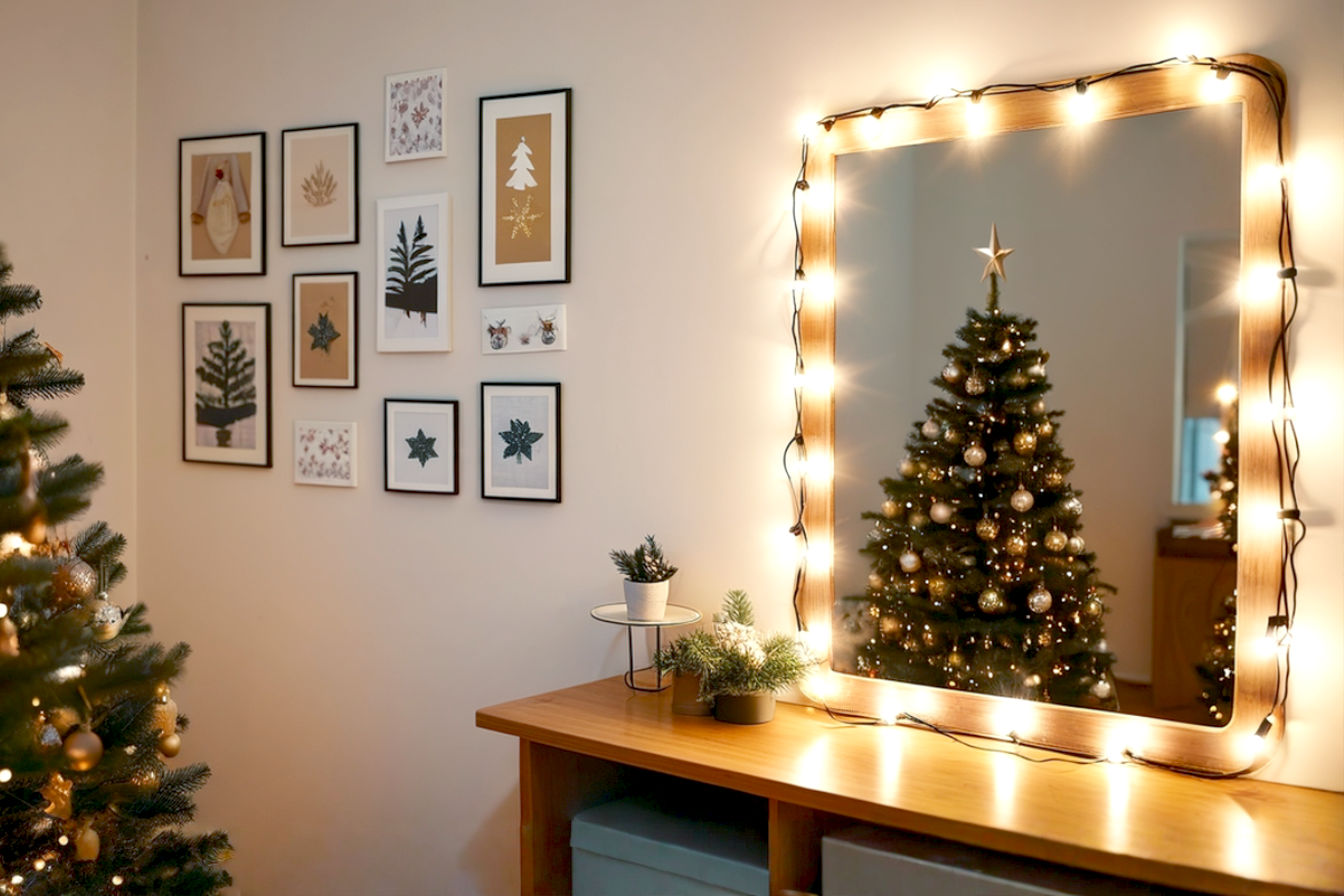
Mirror Magic: Reflecting Holiday Cheer
Mirrors are often overlooked as decorating surfaces, but they can beautifully reflect lights and decorations, amplifying their effect.
Ornament Clusters on Mirrors
Turn your mirrors into sparkling focal points.
- Materials: Shatterproof ornaments (various sizes and textures), hot glue gun, removable adhesive hooks (optional).
- How to make them: Using a hot glue gun, carefully attach clusters of shatterproof ornaments directly to the frame of your mirror or strategically place them on the mirror’s surface. You can also use removable adhesive hooks to hang a small cluster of ornaments from the top of the mirror. The reflection will double their sparkle and create a dazzling effect.
Fairy Lights and Greenery
Combine lights and natural elements for a magical glow.
- Materials: Battery-operated fairy lights, evergreen clippings, small pinecones, clear tape or floral wire.
- How to make them: Drape battery-operated fairy lights around the frame of your mirror. Tuck in small sprigs of evergreen and a few tiny pinecones, securing them with clear tape or floral wire. The lights will reflect endlessly in the mirror, creating a truly enchanting display that adds depth and warmth to any room.
Beyond the Basics: Creative Touches & Advanced Quick Hacks
Once you’ve mastered the basic DIY Xmas decor ideas, you can add extra elements to make your creations truly stand out. These “advanced quick hacks” elevate your decor with minimal extra effort.
Lighting Up Your Creations: Incorporating Fairy Lights
Lights add a magical glow to any decoration. Battery-operated fairy lights are incredibly versatile.
Battery-Operated Lights for Versatility
These lights offer flexibility since they don’t need to be near an outlet.
- Materials: Battery-operated LED fairy lights (various lengths and colors).
- How to use them: The technical aspect of these lights is their low power consumption and small size, allowing them to be safely integrated into almost any craft. They operate on small batteries (AA, AAA, or button cells) and use light-emitting diodes (LEDs) which produce very little heat, making them safe for use with paper, fabric, and natural materials. You can find them with various wire colors (copper, silver, green) to blend seamlessly with your decor.
Weaving Lights into Garlands and Wreaths
Adding lights instantly transforms a simple garland or wreath.
- How to do it: Simply weave the strand of battery-operated fairy lights through your DIY Christmas garland or around your DIY Christmas wreaths easy to create. Tuck the battery pack discreetly behind the decoration. The tiny bulbs will cast a warm, inviting glow, highlighting the textures and colors of your crafts. This is an easy way to add a professional touch to your homemade items.
Scent-sational Decor: Adding Aromatic Elements
Engage more senses by incorporating delightful holiday scents into your decor.
Cinnamon Sticks and Star Anise Bundles
These natural elements look and smell wonderful.
- Materials: Cinnamon sticks, star anise, twine or thin ribbon.
- How to make them: Gather a few cinnamon sticks and a couple of star anise pods. Tie them together with a piece of twine or ribbon. You can hang these small bundles on your tree, from doorknobs, or place them in bowls as part of a centerpiece. The warm, spicy aroma is instantly recognizable as a holiday scent.
Essential Oil Diffusers with Natural Elements
For a more continuous scent, use essential oils.
- Materials: Cotton balls, small pinecones, unscented wooden beads, holiday essential oils (cinnamon, frankincense, pine, orange).
- How to make them: Place a few drops of your favorite holiday essential oil onto cotton balls, the scales of a pinecone, or unscented wooden beads. Arrange these scented elements discreetly within your existing decor, such as inside a decorative bowl, tucked into a wreath, or placed near a vent. The natural materials will slowly diffuse the scent throughout the room.
Kid-Friendly Crafts: Engaging Young Helpers
Involving children in the crafting process makes the holidays even more special. These are simple Christmas crafts for kids.
Handprint Ornaments and Art
These are precious keepsakes that capture a moment in time.
- Materials: Salt dough (as described earlier), paint, glitter, ribbon.
- How to make them: Use the salt dough recipe to create flat disks. Help children press their hands or feet into the dough to create an impression. Bake and decorate them with paint and glitter. Alternatively, you can use tempera paint to make handprint or footprint art on paper, creating festive characters like reindeer or Santa. These personalized items become cherished family treasures.
Pom-Pom Creations
Pom-poms are soft, colorful, and fun to make.
- Materials: Yarn (various colors), scissors, pom-pom maker (optional, or use cardboard circles).
- How to make them: Wrap yarn around a pom-pom maker or two cardboard rings until it’s very thick. Cut through the yarn along the outer edge of the rings, then tie a piece of yarn tightly around the center to secure. Remove the rings and fluff the pom-pom. Kids can make colorful pom-poms to string into garlands, glue onto ornaments, or decorate gift packages. The tactile nature of yarn makes this a sensory-rich activity.
Gift Wrapping Embellishments: Extending the Decor
Extend your DIY creativity to your gift wrapping for a cohesive festive look.
DIY Gift Tags
Personalized tags add a thoughtful touch.
- Materials: Cardstock scraps, scissors, hole punch, markers, stamps, glitter, optional: small sprigs of greenery.
- How to make them: Cut out various shapes from cardstock scraps. Decorate them with markers, stamps, or glitter. Punch a hole at the top and thread a ribbon or twine through. You can also attach a small sprig of evergreen or a tiny pinecone for a natural accent. These tags make even simple wrapping paper look elegant.
Ribbon and Natural Accents
Elevate plain wrapping with simple additions.
- Materials: Various ribbons (satin, velvet, burlap), small pinecones, dried orange slices, cinnamon sticks, hot glue gun.
- How to make them: Instead of just a plain bow, layer different textures of ribbon. Then, hot glue a small pinecone, a dried orange slice, or a cinnamon stick onto the top of the bow. This adds a sophisticated, handmade touch to your gifts, making them feel like an extension of your home’s festive decor.
The Art of Placement: Maximizing Impact with Minimal Effort
Once you’ve created your easy DIY Christmas decorations, how you arrange them is just as important as the crafts themselves. Strategic placement can make a big difference, transforming your home with minimal effort.
Focal Points: Where to Place Your Best Pieces
Every room can benefit from a focal point. This is where your most impressive or cherished homemade Christmas ornaments and displays should go. For many, the Christmas tree is the primary focal point. Other natural focal points include mantels, large windows, or a prominent console table. Place your most eye-catching DIY Xmas decor ideas here to draw attention and create a sense of grandeur. For example, a beautifully lit mason jar Christmas lights display or a stunning ornament cluster wreath will shine brightest in a key location.
Layering and Grouping for Depth
To avoid a sparse or cluttered look, think about layering and grouping your decorations.
- Layering: This involves placing items at different heights and depths. For example, on a mantel, you might have a garland draped along the back, taller candles in the middle, and smaller ornaments or pinecones scattered in front. This creates visual interest and makes the display feel richer.
- Grouping: Instead of scattering individual items, group similar items together. A collection of three dried orange slices hanging together, or a cluster of varied salt dough ornaments on a hook, looks more intentional and impactful than single items spread out. Odd numbers (like three or five) often look more aesthetically pleasing in groupings.
Creating Cohesive Themes
Even with fast Christmas crafts, you can achieve a cohesive look by sticking to a theme or color palette. This doesn’t mean everything has to match perfectly, but rather that there’s an underlying connection. For instance, you might choose a “rustic natural” theme, focusing on pinecones, twigs, and burlap, or a “winter wonderland” theme with lots of white, silver, and blue. A consistent theme makes your quick holiday decor feel more polished and professional, even if each piece was made in minutes.
Troubleshooting & Tips for Stress-Free Crafting
Even the easiest projects can sometimes present small challenges. Knowing how to handle them can keep your crafting experience stress-free and fun.
Common Challenges and Quick Fixes
- Glue not holding: If your hot glue isn’t sticking, ensure both surfaces are clean and dry. For porous materials like fabric, press firmly for a few seconds. For smoother surfaces, rough them up slightly with sandpaper before gluing. If using craft glue, allow ample drying time; some glues need hours to fully cure.
- Ornaments cracking (salt dough): Cracking usually happens if the oven temperature is too high or if the dough is too thick. Ensure your oven is set to a very low temperature (200-250°F or 95-120°C) and that your ornaments are not thicker than 1/4 inch. Slow, even drying is key.
- Paper tearing: When cutting intricate paper designs, use sharp scissors or a fresh blade in your craft knife. Move slowly and deliberately. For delicate paper, consider reinforcing it with a thin layer of clear tape on the back before cutting.
- Garlands tangling: When storing garlands, loosely coil them around a piece of cardboard or a paper towel roll to prevent tangling. This also helps maintain their shape.
Safety First: Crafting with Care
While simple festive crafts are generally safe, always prioritize safety.
- Hot Glue Guns: The nozzle and glue can get very hot. Always use a silicone mat or old newspaper underneath your work area to protect surfaces. Keep fingers away from the hot tip and freshly applied glue. If working with children, supervise them closely or handle the hot glue yourself.
- Cutting Tools: Sharp scissors and craft knives should be used with caution. Always cut away from your body. When using a craft knife, place a self-healing cutting mat underneath your material to protect your work surface and provide a stable base. Store sharp tools safely out of reach of small children.
- Natural Materials: If collecting natural elements like pinecones or twigs, ensure they are clean and free of insects before bringing them indoors. Baking pinecones (as mentioned earlier) is a good way to sanitize them.
Storing Your DIY Decorations
Proper storage ensures your homemade Christmas ornaments last for years.
- Fragile items: Wrap delicate paper or salt dough ornaments in tissue paper or bubble wrap before placing them in sturdy boxes.
- Garlands: As mentioned, coil them around cardboard or paper towel rolls.
- Wreaths: Store wreaths flat in a large box or hang them on a hanger covered with a plastic bag to protect them from dust.
- Labeling: Label your storage boxes clearly so you know exactly what’s inside next year. This saves time and effort during future holiday seasons.
Conclusion: Cherish the Memories, Not the Stress
You’ve now explored a wide array of easy DIY Christmas decorations that you can create today. From classic paper snowflakes to aromatic dried orange slices and charming pinecone crafts, these projects prove that festive decor doesn’t have to be complicated or expensive. The true value lies not just in the finished product, but in the joy of the creative process itself.
The Enduring Value of Handmade Decor
Handmade decorations are more than just pretty objects; they are infused with your effort, your creativity, and your holiday spirit. They become tangible memories of Christmases past, each imperfection telling a story. Unlike mass-produced items, your DIY Xmas decor ideas will be unique, reflecting your home’s personality. They are conversation starters, cherished by family and friends who appreciate the personal touch.
Your Home, Transformed with Festive Fun, Fast
With these quick holiday decor techniques, you can transform your home into a festive haven without the usual holiday stress. Imagine the satisfaction of looking around your beautifully decorated space, knowing that each sparkling ornament, each glowing luminary, and each charming garland was made by your own hands. It’s about creating an atmosphere of warmth, cheer, and personal expression.
A Call to Creative Action
So, don’t wait! Gather your supplies, put on some festive music, and start crafting. Whether you choose to make a few simple homemade Christmas ornaments or embark on a full-scale budget-friendly Christmas decor transformation, the joy of creating is its own reward. Embrace the “Festive Fun, Fast” mindset and make this holiday season your most creative and memorable yet. Happy crafting!