This post may contain affiliate links. If you make a purchase through these links, we may earn a commission at no additional cost to you.
Bringing the story of the Nativity to life is an ancient tradition, one that has captivated hearts for centuries. But for many, the idea of creating a live nativity scene seems like an impossible task—something best left to professional theaters or large institutions. The truth, however, is that this deeply rewarding community event is entirely within your reach. It’s a chance to step away from the commercial noise of the holiday season and gather your neighbors for a shared purpose, creating a living piece of art that fosters a spirit of unity, faith, and wonder.
This guide will walk you through every step of the process, from the first spark of an idea to the final, triumphant cleanup. We’ll delve into the historical roots of the nativity, tackle the nitty-gritty of planning and logistics, and provide a wealth of practical advice to help you transform a simple concept into a powerful, memorable tradition for your community. Whether you’re part of a small church group or a large neighborhood association, this is the definitive resource to help you bring the timeless Christmas story to life.
The Spiritual & Historical Heartbeat of the Nativity
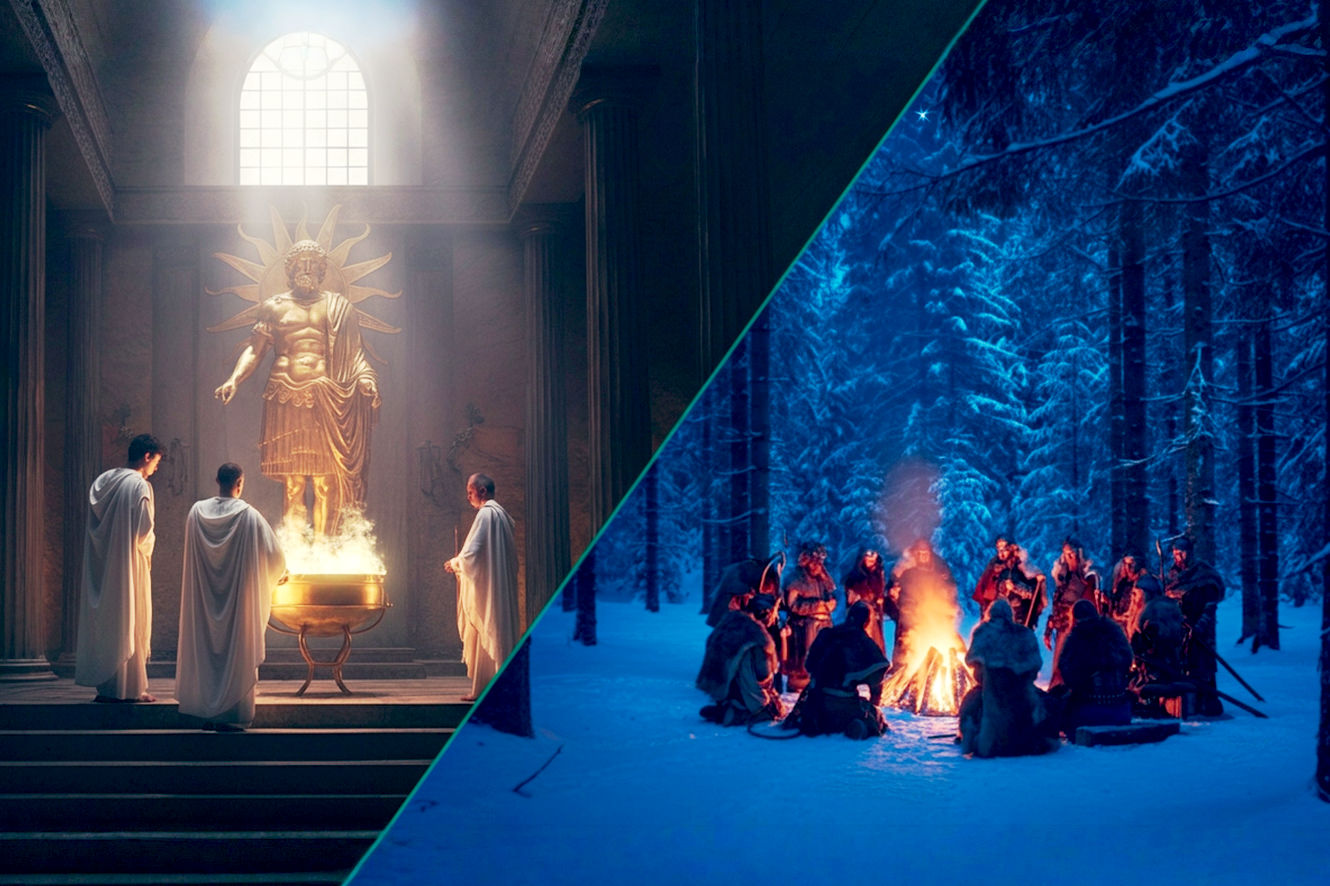
Before you start planning the logistics, it’s important to understand the profound origins of the tradition you’re about to create. The live nativity scene isn’t a modern invention; it’s a practice with deep historical roots that continue to resonate today. Understanding this history will help you infuse your event with a sense of purpose and authenticity.
St. Francis of Assisi and the First Nativity
The very first live nativity scene is widely attributed to Saint Francis of Assisi in the year 1223. Legend says that while he was living as a hermit in the Italian town of Greccio, Francis sought to inspire a deeper reverence for the birth of Jesus. He didn’t have a formal church or grand stage; he simply asked a local man to set up a manger with hay inside a cave. He then gathered an ox and a donkey and invited the townspeople to come see the scene.
Francis’s goal wasn’t to stage a play. He didn’t have actors or a script. His intention was to make the Gospel story tangible—to move people from intellectual understanding to a deeply emotional, sensory experience. By seeing real animals and a simple manger, the people of Greccio could connect with the humility and poverty of Jesus’s birth. The event was a powerful success, and its memory spread, inspiring similar displays throughout Europe. This original act of piety laid the groundwork for what would become a global tradition.
Why Live Nativities Endure Today
What was true in 13th-century Italy remains true today. A live nativity is more than just a reenactment; it’s an opportunity for people to participate in a story that feels both ancient and immediate. It moves us beyond passive observation and allows us to feel a part of the moment. In a modern world often driven by screens and commerce, a live nativity offers a welcome space for quiet reflection, shared community, and a tactile connection to a core Christmas message. It’s a way to pause, reflect, and come together in a spirit of shared wonder.
The Blueprint for Success: Initial Planning
The most successful live nativities are not spontaneous acts of faith; they are meticulously planned and organized community efforts. Your journey begins with a solid foundation.
Forming Your Core Committee
Don’t try to do this alone. The first and most critical step is to assemble a small, dedicated core committee. Think of this group as the “Holy Trinity” of your event:
- The Visionary (Director/Project Lead): This person has a clear picture of what the event should look like. They’re a natural organizer and motivator who can see the big picture and delegate tasks.
- The Logistical Genius (Operations Manager): This person lives for details. They’ll handle permits, insurance, timelines, and budgets. They’re your spreadsheet-loving, checklist-making rock.
- The Community Connector (Volunteer Coordinator/Publicist): This person knows everyone. They’re responsible for recruiting cast members, finding volunteers, and getting the word out to the wider community.
Meet weekly, or as often as needed, to keep momentum going. A shared calendar and task list will be your most valuable tools.
The First Big Decisions: Location, Dates, and Budget
With your team in place, it’s time to make some fundamental decisions that will shape the entire event.
- Location: Where will you hold the nativity? Look for a central, visible spot that’s easily accessible to the public, such as a church lawn, a town square, a community park, or a large open field. Consider parking, foot traffic, and whether there are nearby facilities (like bathrooms) that you can access.
- Dates and Times: When will the event take place? Typically, live nativities are held on a weekend leading up to Christmas. Think about whether you’ll have one single performance or a continuous, drop-in event over a few hours. A continuous event often works best, allowing people to come and go, reducing the pressure of a single “show.”
- Budget: This can range from nearly zero to thousands of dollars, depending on your ambitions. Your budget will need to cover items like:
- Costumes: Fabric, sewing supplies, or rental fees.
- Set: Materials like wood, straw, lighting, and props.
- Animals: Rental fees from local farms or petting zoos.
- Permits & Insurance: The costs of doing business.
- Publicity: Printing flyers, banners, or advertising.
- Refreshments: Hot chocolate or cookies for volunteers and attendees.
Start a spreadsheet immediately and track every potential cost. Don’t forget to look for donations and in-kind services from local businesses to help offset costs.
Navigating the Red Tape: Permits and Insurance
This is the least glamorous but most important part of the planning process. Without proper permissions, your event could be shut down before it even starts.
- Public vs. Private Property: If you’re using a public park or square, you will absolutely need a permit from your local city or county government. Start this process early, as it can take weeks or even months. You may need to provide a site plan, a schedule, and proof of insurance.
- Insurance: A live nativity, especially one involving animals, is a potential liability risk. You’ll need to secure event liability insurance. This policy protects you from claims of injury or property damage. Your church or a local community organization might already have a policy that can be extended, but if not, you’ll need to purchase a standalone policy. The cost is often minimal and well worth the peace of mind.
- Animal Permits: Some municipalities have specific regulations about bringing animals into public spaces. Check with your local animal control or health department to see if any special permits or health certificates are required for the animals you plan to use.
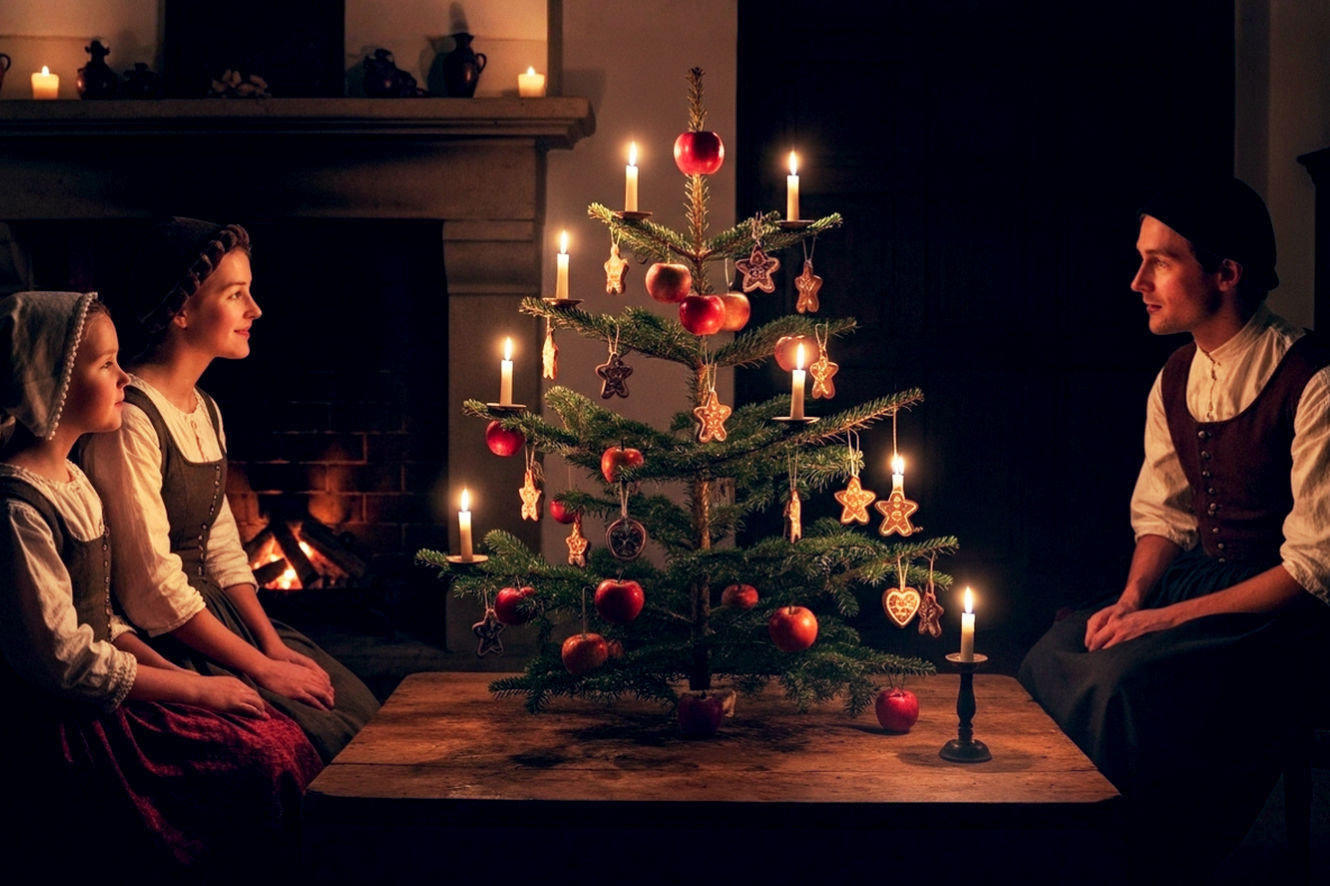
Bringing the Story to Life: Casting and Costumes
The cast and their attire are the heart of your visual storytelling. They are the human element that makes the scene feel alive and relatable.
Finding Your Holy Family and Shepherds
This is a wonderful opportunity to involve families and individuals from your community.
- The Holy Family: The iconic roles of Mary and Joseph are often best played by a real couple or a young family. A mother holding her own baby can add an incredible layer of authenticity and emotion to the scene. Be sensitive and respectful when casting these roles; they require a certain level of commitment and comfort with being the center of attention.
- Shepherds and Angels: These roles are perfect for children and teens. They can be cast in large numbers, providing an opportunity for many kids to participate. The shepherds often require less structured time, allowing for a rotating cast of kids who can come and go throughout the event.
- Wise Men (Magi): The three wise men can be a great way to involve older adults or respected community members. Their costumes are often the most elaborate and their presence adds a sense of regal gravitas.
- Other Roles: Don’t forget Roman soldiers to add context, or townspeople to fill out the scene. You can also have a narrator who reads the Christmas story from the Gospels.
Dressing the Part: DIY vs. Rental
Costumes are crucial for setting the tone. Your choice between making your own or renting will depend on your budget and the talent of your volunteers.
- DIY Costumes: For a rustic, authentic look, simple DIY costumes are perfect. You can create the look of the Nativity with basic, unbleached fabrics like linen or cotton. Think simple robes, draped scarves, and sashes. A great resource for patterns and ideas can be found online. Involving a group of volunteers to create the costumes can be a fun pre-event activity.
- Rental Costumes: If you have a larger budget, renting from a local theater or costume shop can save time and ensure a professional look. This is a good option if you want more elaborate, historically detailed costumes for the Wise Men or Roman soldiers.
Remember to plan for cold weather. You’ll need to make sure the costumes are warm enough for your cast, who will be standing outside for long periods. Suggest that actors wear thermal layers or warm clothing underneath their robes.
The Stage is Set: Creating the Scene
The physical environment is the backdrop for your story. A well-designed set creates a sense of place and atmosphere, drawing the audience into the narrative.
Designing the Manger and Stable
The stable is the central focus of your scene. It doesn’t have to be a masterpiece of carpentry.
- Materials: You can use simple, inexpensive materials. Reclaimed wood, fence panels, or even large cardboard sheets painted to look like wood can work. The key is to make it look rustic and humble.
- Construction: Build a simple three-sided structure to create a sense of shelter. Make sure it’s sturdy and weighted down so it won’t blow over in the wind. A sloped roof is a nice touch to suggest a shed or barn.
- The Manger: The manger is the focal point. You can build a simple one from wood planks or even use a rustic, oversized wooden trough. Fill it with clean, fresh hay (from a feed store, not a craft store—it’s cheaper and more authentic).
Don’t forget to create a comfortable spot for the cast. A bench or a few bales of hay behind the manger can provide seating for Mary and Joseph.
Lights, Sound, and a Little Bit of Magic
These elements turn a simple tableau into a full-sensory experience.
- Lighting: Lighting is essential, especially if your event is held after dark.
- Focal Point: Use spotlights or floodlights to illuminate the stable and the main actors. You want to draw the audience’s eye to the Holy Family.
- Mood Lighting: Use small, warm-white LED lights wrapped around the stable or a few lanterns to create a warm, inviting glow. Avoid bright, harsh lights.
- Safety: Use outdoor-rated lights and extension cords. Tape down any cords that cross a walking path to prevent tripping hazards.
- Sound: Music is a powerful emotional tool.
- Live Music: If you have a local choir or musicians, live Christmas carols can add an incredible element of warmth and authenticity.
- Recorded Music: If not, a simple sound system with a playlist of traditional Christmas hymns can set the perfect tone. Make sure the speakers are powerful enough to be heard over a crowd but not so loud that they are jarring.
- Narrator: A narrator reading the biblical account of the Nativity (from the Gospels of Luke and Matthew) can provide context for the audience. The narrator’s voice should be calm and clear, guiding the audience through the story.
Scripting and Music: More Than Just a Tableau
A live nativity can be a silent tableau or a scripted performance. Most successful community nativities are a blend of both.
- The Silent Tableau: This is the simplest and most common form. The actors pose in the stable, with the narrator reading the story. This allows the audience to come and go, taking in the scene at their own pace.
- The Scripted Performance: A more elaborate version involves a short, scripted play. This requires more rehearsal time but can be incredibly engaging for the audience. Keep the script simple and the performance short (15-20 minutes) to keep the audience’s attention.
- Musical Element: Live or recorded music is non-negotiable. Whether it’s a choir singing “Silent Night” or a simple soundtrack, music elevates the emotional impact of the scene. Consider adding a communal carol-sing at the end of the event.
The Unpredictable Stars: Managing Live Animals
This is one of the most exciting—and potentially challenging—aspects of a live nativity. Live animals can add a powerful layer of realism and wonder, especially for children. But they also require careful planning and a deep commitment to their safety and well-being.
Choosing the Right Creatures
Don’t feel like you need a whole zoo. A couple of docile, well-behaved animals will make a huge impact.
- Donkeys: A donkey is the most traditional choice and a perfect fit for a nativity. They are typically calm and gentle.
- Sheep or Goats: Small lambs or goats are a great way to represent the shepherds’ flocks.
- An Ox: A large ox or cow can add a sense of scale and realism to the stable.
- Avoid: Wild animals, large and aggressive animals, or any animals that are easily spooked. Always prioritize the safety of your cast, crew, and audience.
Safety First: Protocols for Animals and People
Working with live animals requires a strict set of safety protocols.
- Source: Only rent animals from reputable, licensed farms or petting zoos. Ask for references and visit the facility beforehand to see how the animals are cared for. They will often provide a handler to stay with the animals throughout the event.
- Handler: A professional handler from the farm should be present at all times to manage the animals, ensure they are calm, and prevent any incidents.
- Fencing: Set up a simple, low fence or rope line around the animal area to create a buffer zone. This protects both the animals and the public.
- Comfort: Provide a water bowl and a designated, quiet space away from the main event where the animals can rest.
- Cleanup: Have a plan for cleaning up after the animals. Tarps and shovels are essential.
Spreading the Word: Publicity and Community Engagement
A beautiful nativity scene is nothing without an audience to appreciate it. Your publicity efforts are what turn a private project into a public, community-wide event.
A Multi-channel Marketing Plan
Use a variety of methods to reach as many people as possible.
- Local Media: Reach out to your local newspaper, community newsletters, and radio stations. Write a press release with all the key details: Who, What, Where, When, and Why. Highlight the human-interest angle—it’s a community project, a group of neighbors coming together.
- Social Media: Create a Facebook event page and invite everyone you know. Post photos from previous years, or behind-the-scenes shots of the set being built and costumes being made. Use a unique hashtag like #YourTownNativity.
- Local Signage: Place eye-catching posters and flyers in local businesses, community centers, and libraries. Put up a large banner at the location of the event in the week leading up to it.
- Word of Mouth: This is the most effective tool. Encourage every volunteer and cast member to invite their friends, family, and neighbors.
Involving the Community Beyond the Cast
A live nativity can be a powerful unifying force, even for those who aren’t acting in it.
- Volunteer Roles: Give people who don’t want to be on stage a chance to help. You’ll need volunteers for:
- Set-up and tear-down
- Parking and crowd control
- Serving refreshments
- Guiding the audience
- Donations: Ask for donations of materials, costumes, or refreshments from local businesses. A local coffee shop might donate coffee, a bakery might provide cookies. These small partnerships can make your event truly feel like a community-wide effort.
Showtime: The Day of the Event
The day of the event is a culmination of all your hard work. It will be a whirlwind of activity, but with a solid plan, you can make sure it runs smoothly.
The Final Checklist
This checklist should be prepared in the week leading up to the event and reviewed in the hours before it starts.
- Pre-Event Check:
- Is the set stable and secure?
- Is the lighting working correctly?
- Are all the extension cords safely taped down?
- Is the sound system working?
- Have the animals arrived with their handlers?
- Cast and Crew:
- Has the cast been checked in and are they in costume?
- Have all the volunteers arrived and been assigned their duties?
- Is there a “green room” or warming tent for the cast?
- Is a first-aid kit readily available?
- Logistics:
- Are the parking and crowd control volunteers in place?
- Is the refreshment station ready to go?
- Is the narrator ready with the script?
Handling Unexpected Hurdles
In any live event, something will inevitably go wrong. The key is to be prepared and stay calm.
- Weather: Have a backup plan for bad weather. This could be a tent or an indoor location.
- No-shows: Have a few backup volunteers or cast members on hand who can fill in for any last-minute cancellations.
- Technical Issues: A light bulb might go out, the sound system might have a hiccup. A small team member with a toolkit can be ready to troubleshoot.
Wrapping Up: After the Curtains Close
The event may be over, but your job isn’t quite done yet. A thoughtful wrap-up process ensures that the event is remembered fondly and that you have a smooth start for next year’s planning.
The Two-Week Rule: Cleanup and Thank Yous
- Immediate Cleanup: As soon as the event is over, your cleanup crew should get to work. Collect props, take down lights, and most importantly, clean up any animal waste and hay.
- The Thank You: Within two weeks of the event, send a heartfelt thank you to everyone who participated. Send a personal note to the core committee, a group email to the cast and volunteers, and a public thank you to all the community members and local businesses who contributed. This simple gesture builds goodwill and ensures that people will want to be a part of it again next year.
- Debriefing: Hold a final meeting with your core committee to talk about what went well and what could be improved. This is the time to document your lessons learned—from the best place to find costumes to the ideal number of volunteers—and create a plan for next year.
The Enduring Power of a Shared Experience
Creating a live nativity scene is an act of love and community. It’s a chance to honor a cherished tradition and share it with your neighbors in a tangible way. It’s about more than just a play or a reenactment; it’s about creating a moment of shared reflection and collective joy.
By following this guide, you’re not just organizing an event—you’re building a tradition. You’re giving people a gift they will remember long after the Christmas decorations are packed away, and you’re helping your community find a little bit of wonder in the middle of a busy holiday season. And that is a powerful thing indeed.